This one is from Mikes workshop site. I think he did a really great job, so I won’t comment it further and just show my version of his mod:
Bandsaw – tiltable table
News from a small machine shop
This one is from Mikes workshop site. I think he did a really great job, so I won’t comment it further and just show my version of his mod:
Don’t remember where I have found this one, but I liked the idea:

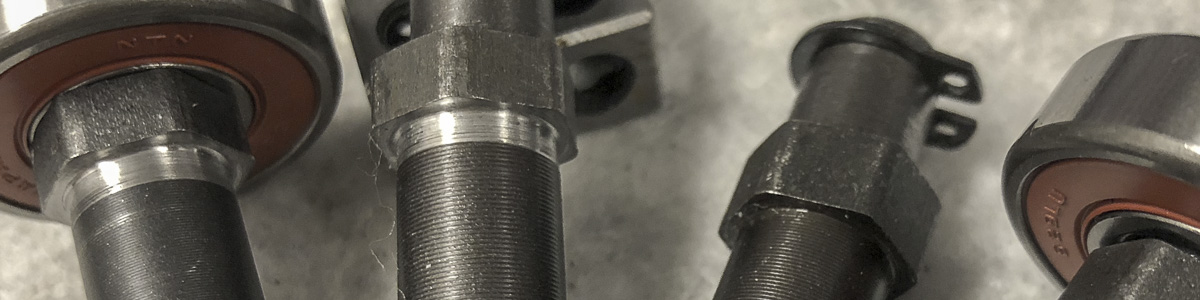
The blade needs to be «bent» in place mainly on two points (on the top right, and the opposite left). The concept of displacing the bearings in accordant way could preserve them a little bit. And given that this is a short task on the lathe…
The idea of easing up the setup of the blade alignment is really delightful. I saw this or similar mods on different places – the one I took a in depth look onto was on the ToolsandMods website.
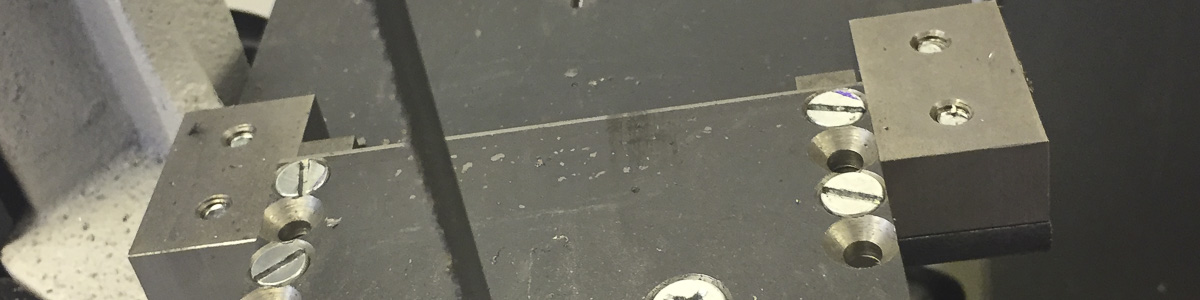
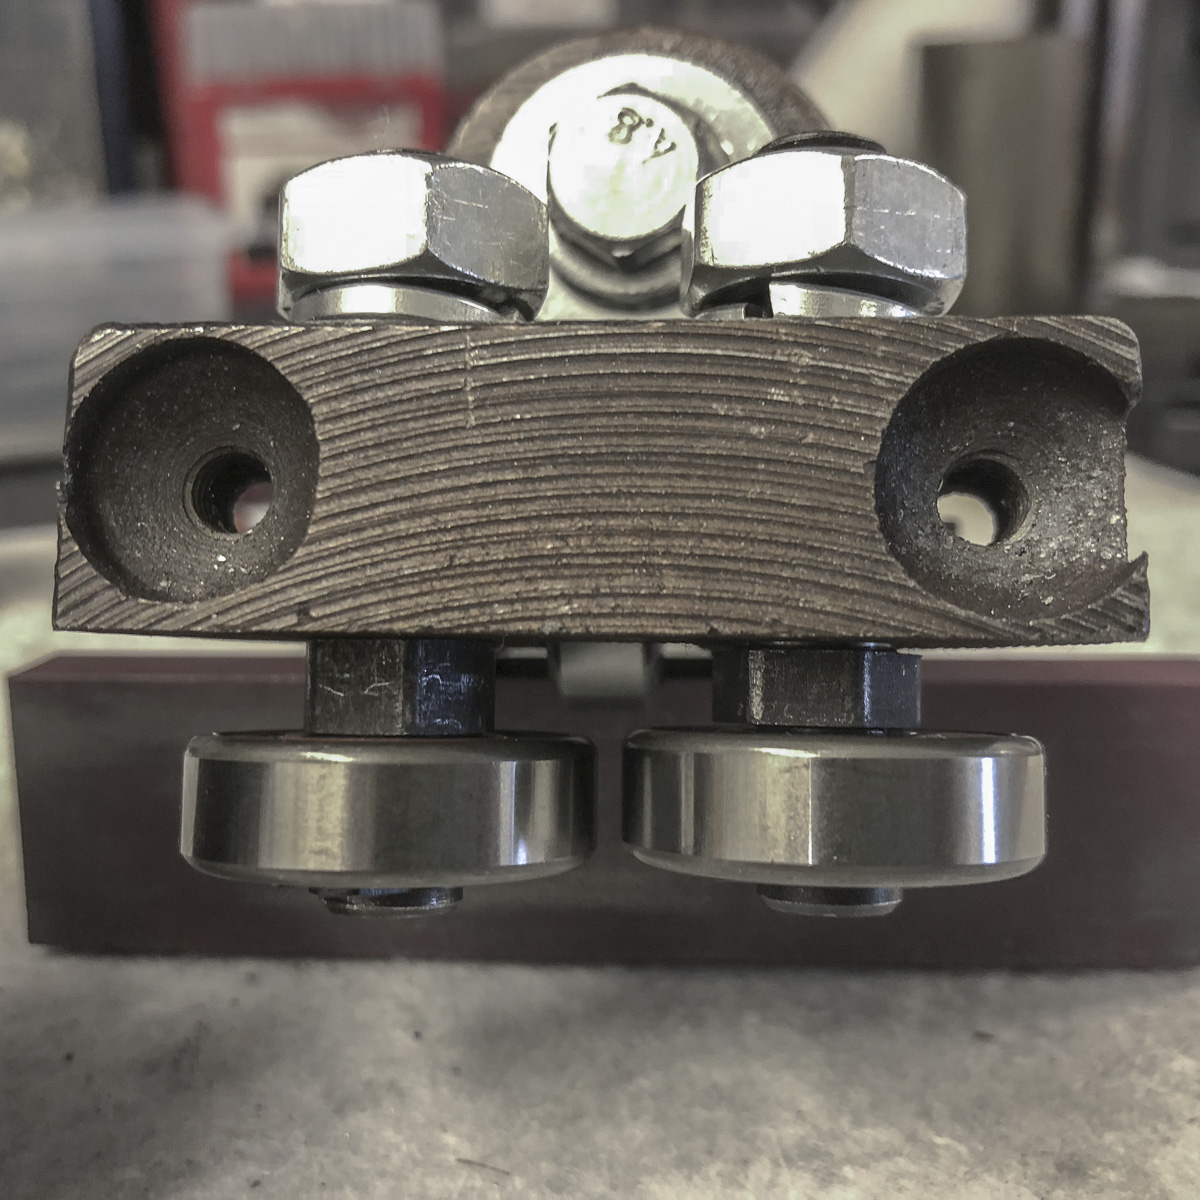
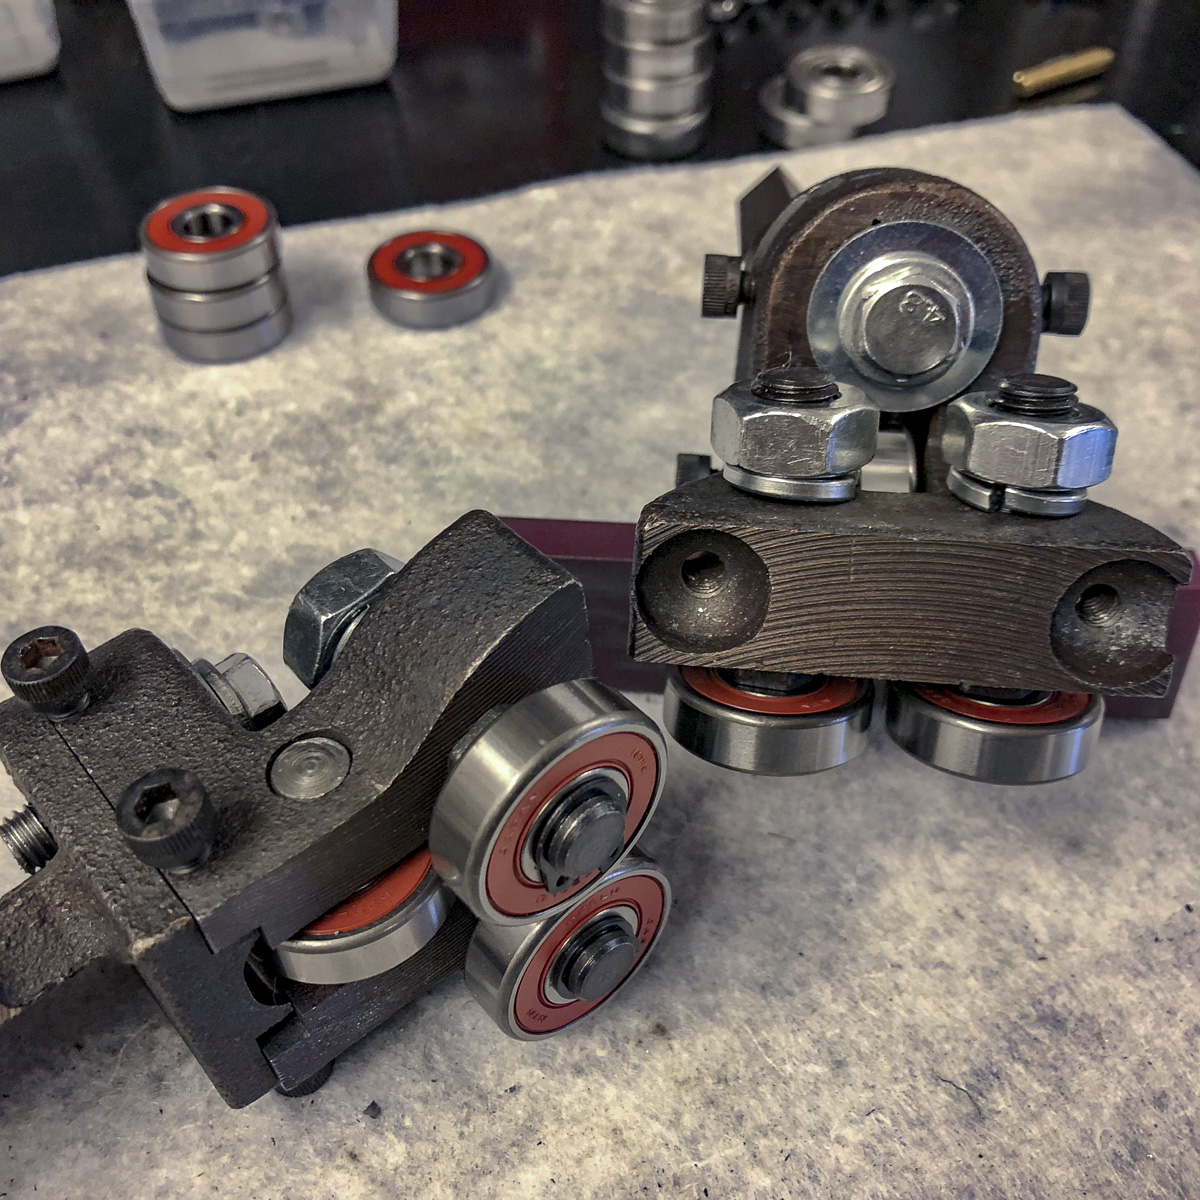
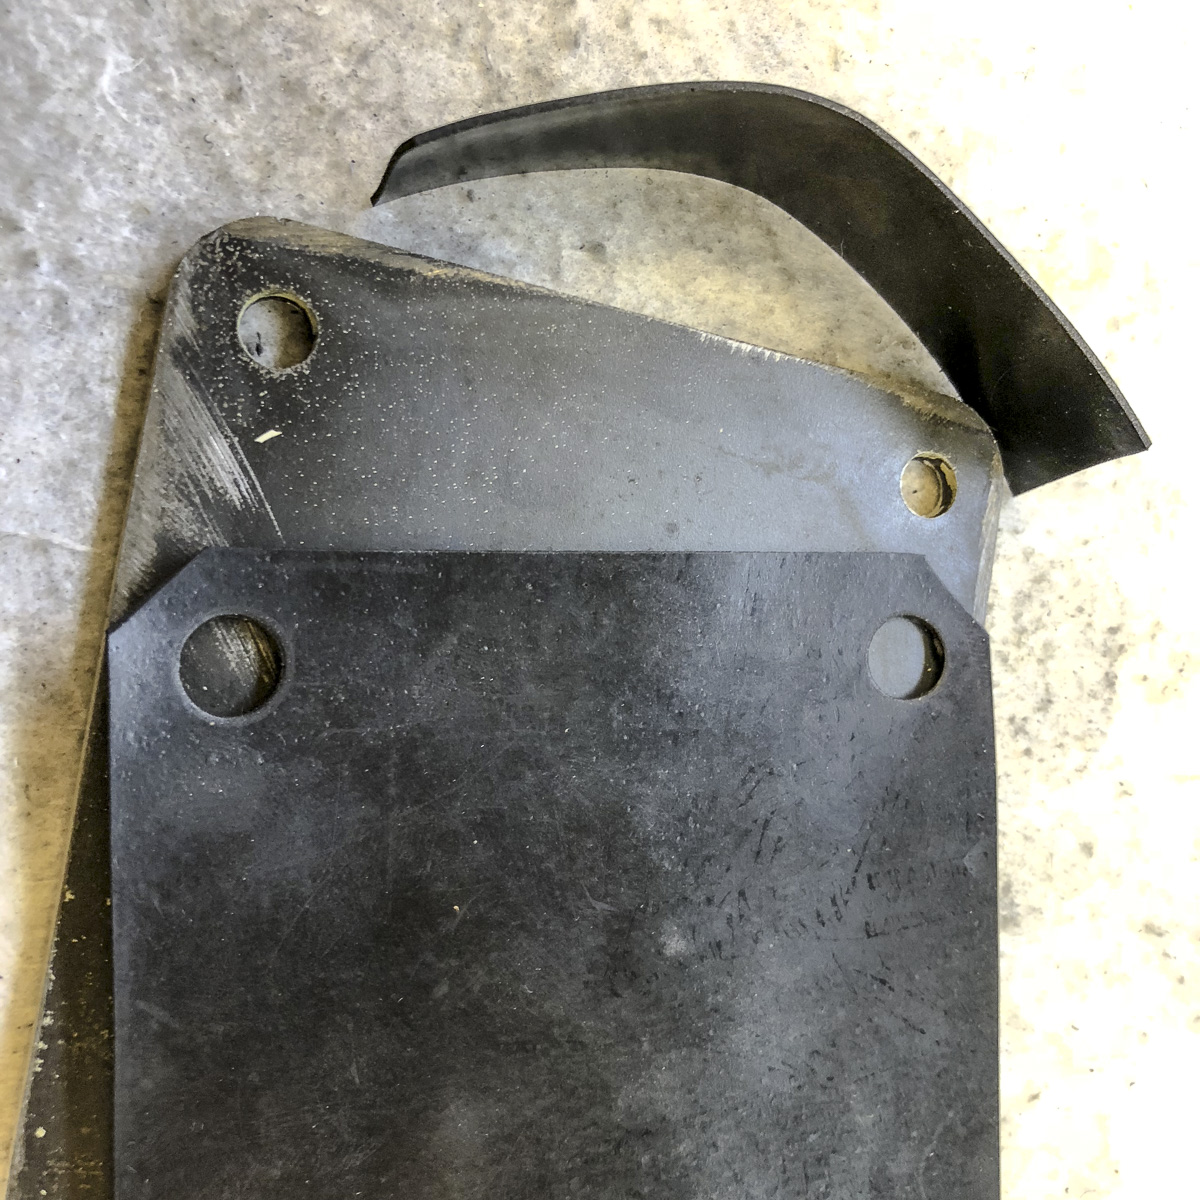
Mine consist of two setscrews on each side of the blade guides – this way it’s possible not only to tilt the blade, but also to displace sideways the whole block. This way it’s really easy and accurate to set the blade in two angles: in the cutting direction and also in the cutting angle of the piece beeing cut.
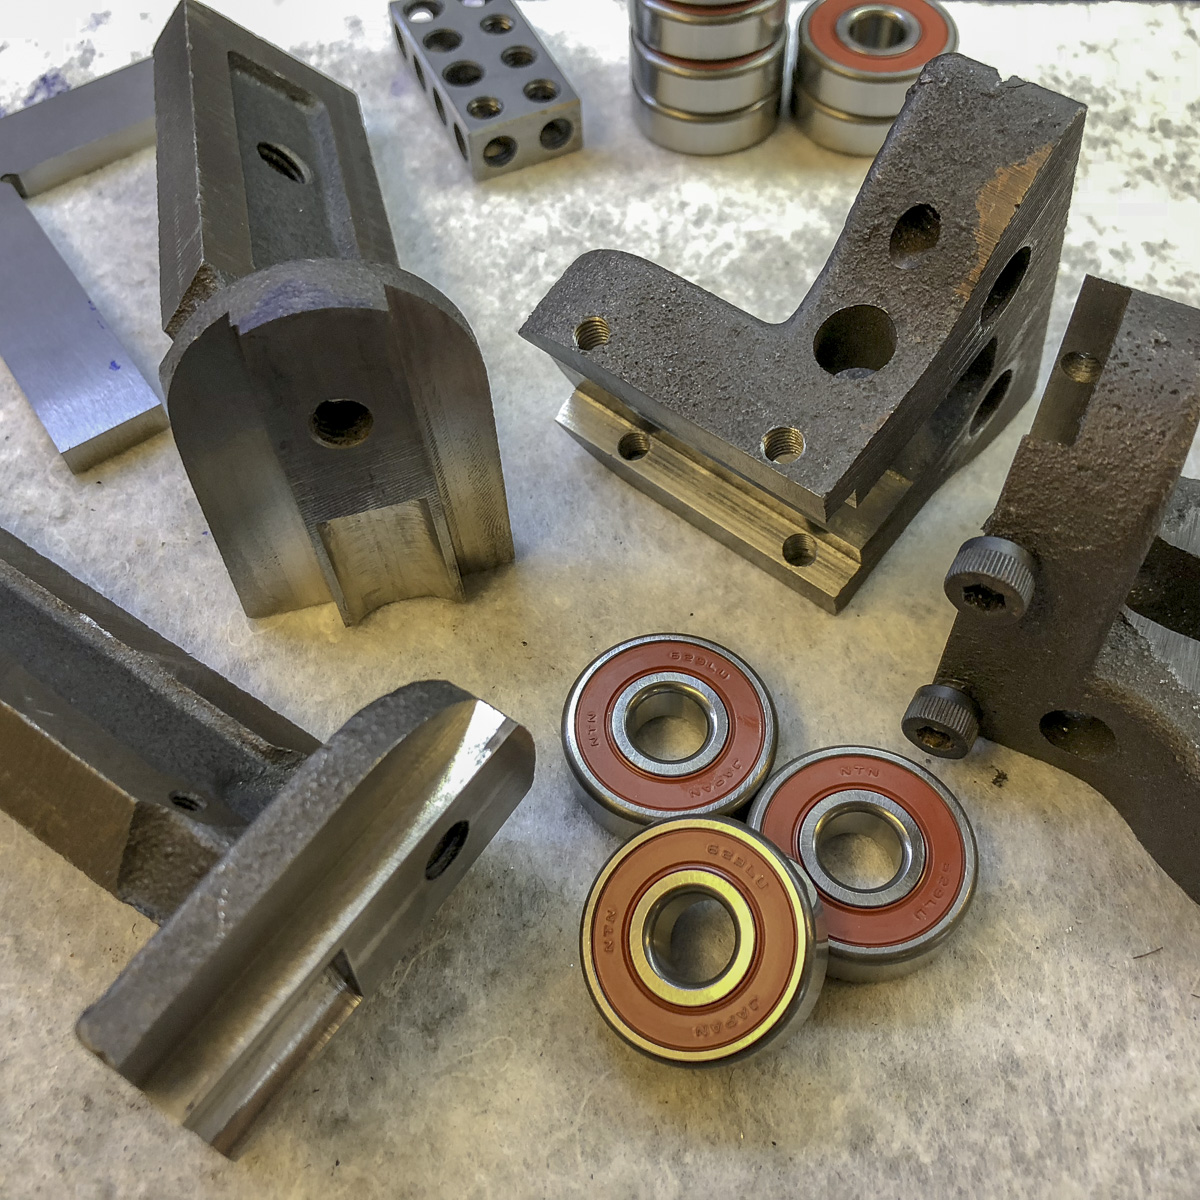
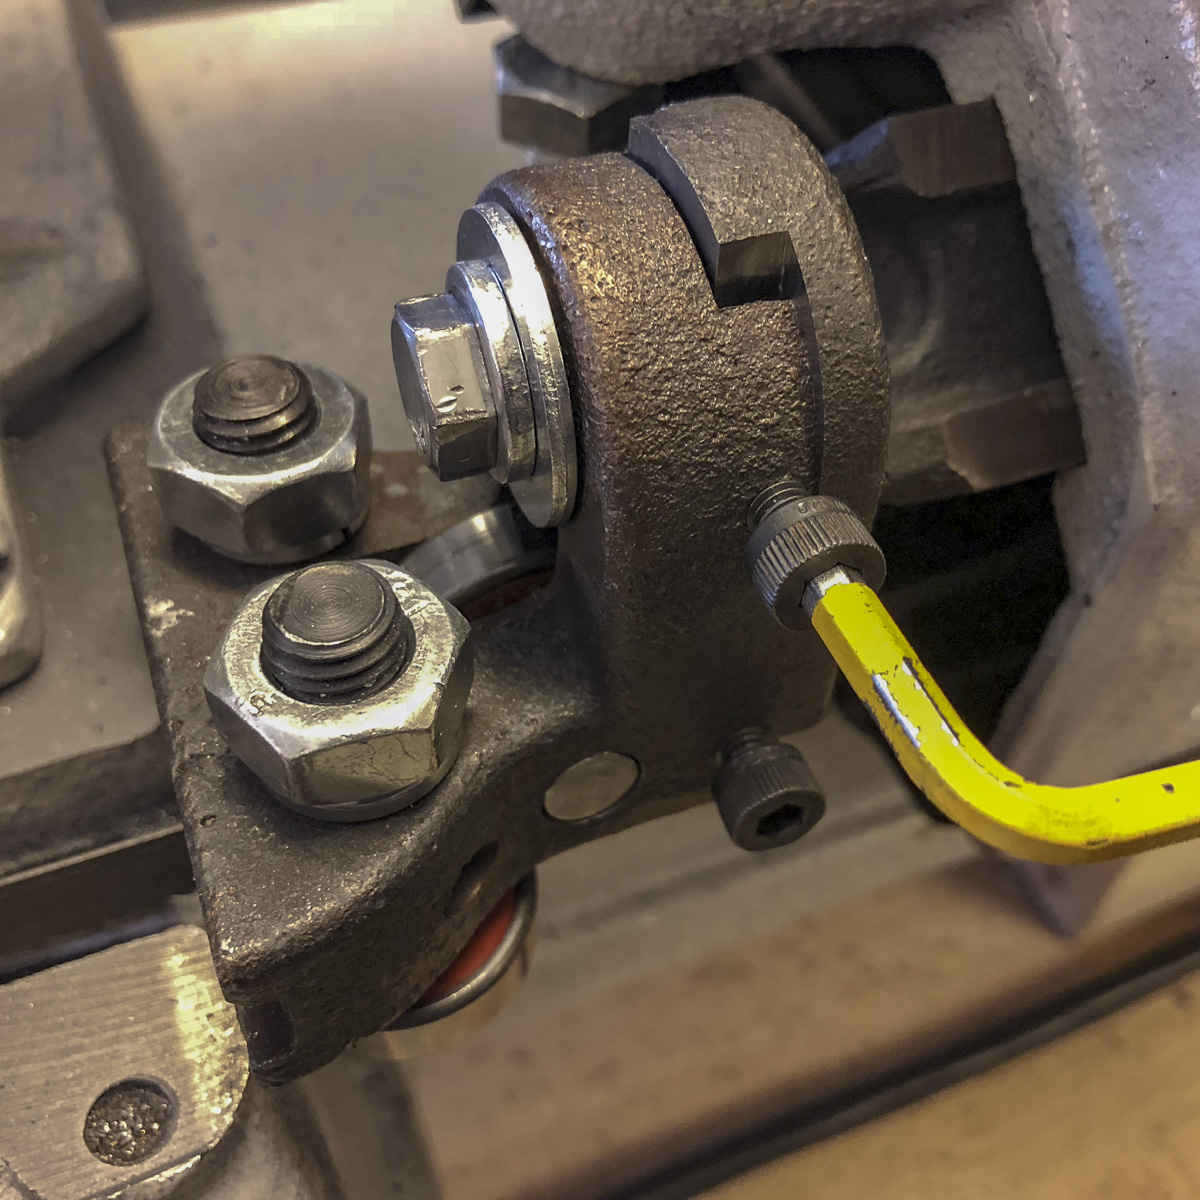
The parts were milled about 5.5 mm down on the sides – making space for some M5-threads and offering contact points for the setscrews. Setting this part back, some clearance for the height limiting wheel is needed. I took about 3 mm – you can see this recess in the middle of the part.
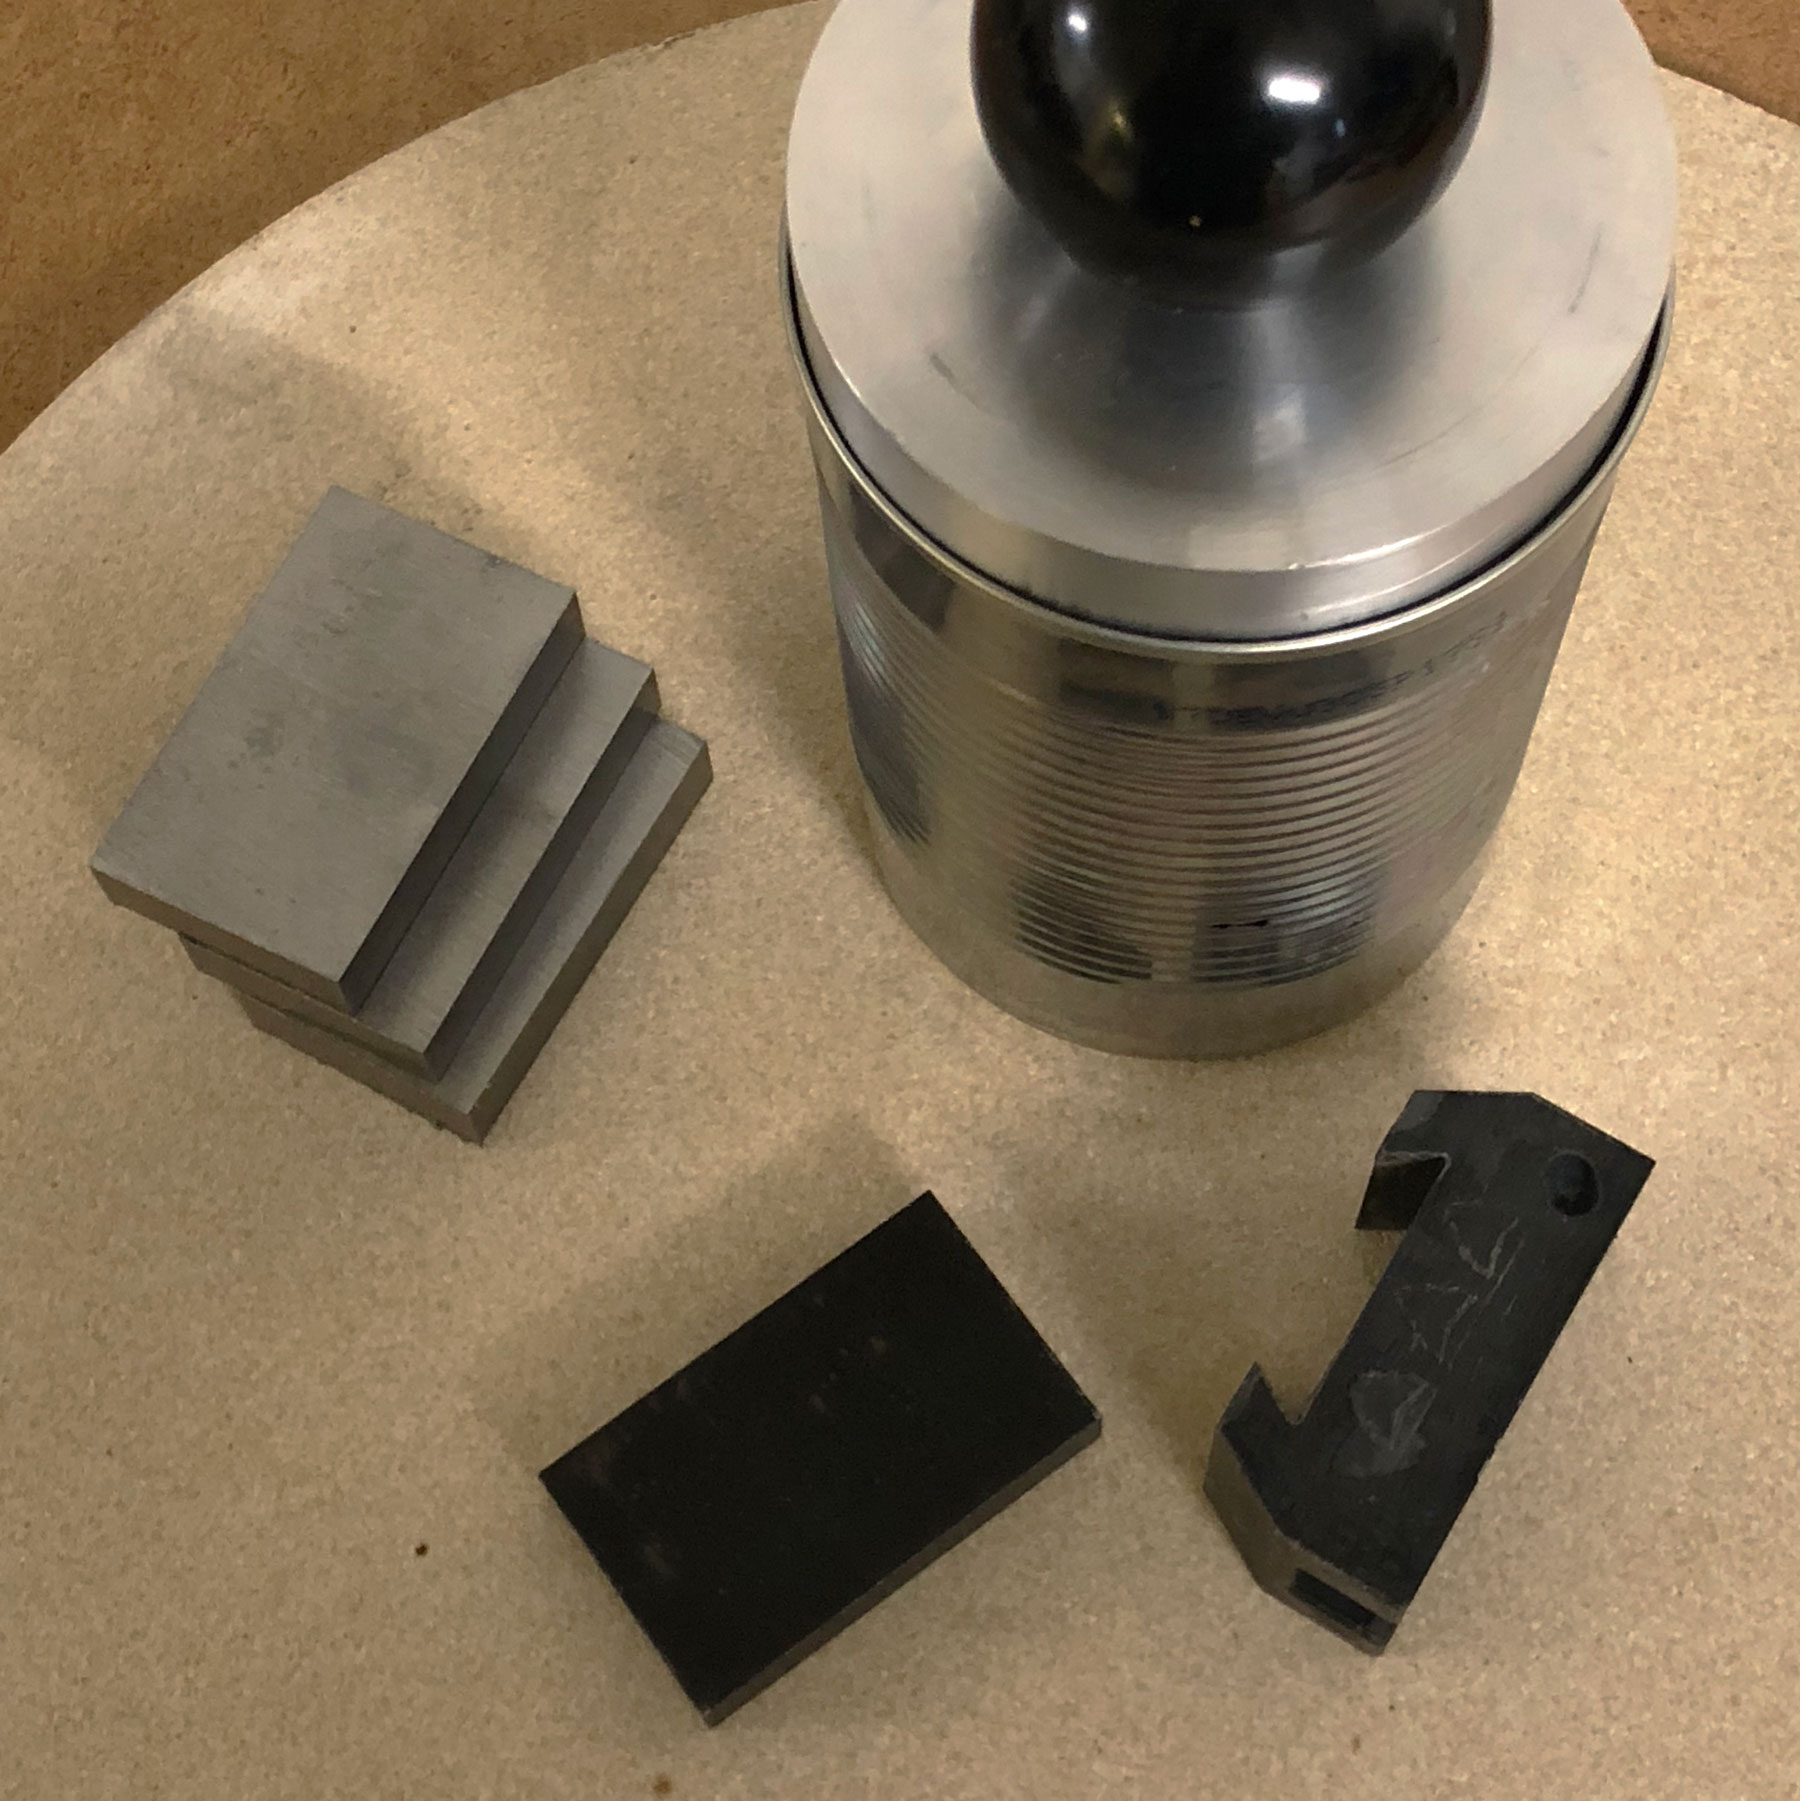
I used some vee blocks to clamp the angled parts down. Don’t worry: those angles are far away from 45°, but this doesn’t matter to the later purpose. The other parts were clamped on the precision tool vice using a ball and some brass shim stock (similar setup as you probably would use to square up stock).
Beneath the usual mess with cast iron, it turned out well. This mod is really a great simplification of the setup process. It speeds it up and makes it really more precise. I really recommend this one!
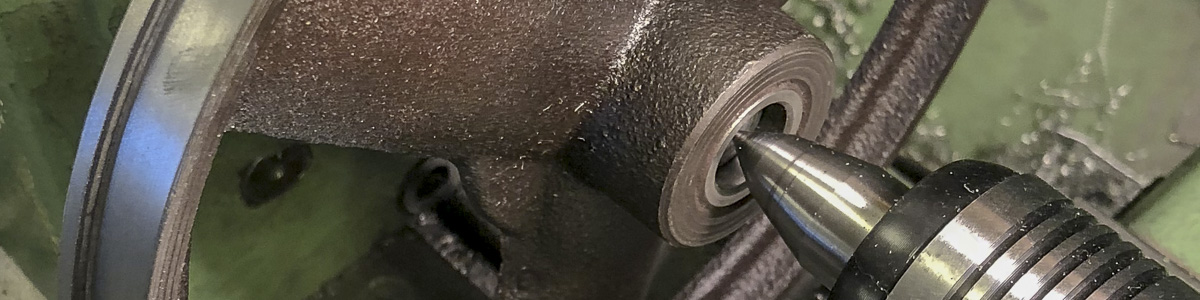
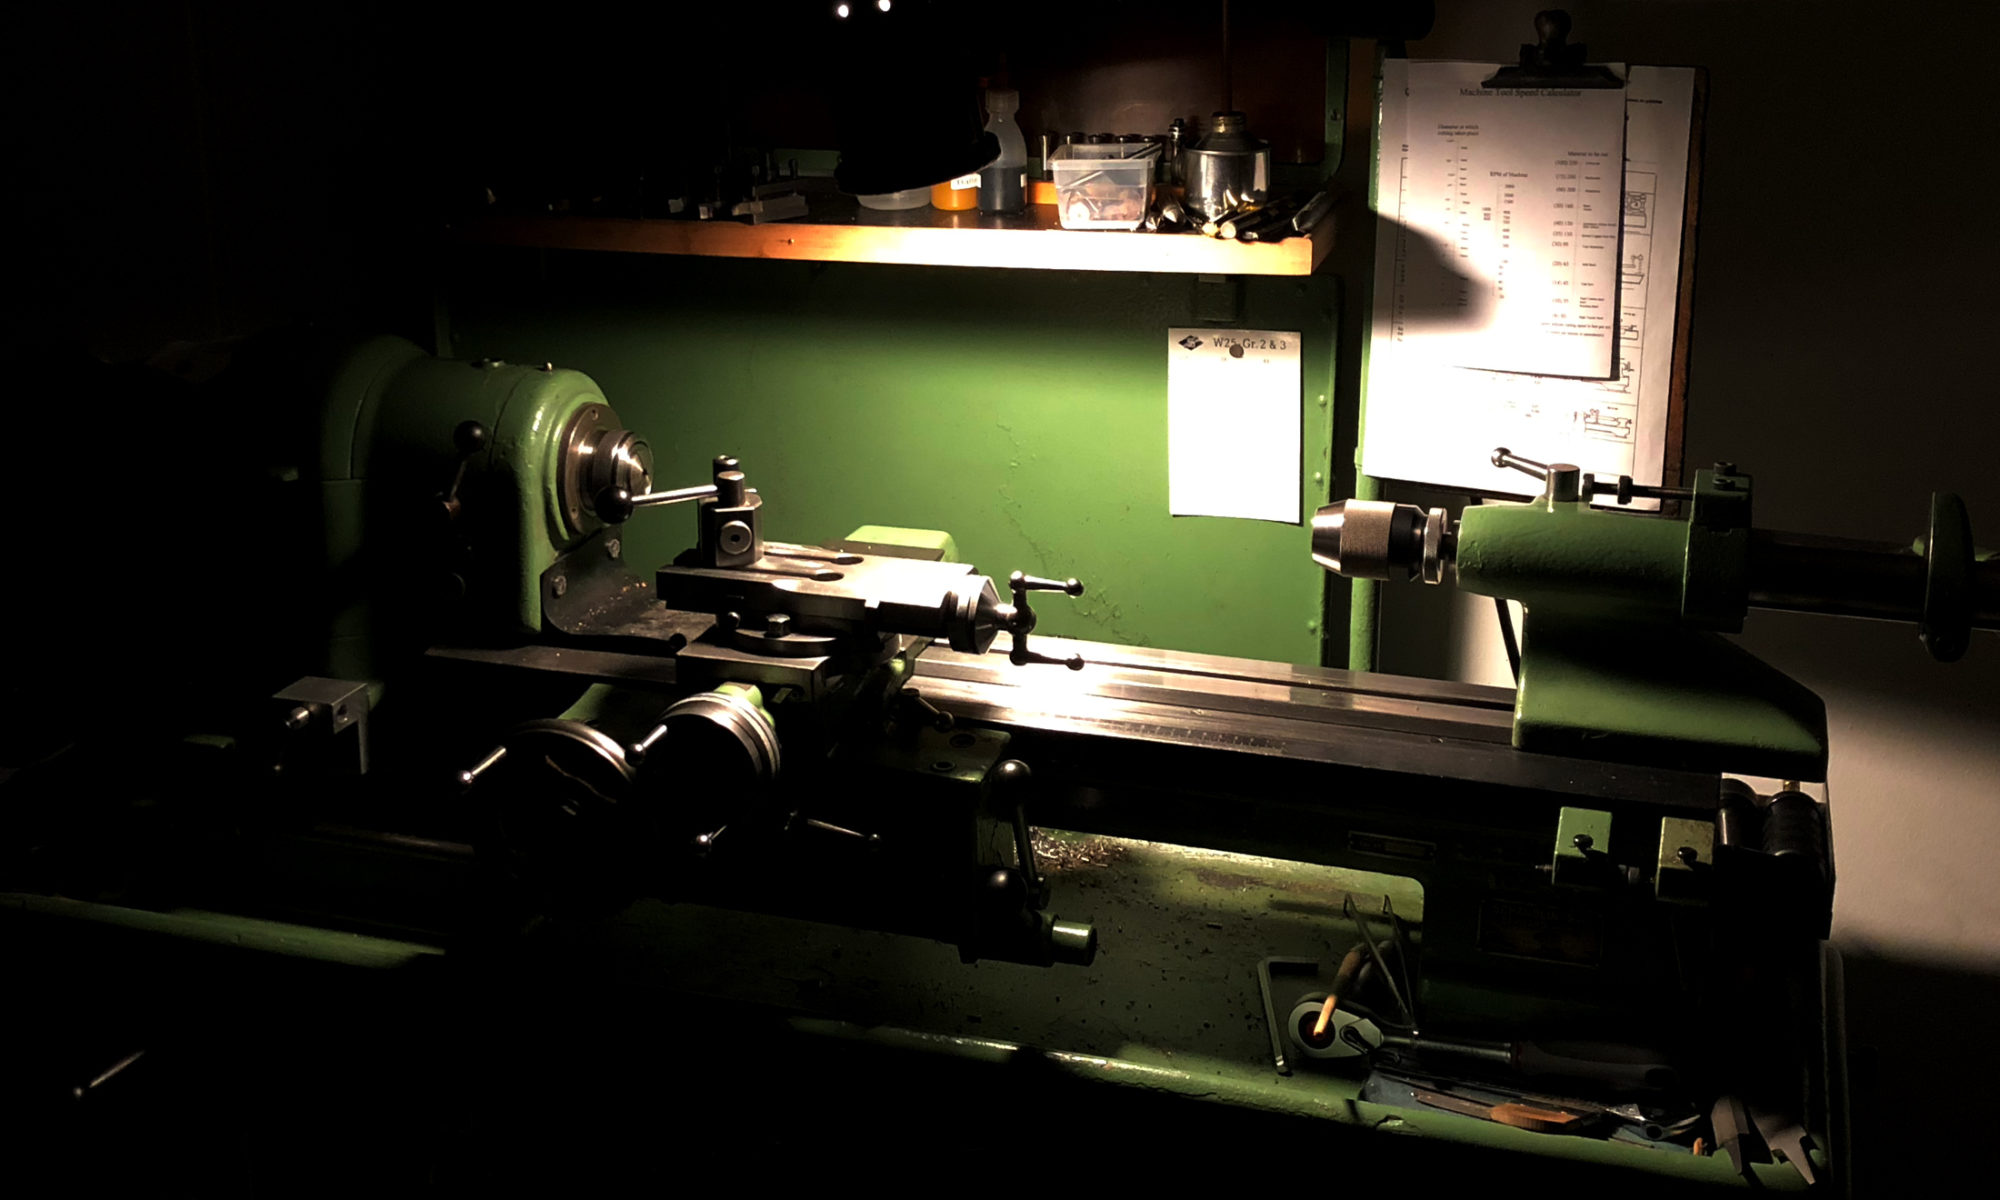
First step: checking out, if the wheel fits the lathe 😛 This bandsaw did a great job for about two years now, and if the wheels couldn’t be trued up on the lathe, I would have kept the things as they were. As you see on the image, it worked!
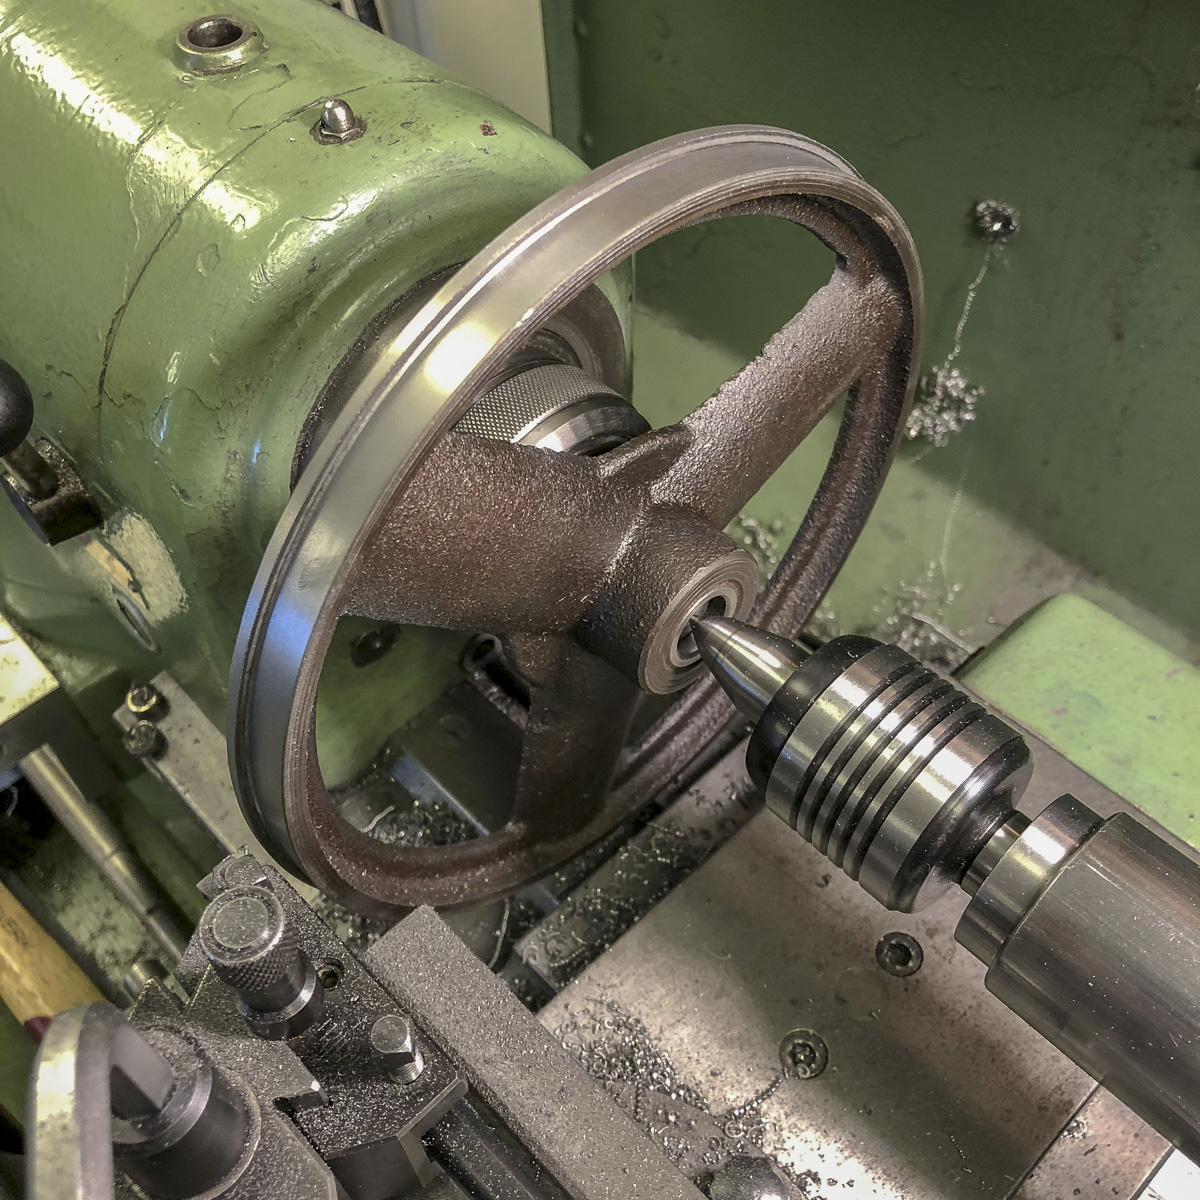

Measuring the upper and lower wheels resulted in a light offset of the whole surface. Not that much, but as the wheel was on the lathe, this was a short thing to fix.
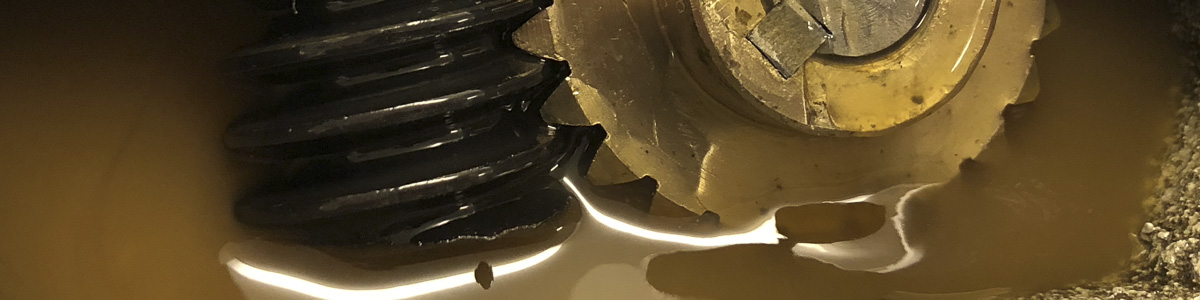
Inside the gearbox, everything looked nice: no worn gears, just a tiny amount of play. I did open this already as I received the machine. Yep, with the whole mess of oil pouring out – so if you didn’t open it yet, be prepared and have some rags on hand.

Probably this was the cause of screwing this lid that much down, that I completely thinned the gasket. Well then: a new gasket with some scrap 1 mm rubber plate is done fast – and don’t forget not to overthighten the lid. I need to confess not beeing aware of the different oils and lubrication possibilities – I believe what’s indicated on the label. So far, it worked for me…
As I got some scrap rubber of cutting the gasket, I laid some underneath the junctions of the sheet metal box containing the belt and the pulley gears and the top of the cast iron arm. This really reduced the noise of this resonance box!
| Mat. No. | DIN | EN | AISI | Type |
|---|---|---|---|---|
| 1.0570 | S355J2+C | ST52-3K |
1024
|
Structural grade carbon steel |
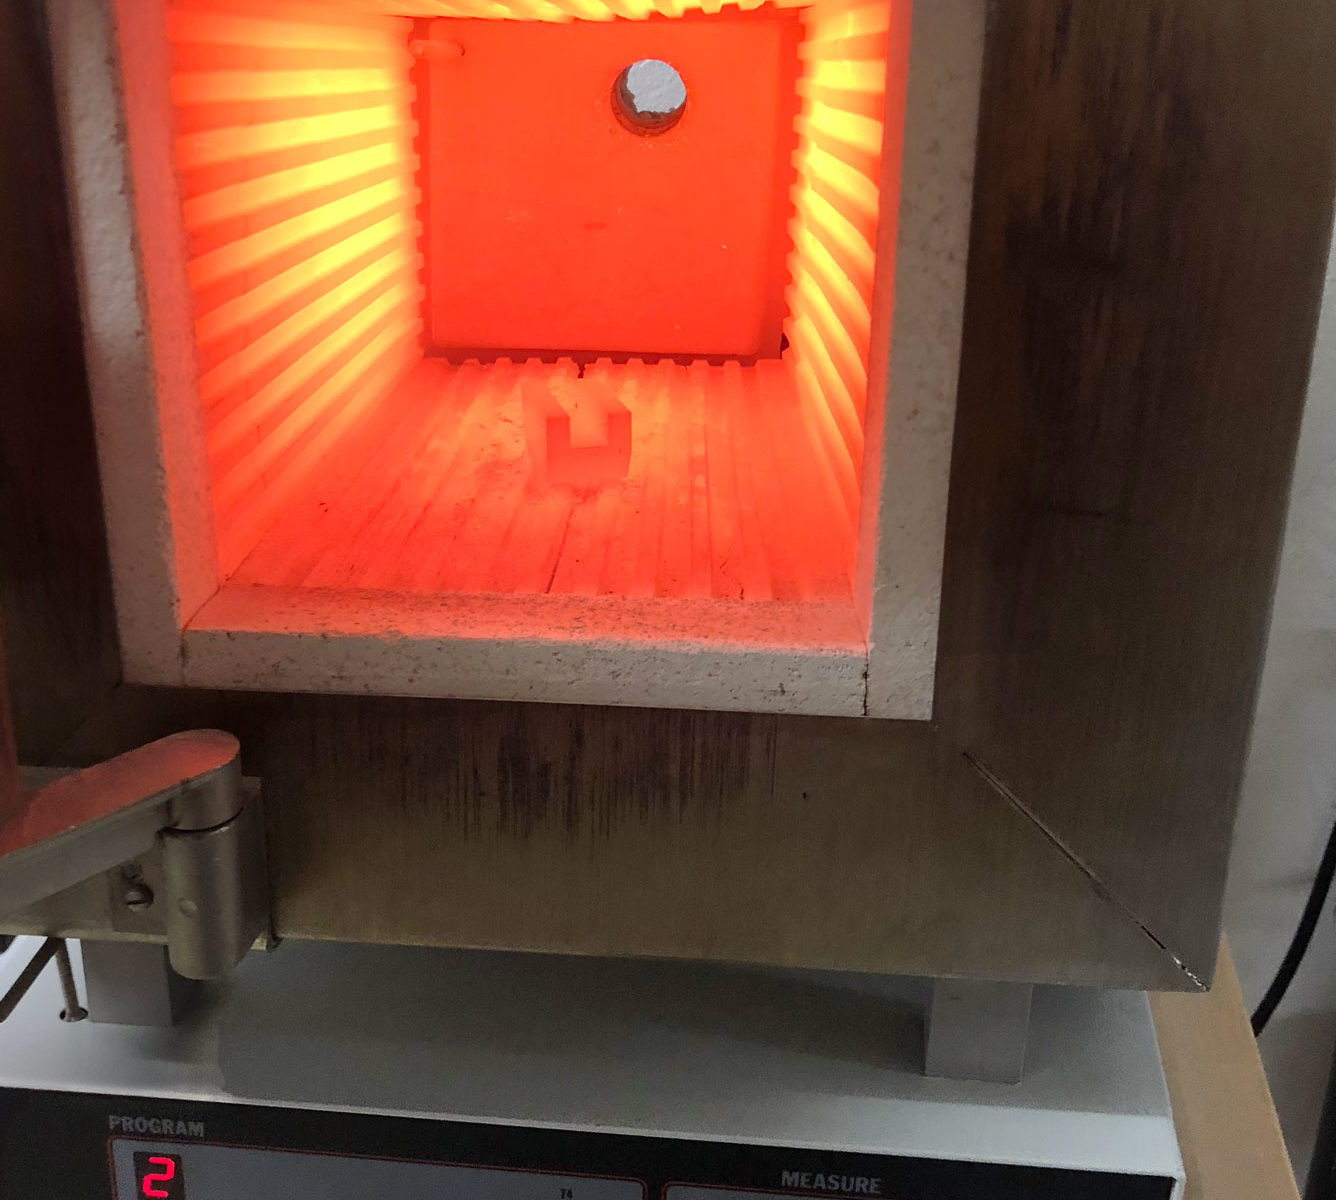
This low carbon steel is not the best material to test the hardening capabilities of the furnace. Therefore I tried to make some heat treatment tests.
The first part (in the oven on the featured image) was an Tripan toolholder which was messed up. This item was heated up to something about 900°C and quenched in tap water. The result is not that uniform as on the second test.
The second part is the first of a row (the raw pieces can be seen on the left). This one was heated to about 600° C and quenched in oil. It went to a nice dark colour…