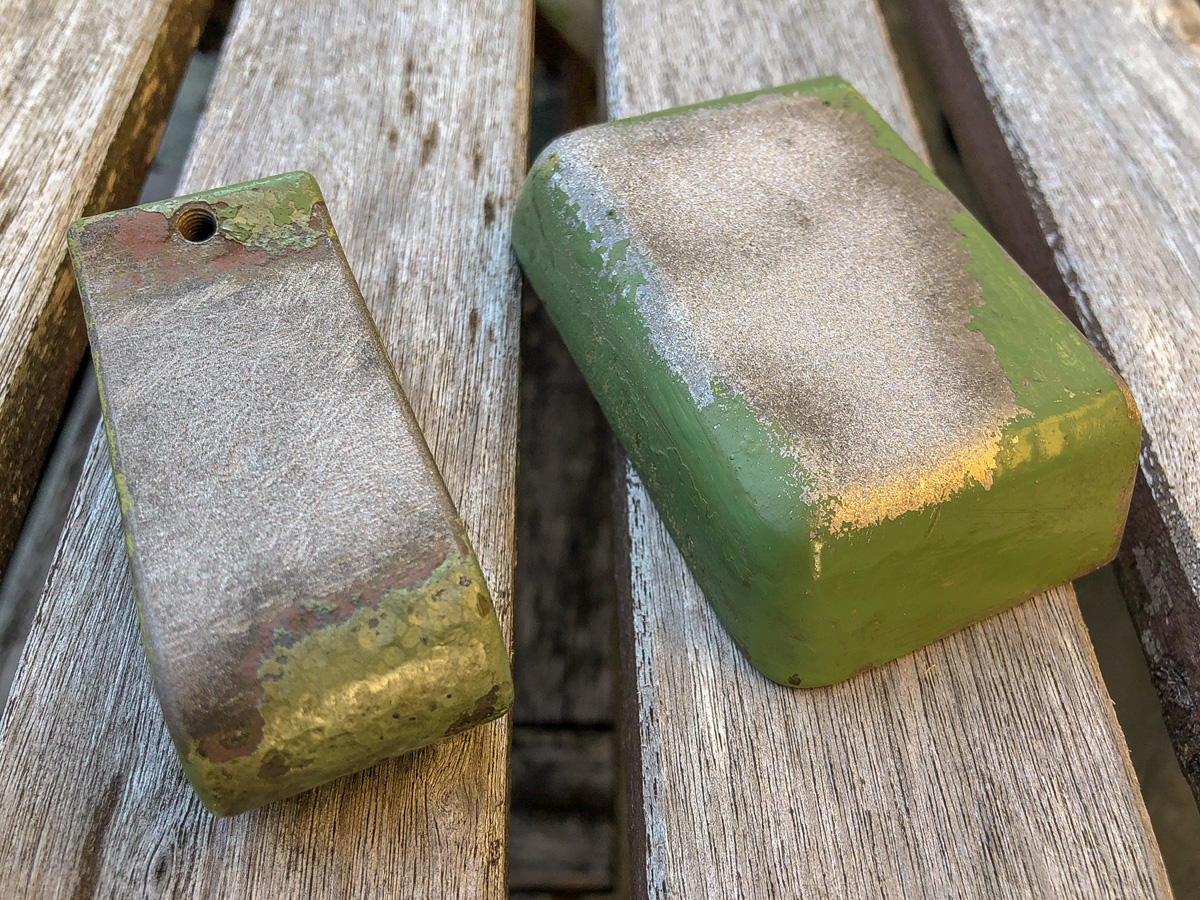
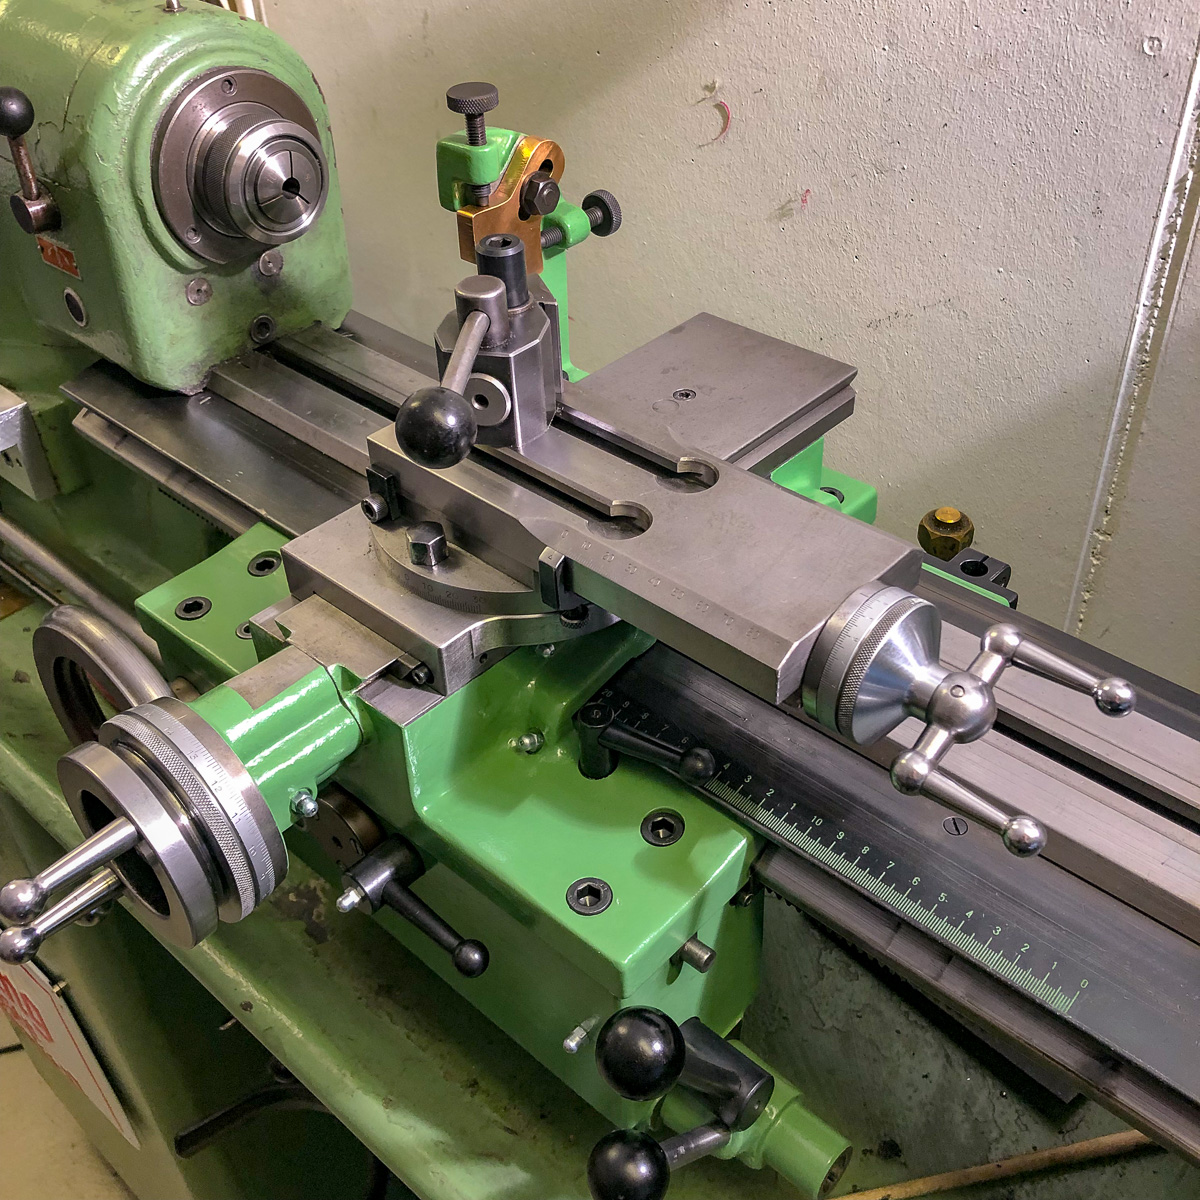
Some parts of the Schaublin were overhauled in a way, that doesn’t accomodate my style of work. The parts were overpainted without being taken apart – most of them «freehand» without masking or something alike. Moreover, the wrong paint was used: it began to blob and to sliver apart…


Dismantling
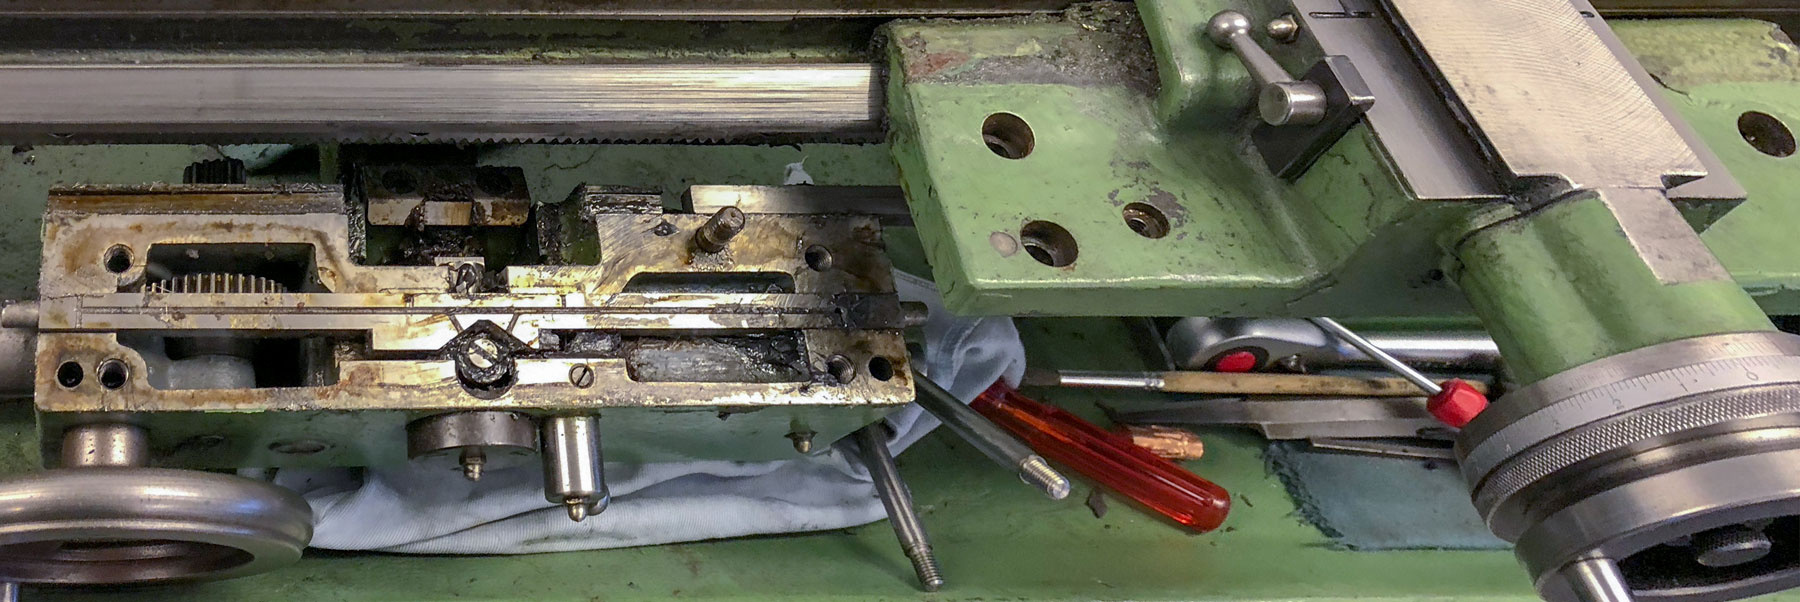
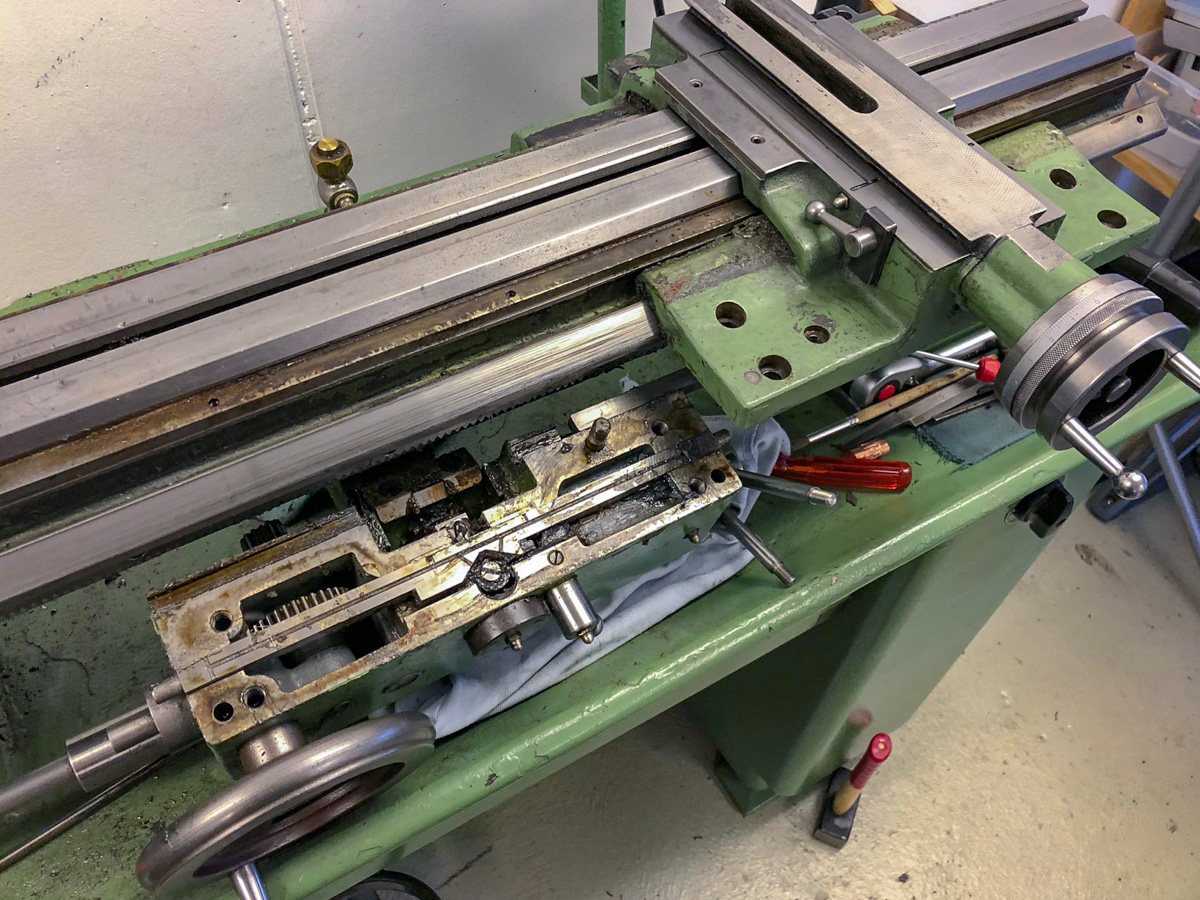
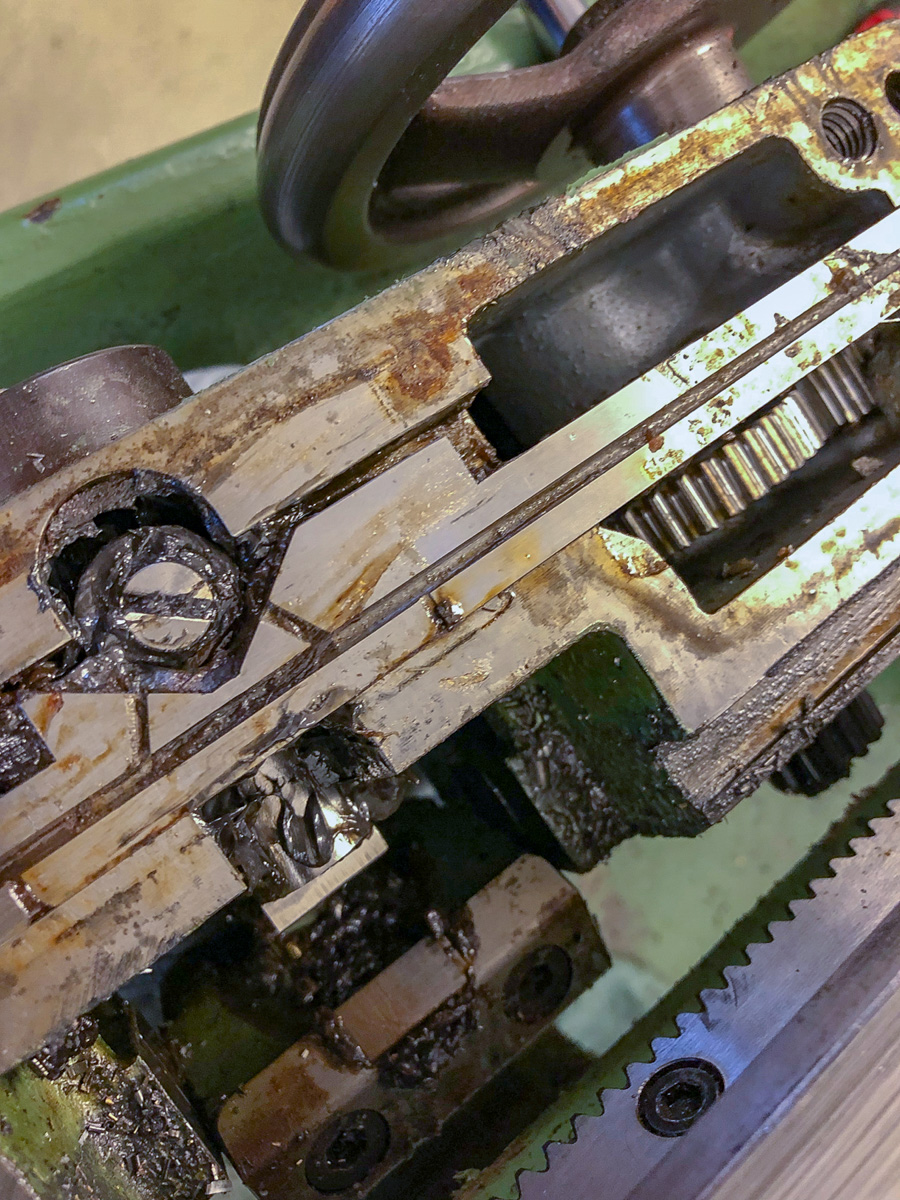
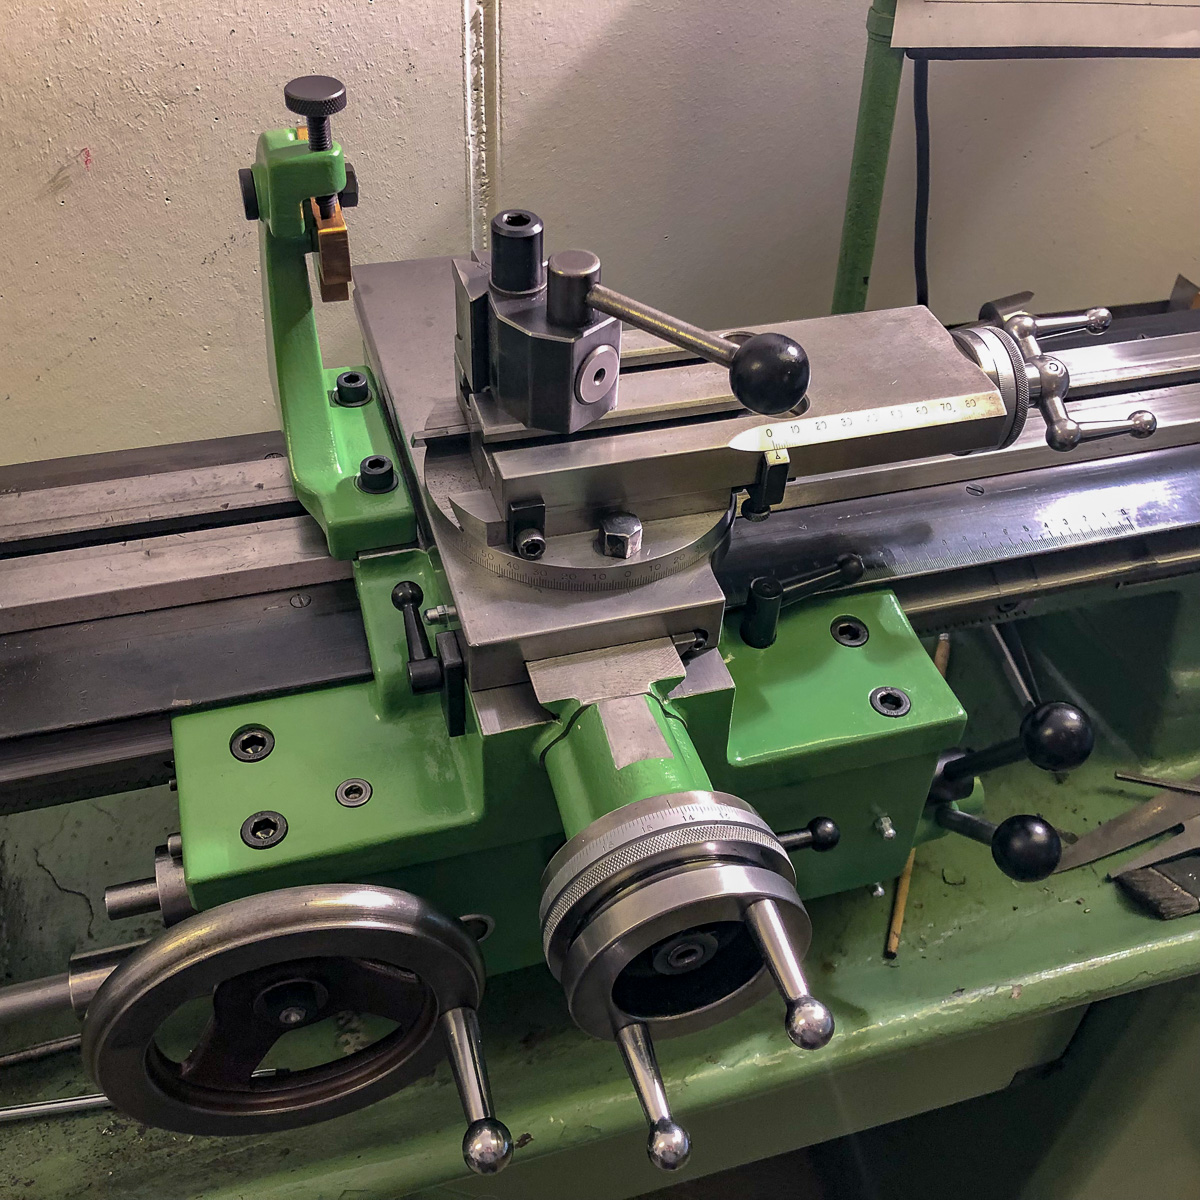
The apron was tricky to disassemble. Probably, this was the first time for years, that someone did that. Perhaps it was even a premiere, that every detailed part was disassembled and cleaned – some parts revealed the original paint, others the «history» behind it.

Cleaning and inspecting
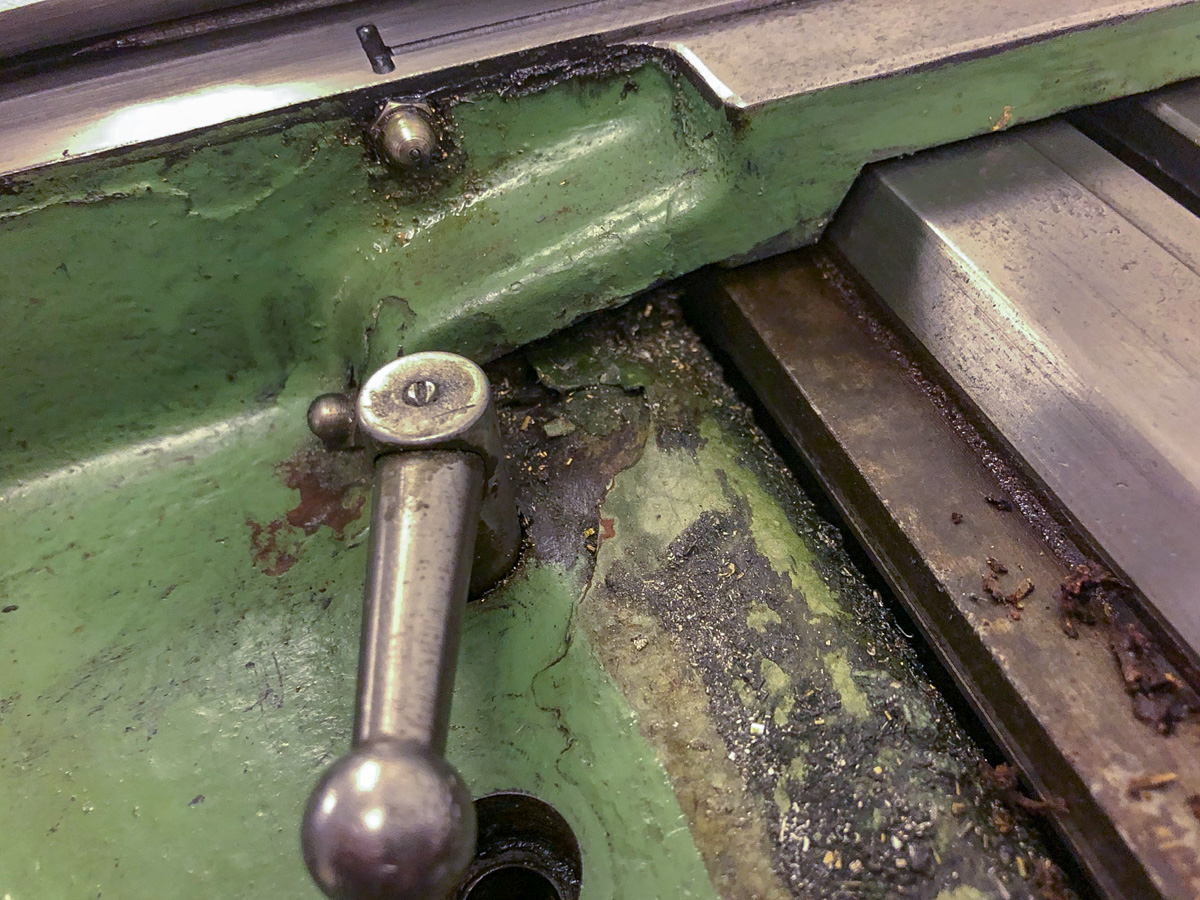
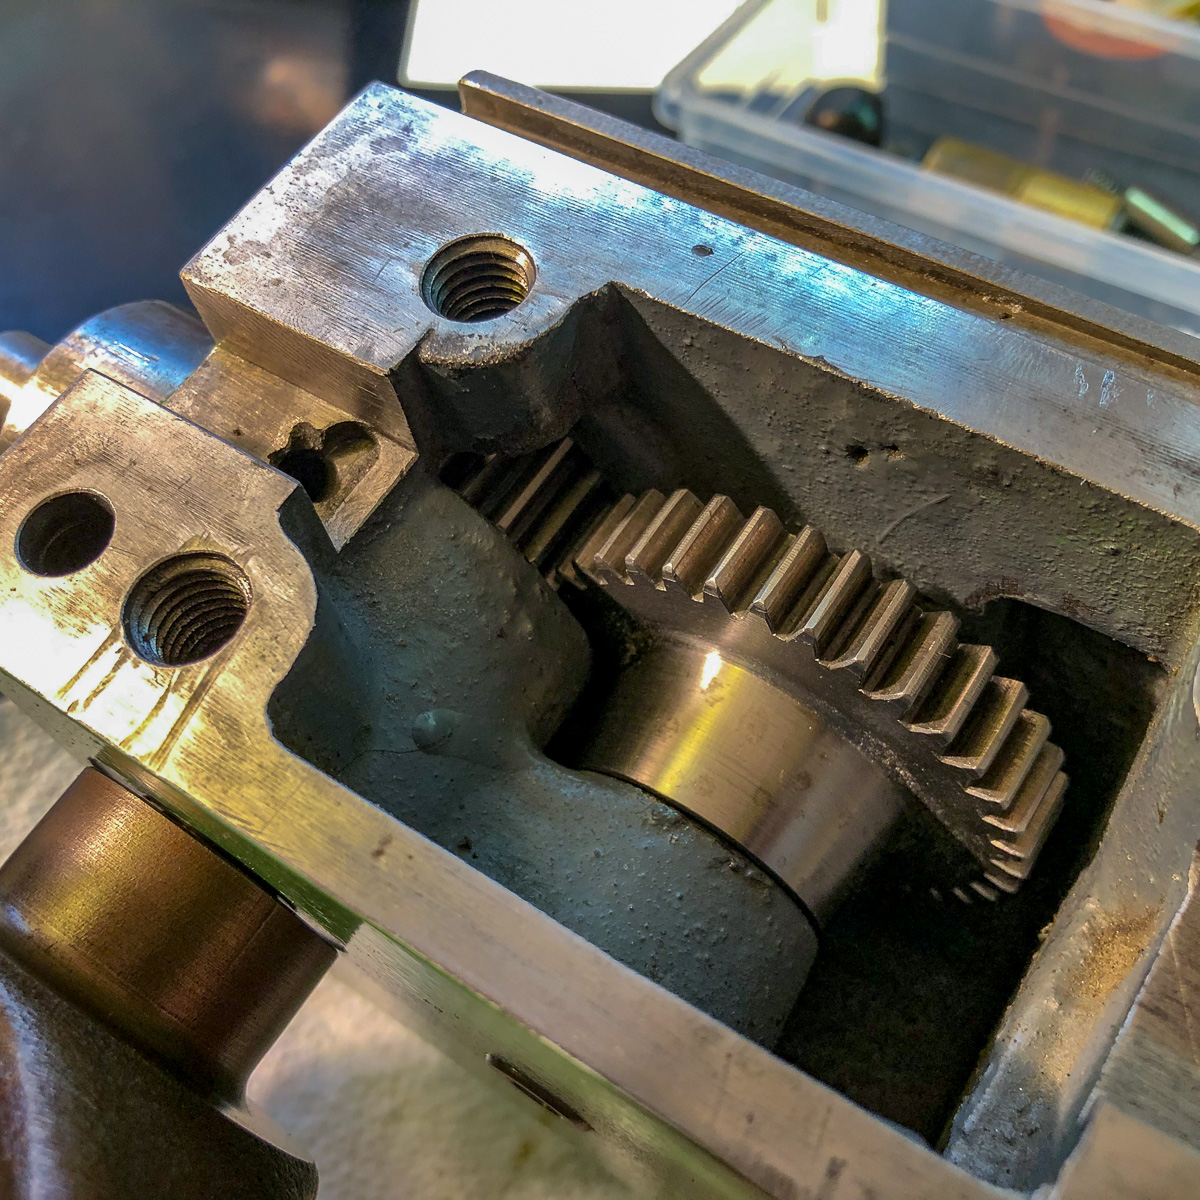
As you will see next, the inside of the machine wasn’t cleaned for years probably. But this mix of oil, grease, chips and dirt comes loose quite easy – yes, it’s a mess though. I’ll address the grease and oil chapter lather.


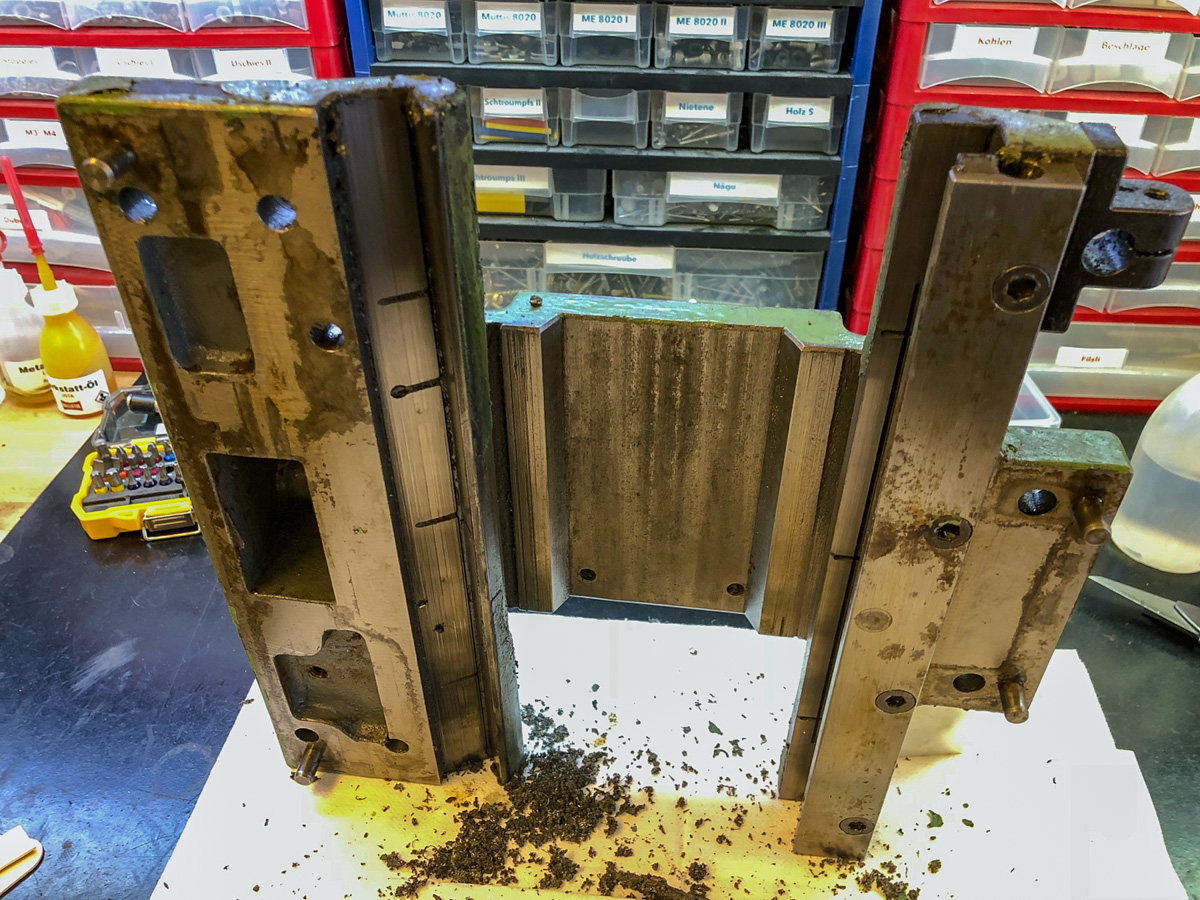
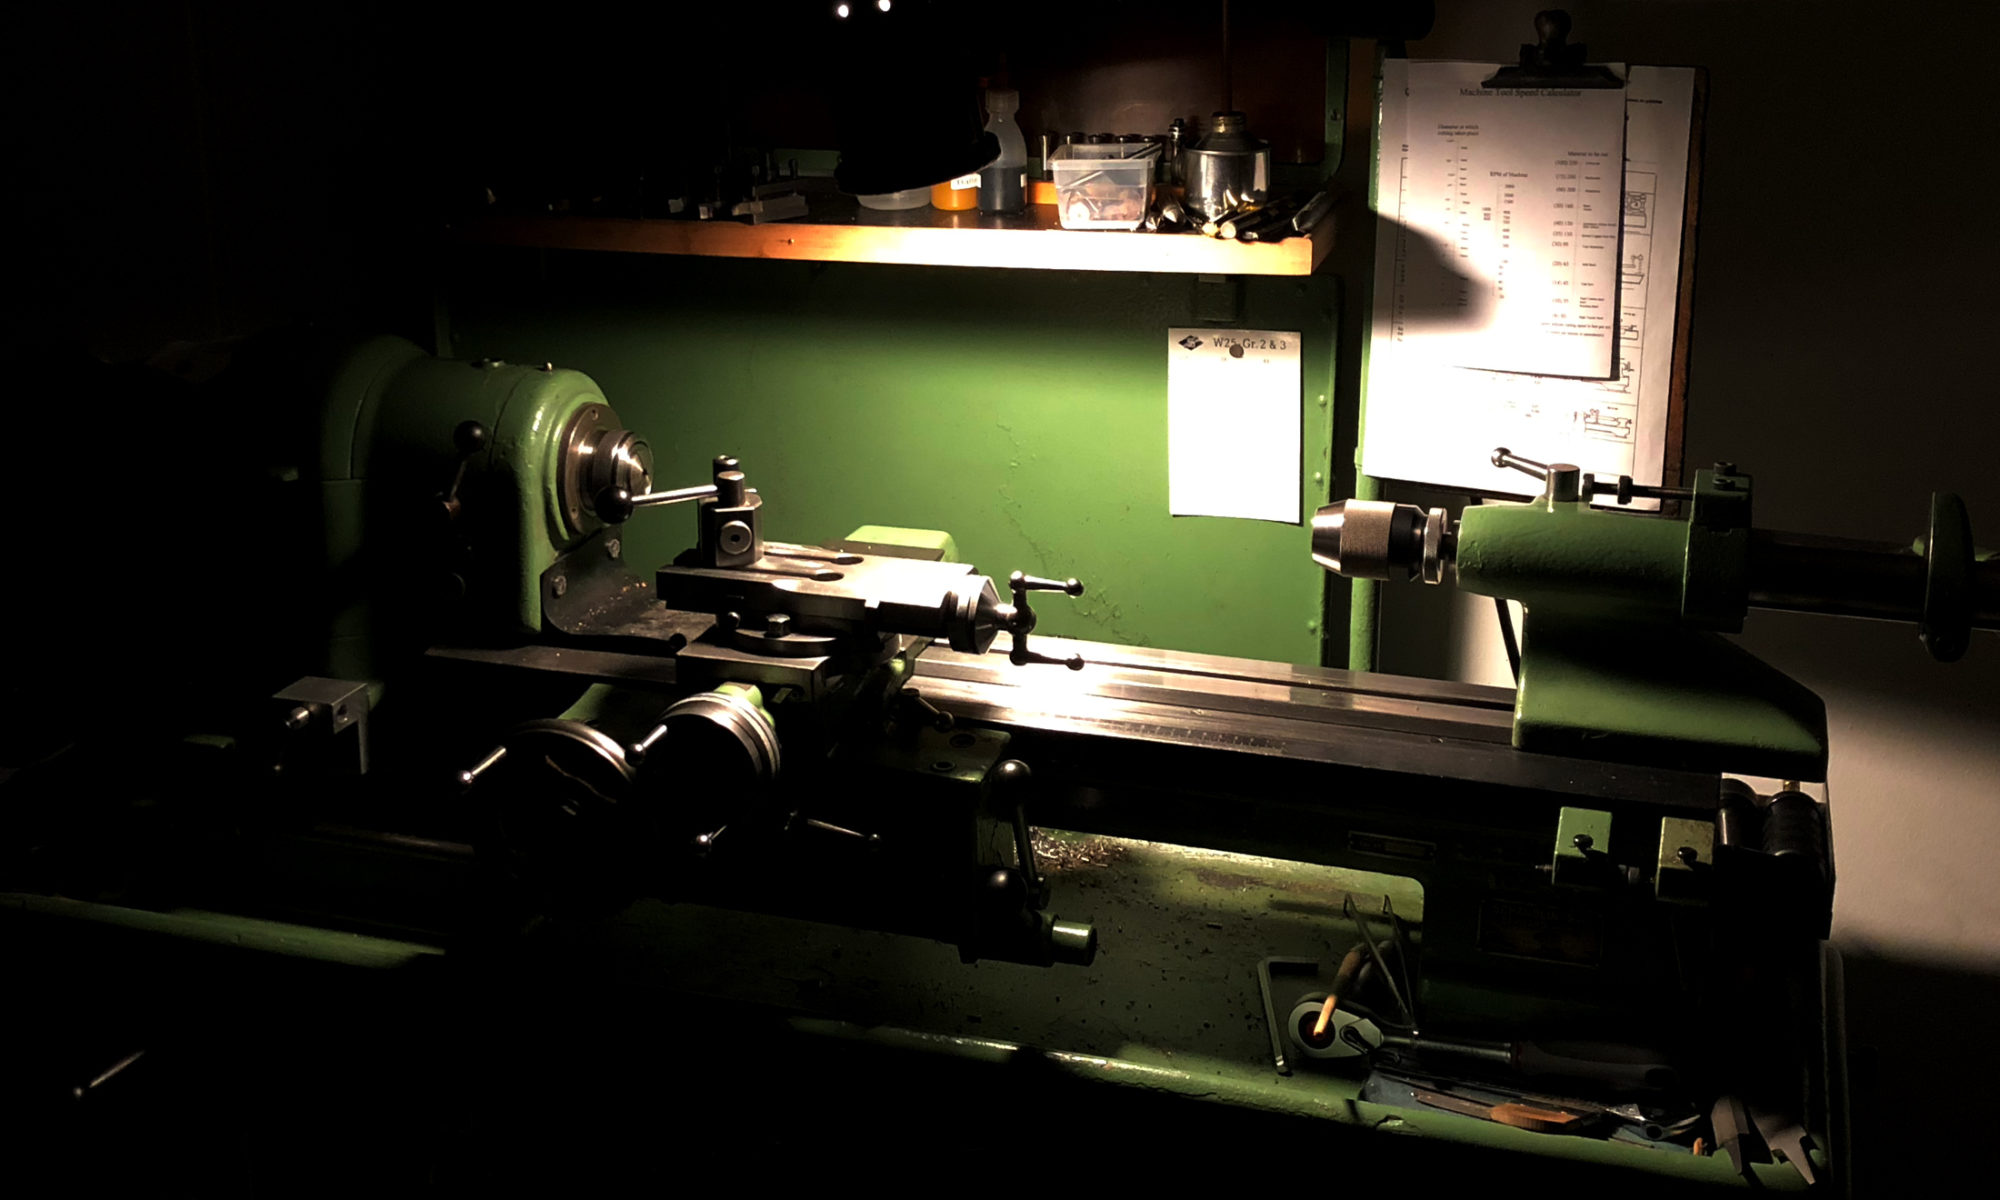
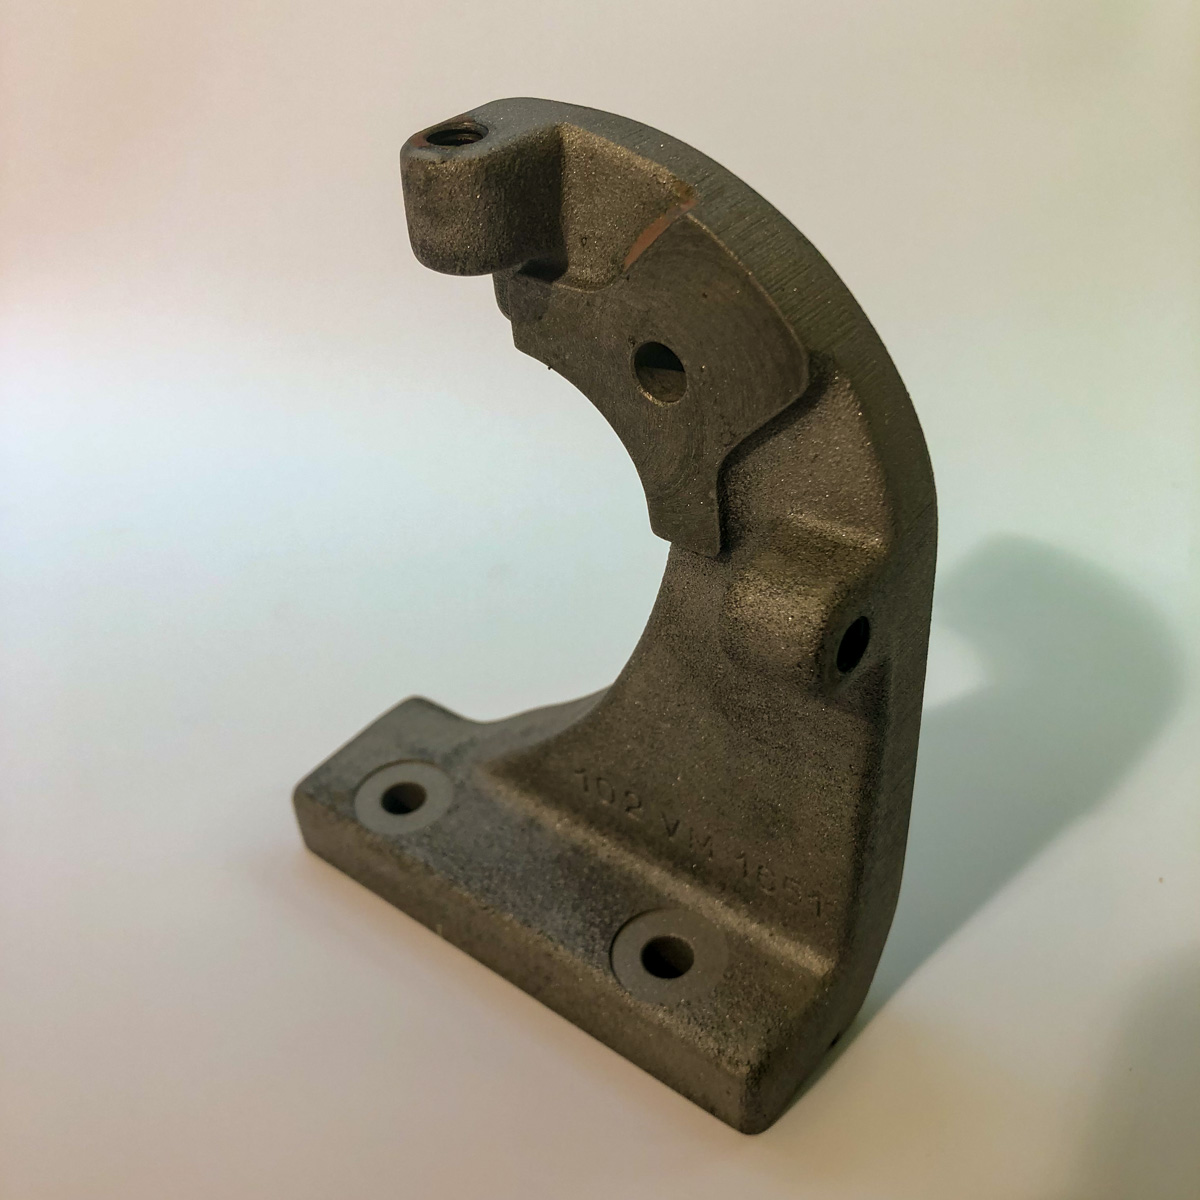
Underneath the mud, a beauty appeared! The craftsmanship of Schaublin is really a joy to have a look at – nothing compared to todays «chineasium machines» (to have AvE mentioned).
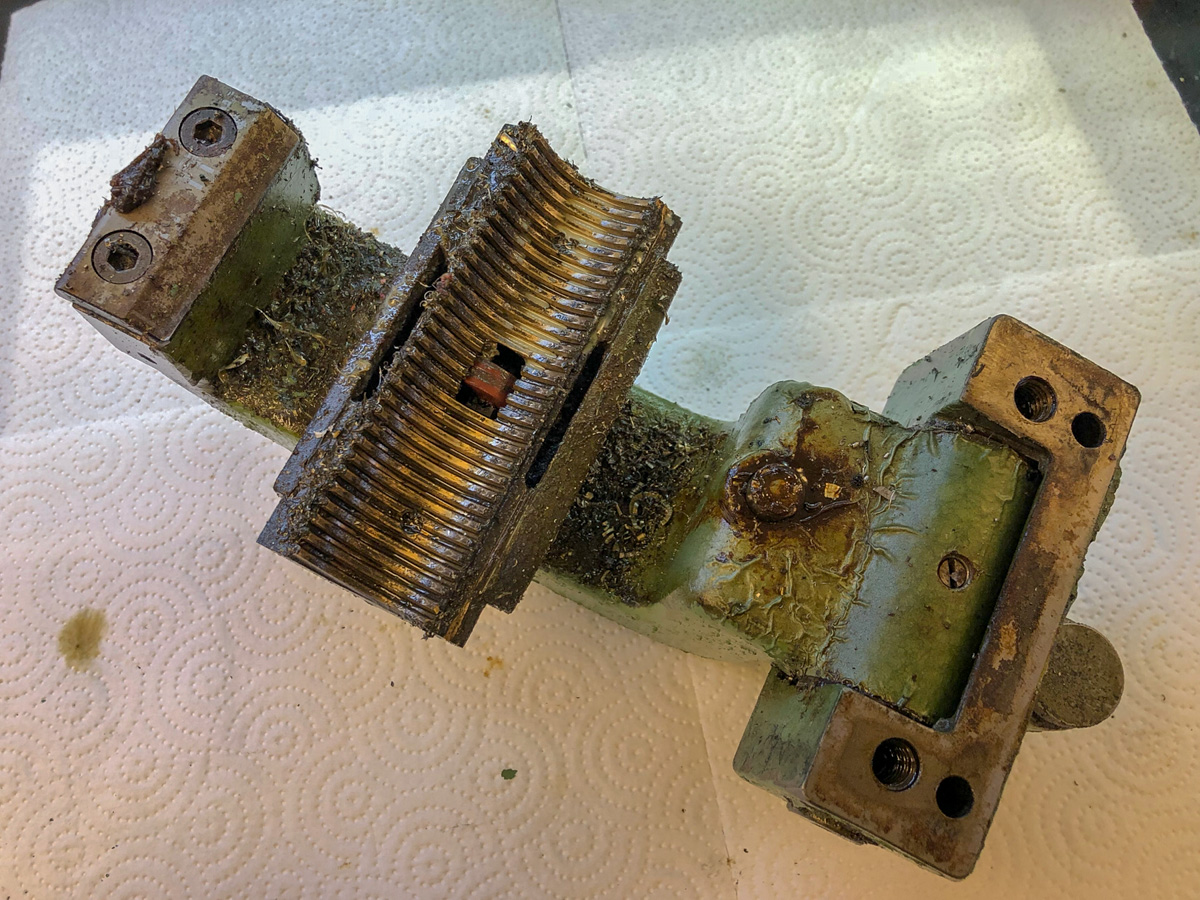
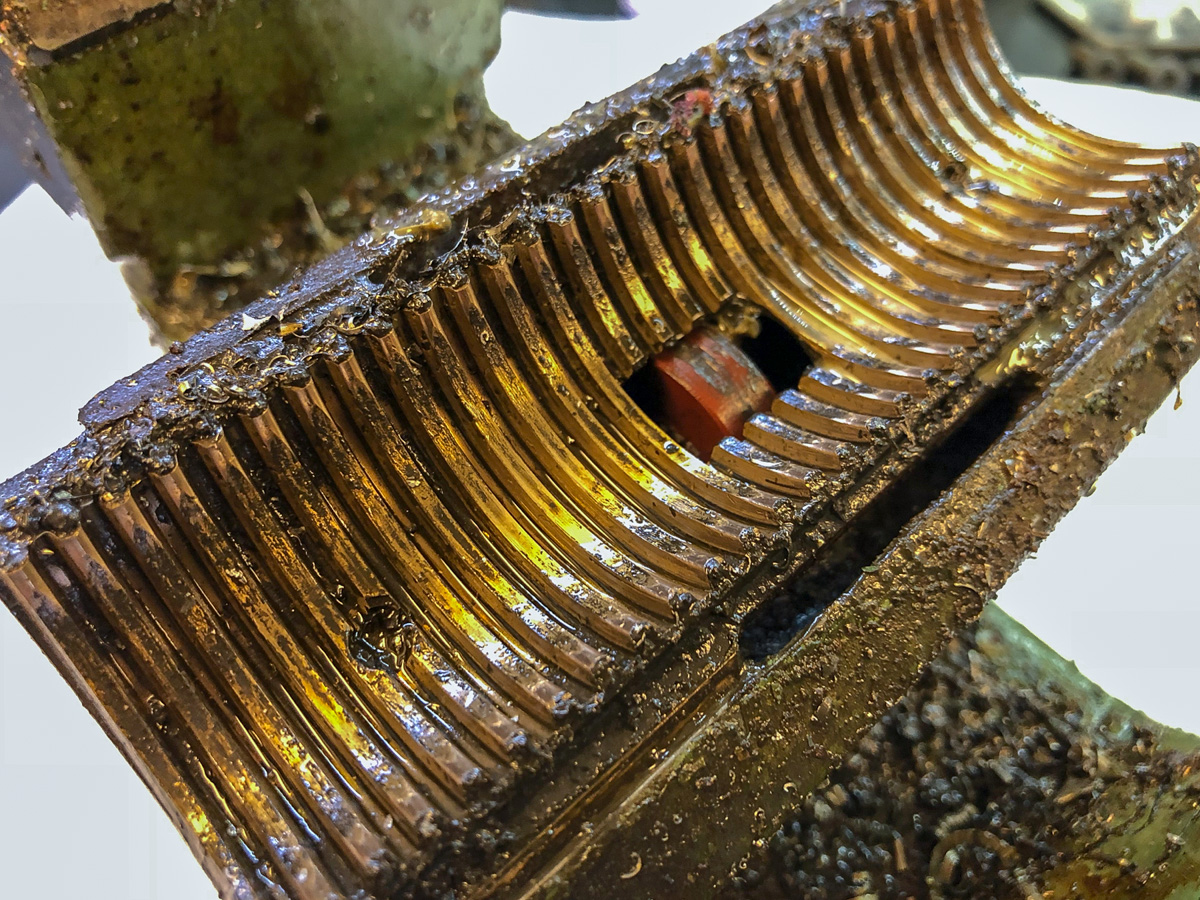
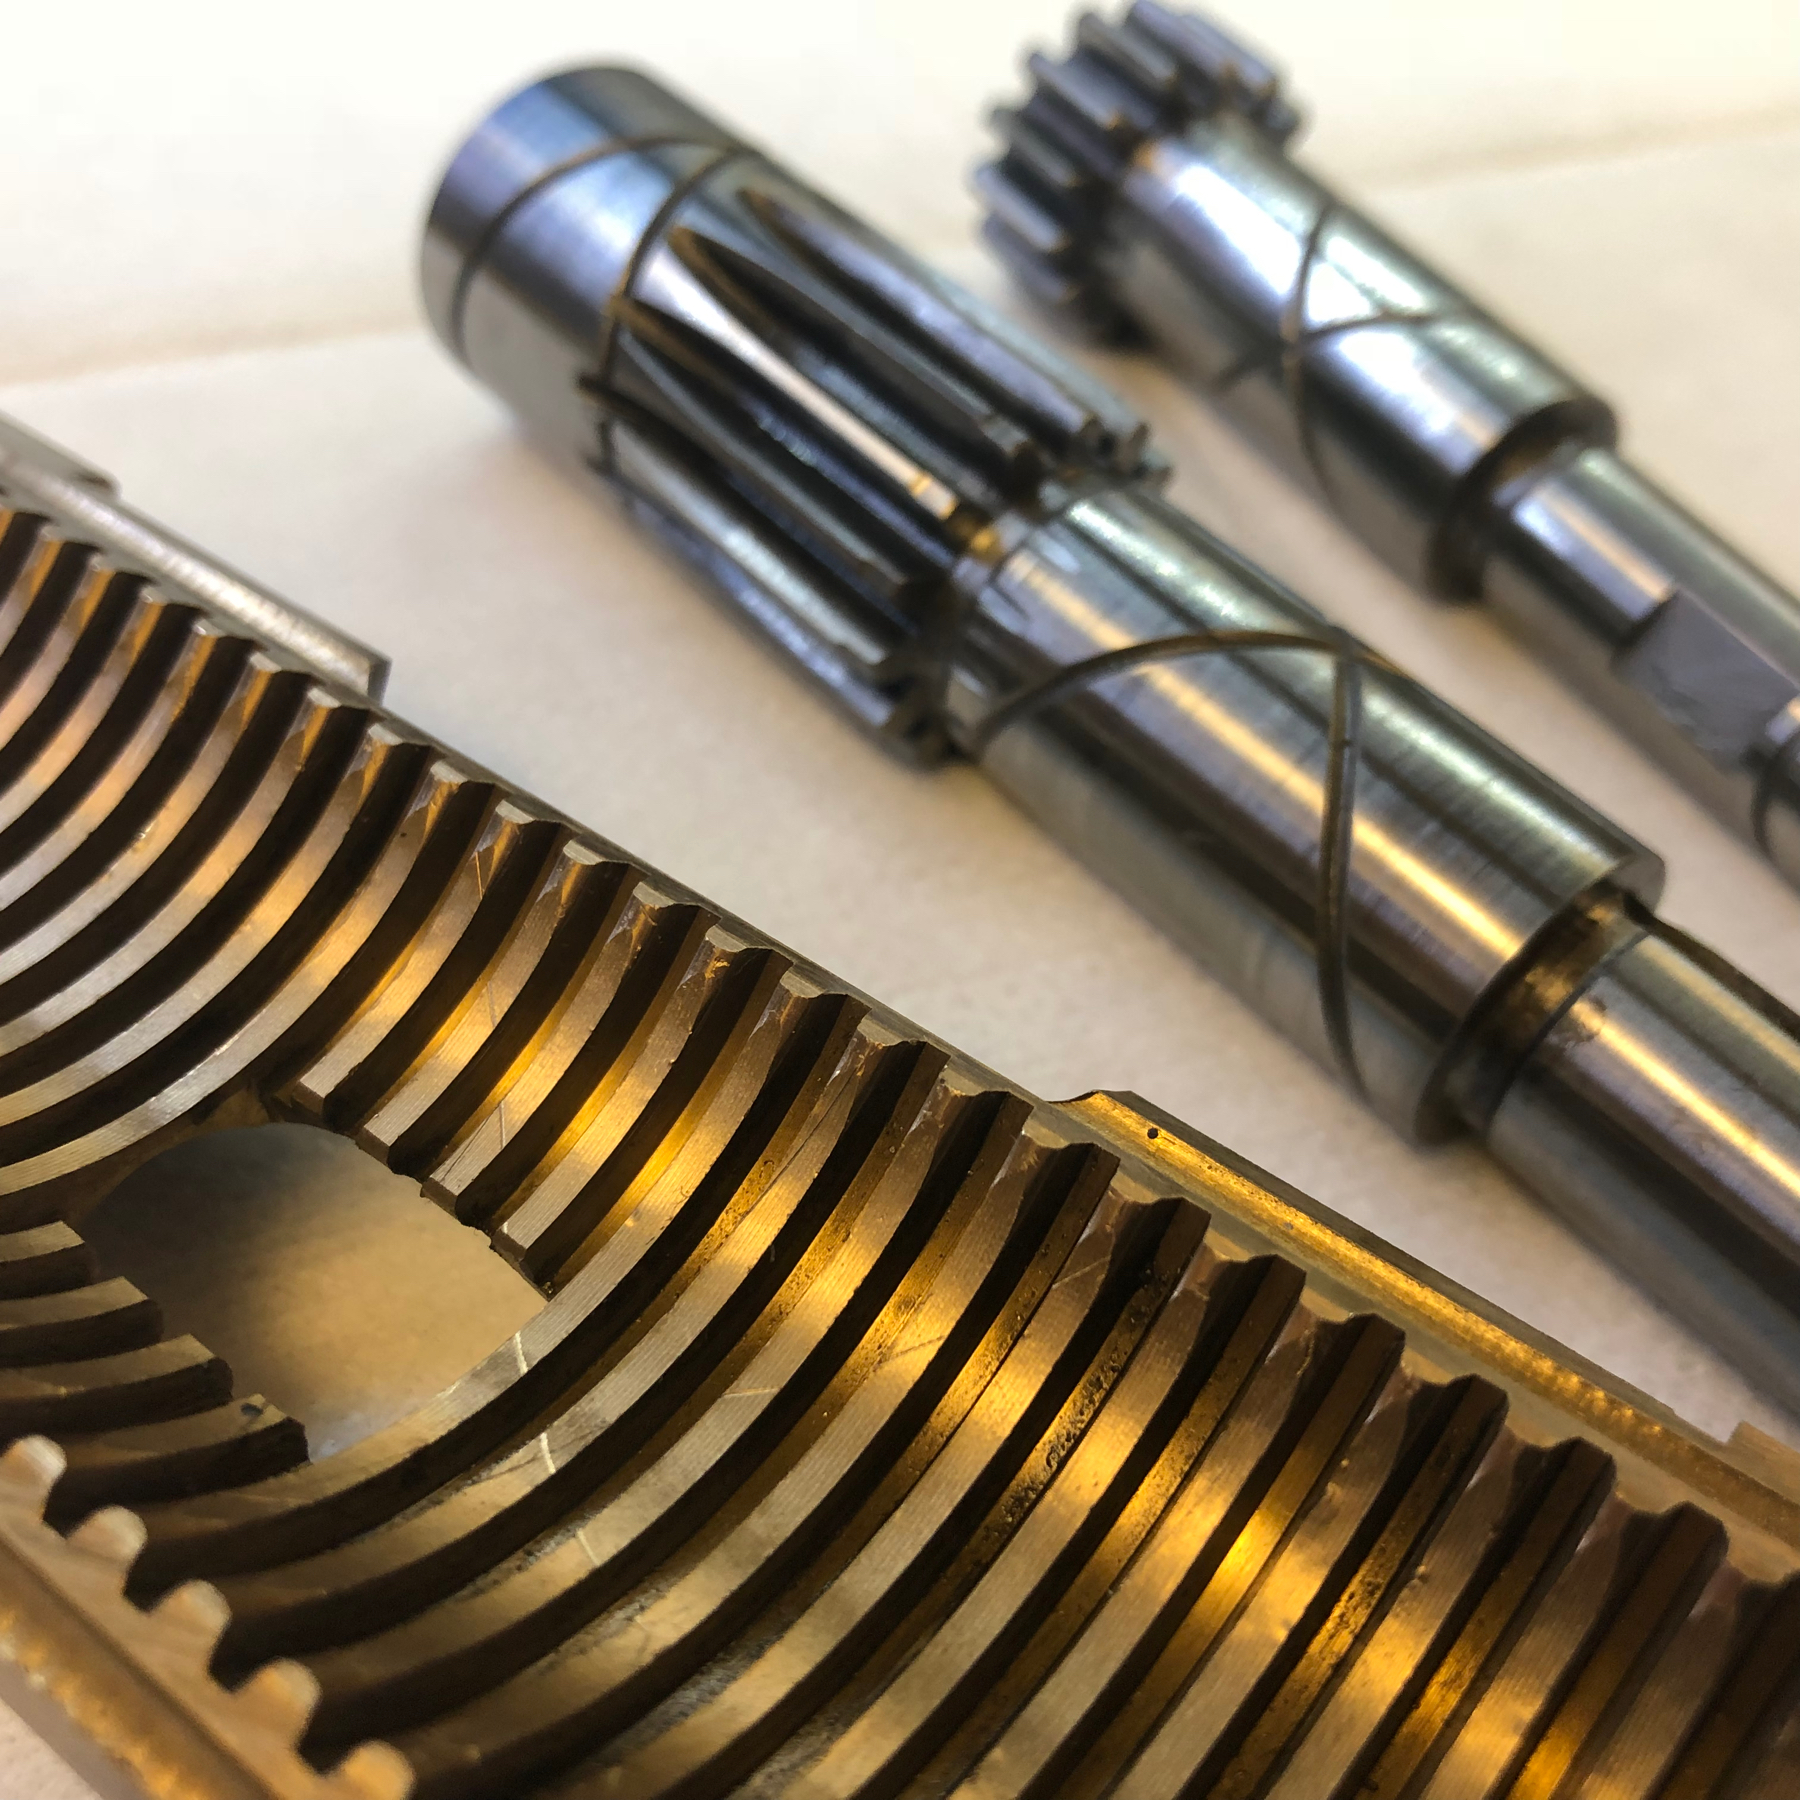
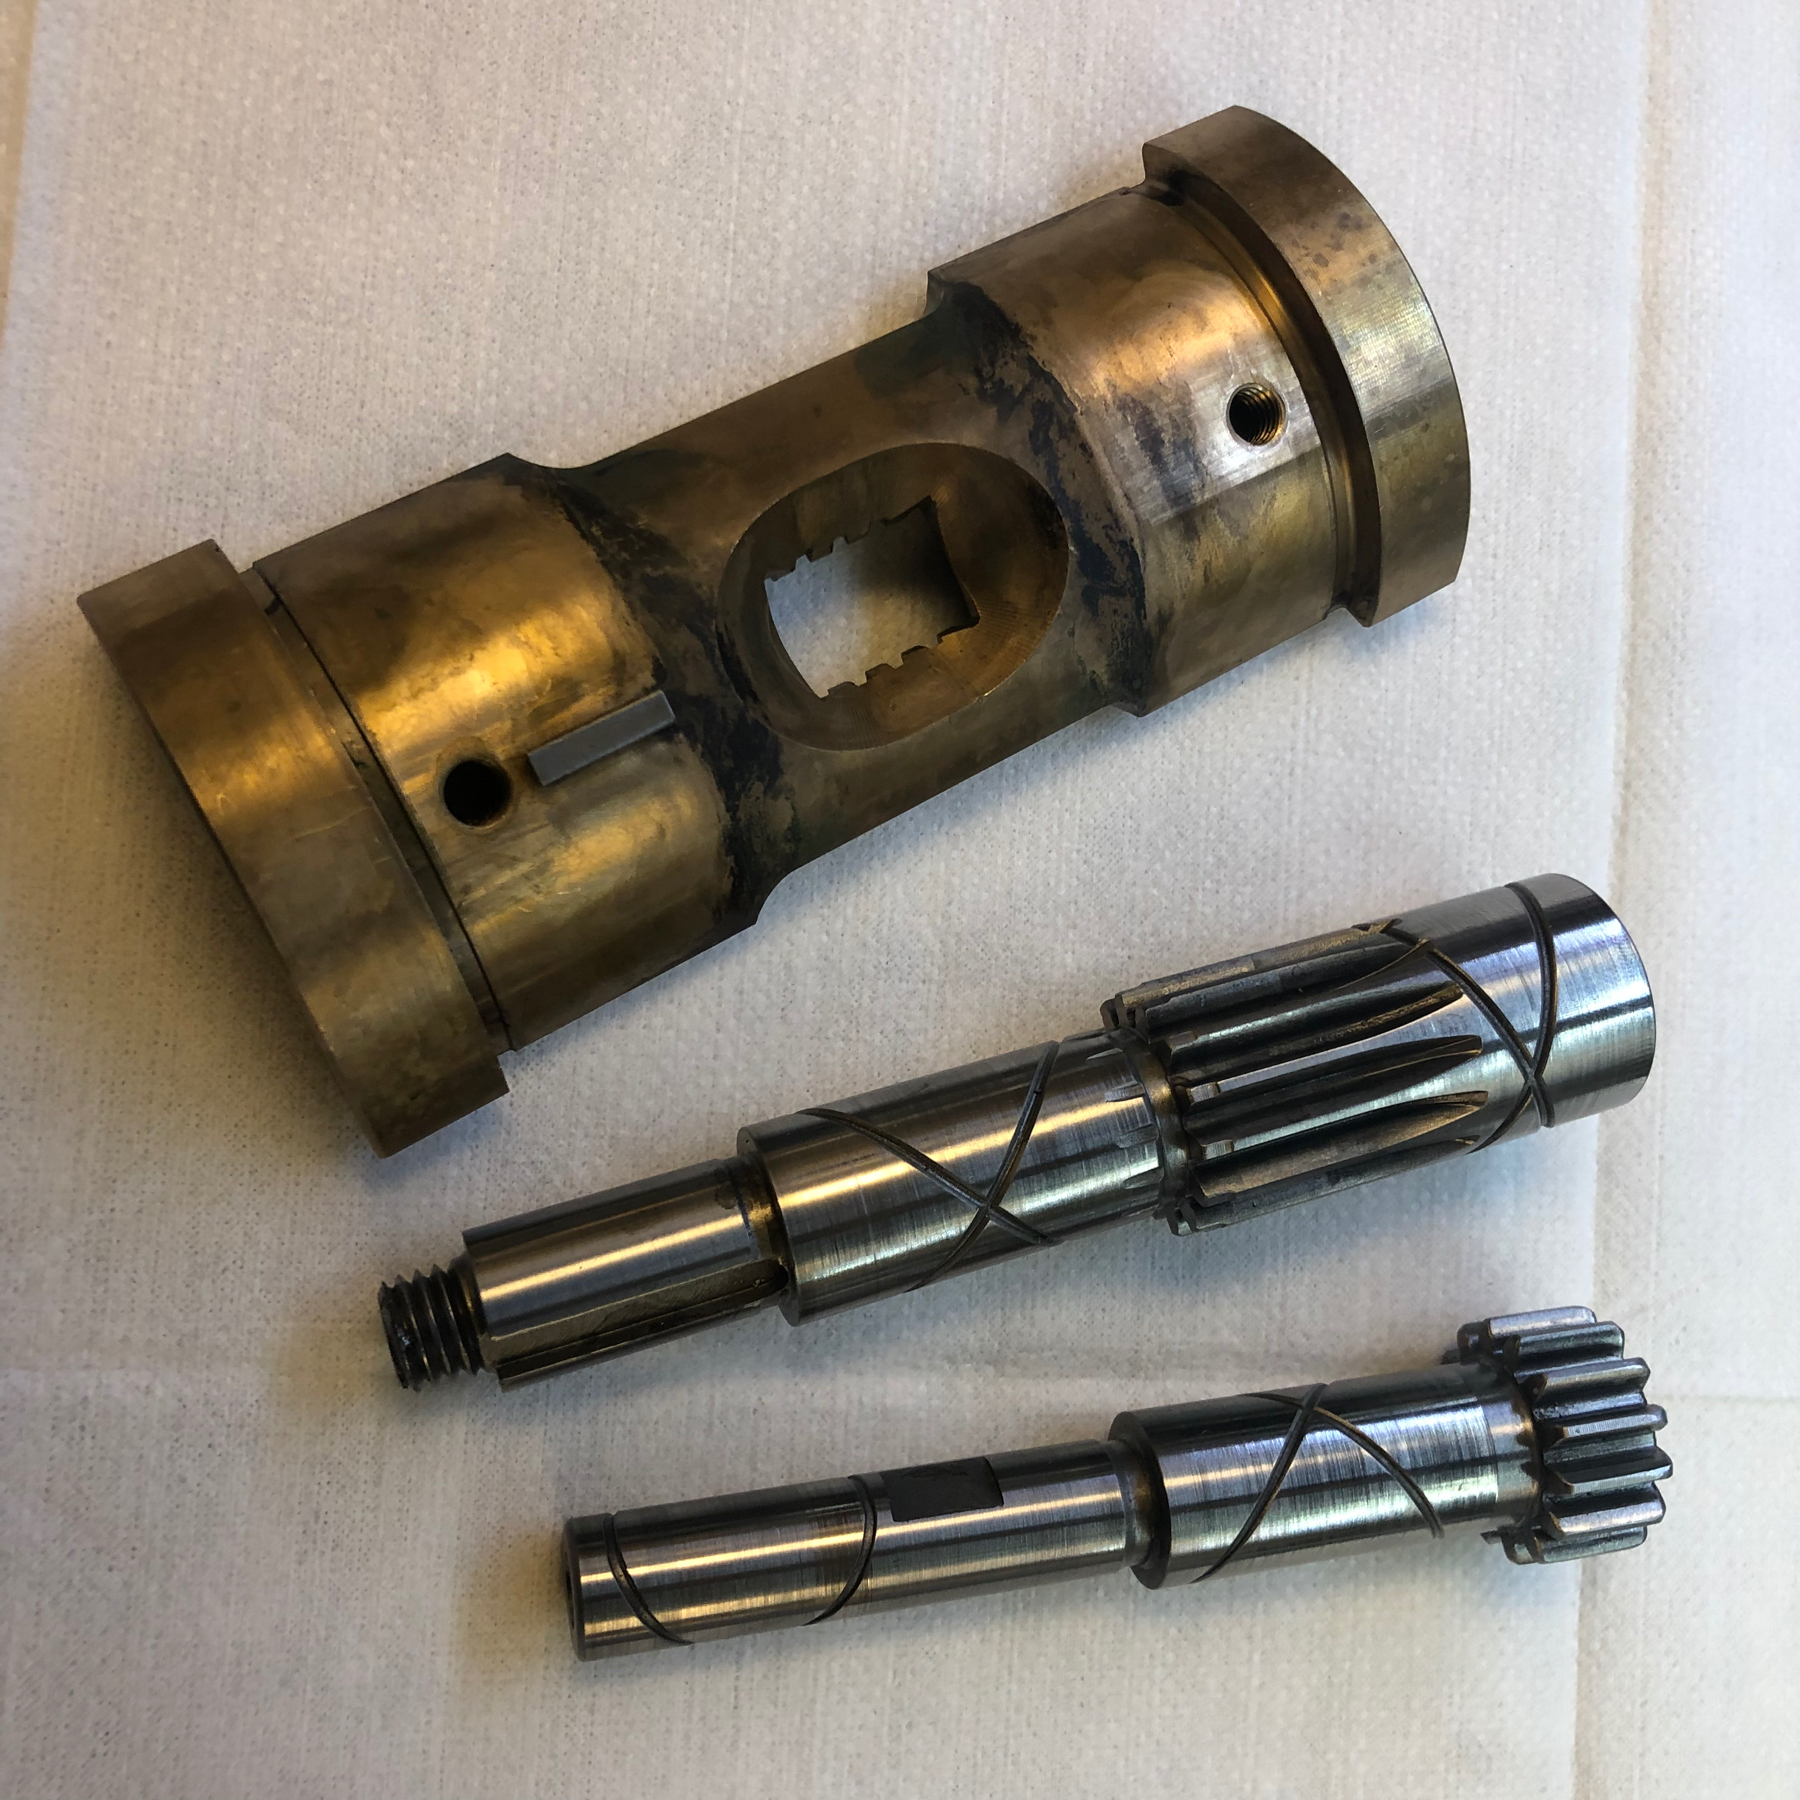
I’ll show some parts just to show the high quality and how they are made. After more than 60 years, I’ve found just one piece that really is broken! The remaining parts have wear of course – but nothing to be really concerned about.
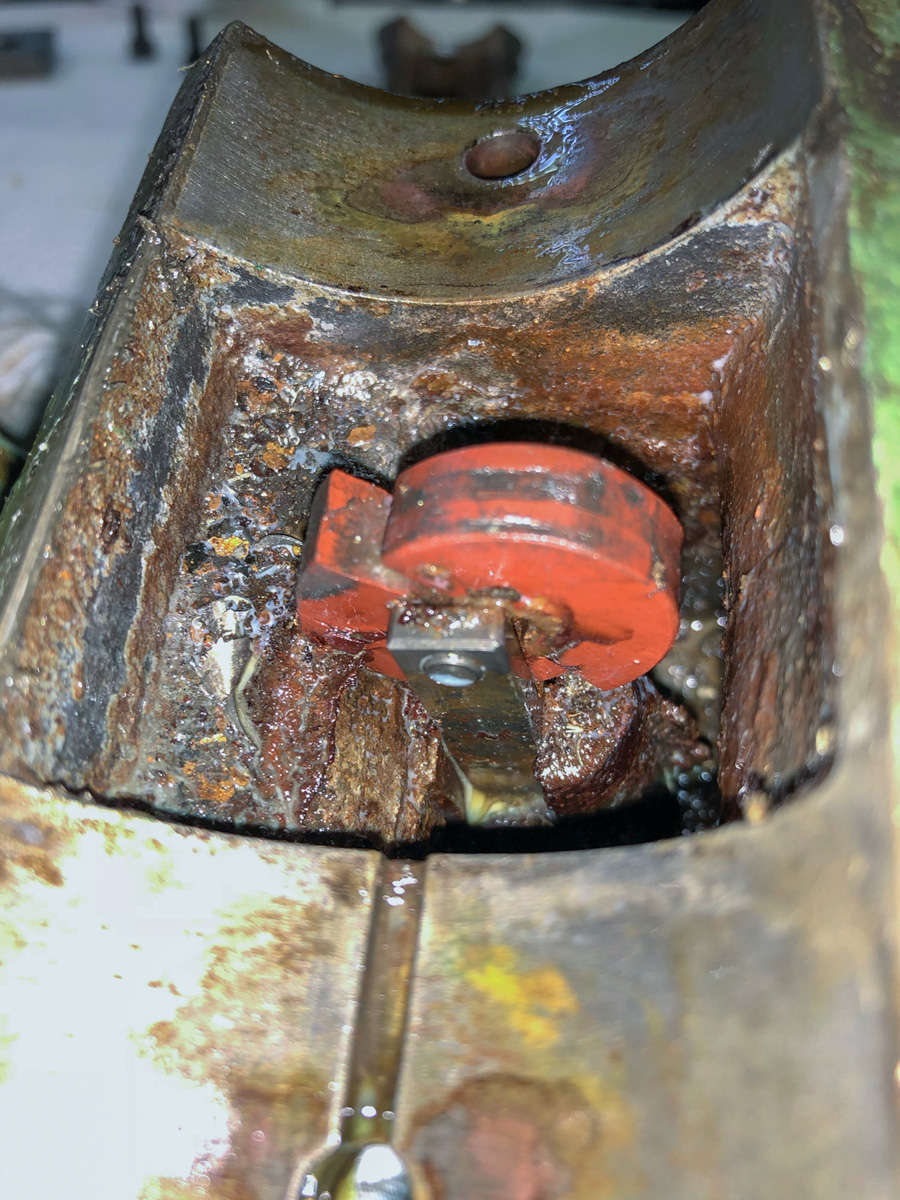

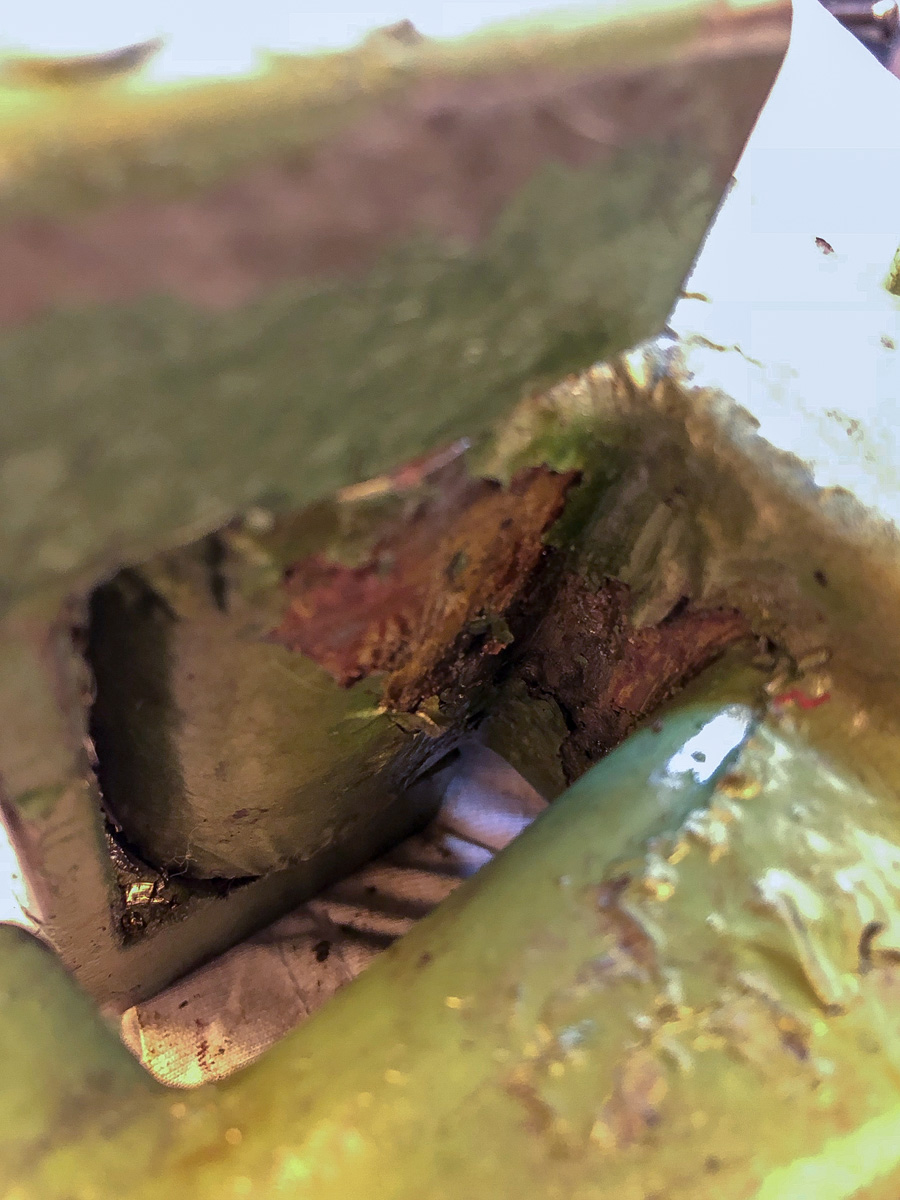
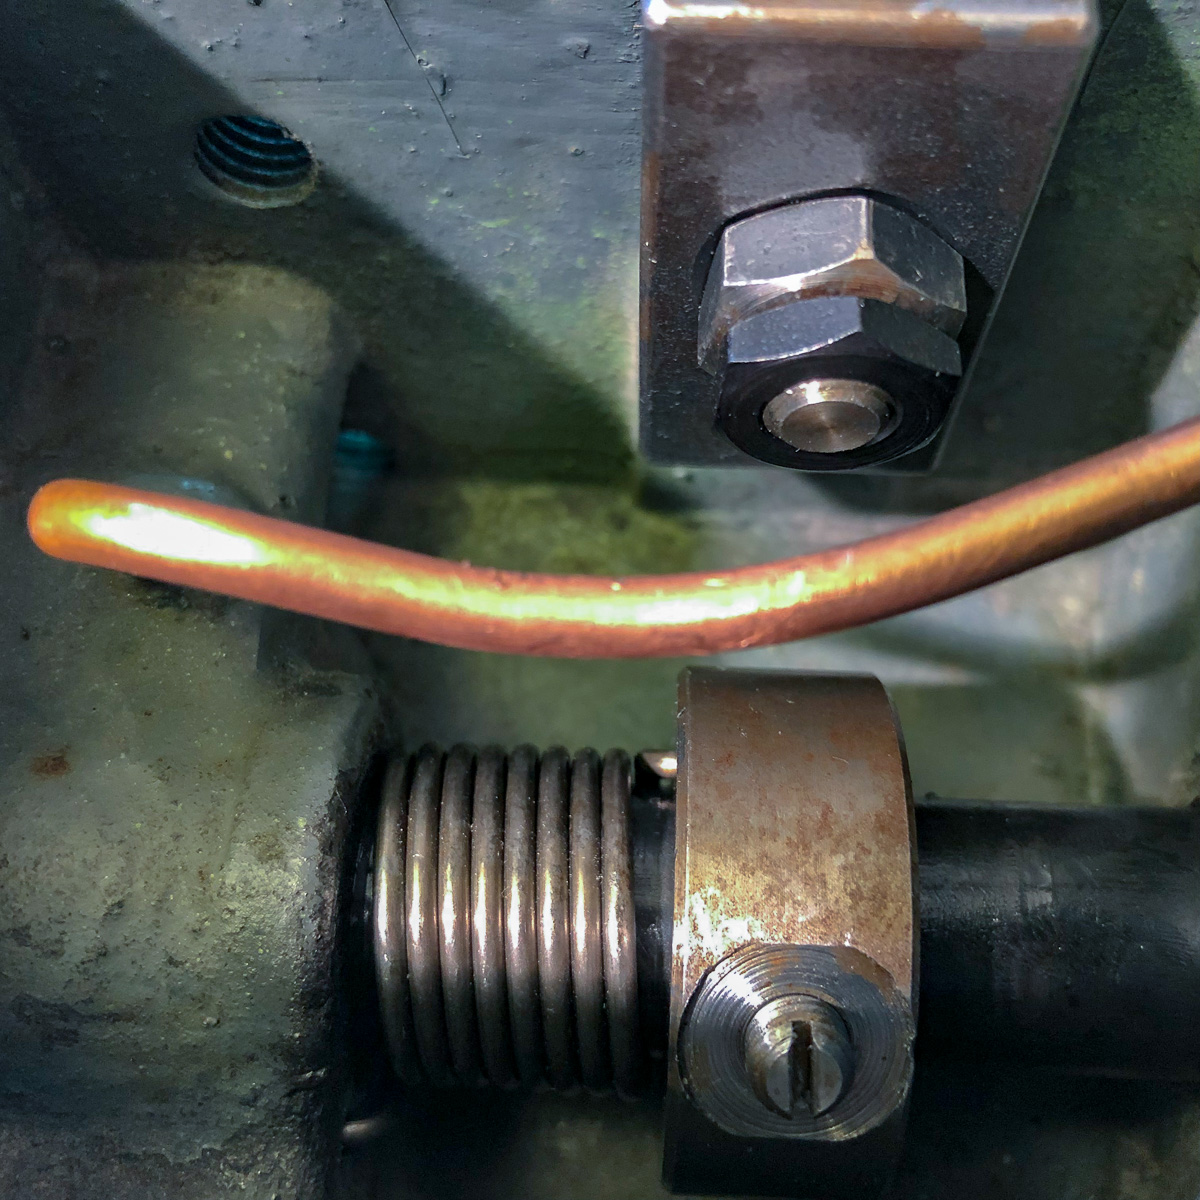
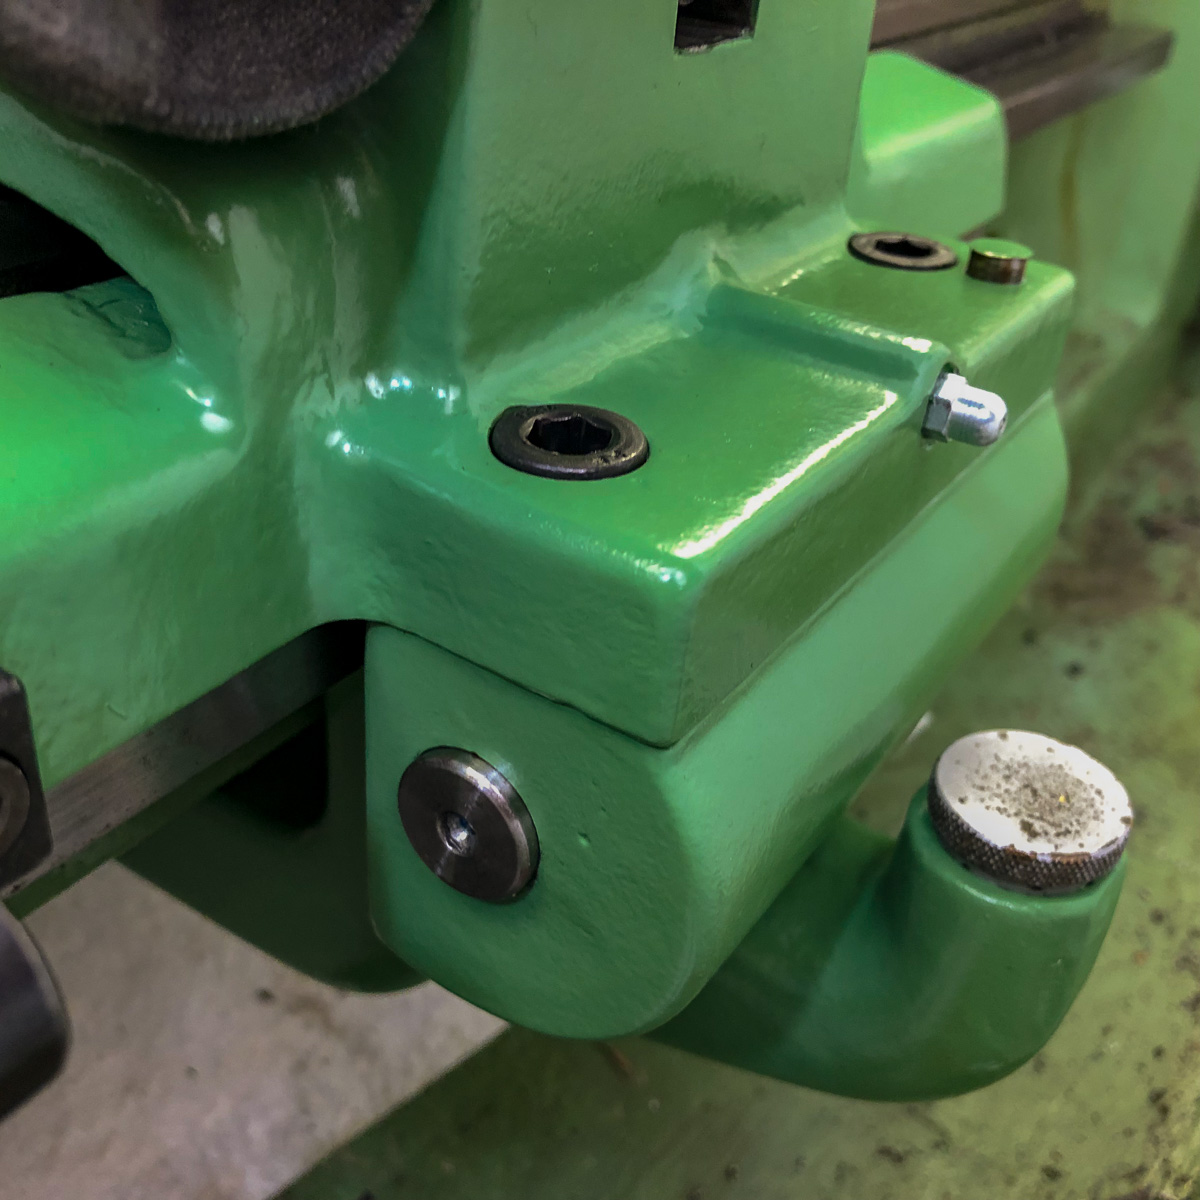
Oil not grease: the nipples
On the same time, Bob Miller is also digging in his Schaublin. Besides also being one of them… well… in his words:
bob_mllr What appear to be grease nipples are not always for grease 😢. Someone thought so though when they lubed the Schaublin 102vm apron.
I used a kind of really fine grease for that – and probably didn’t perish too much. But after degreasing everything and cleaning it really deeply through all oil tubes and oil paths – it’s the right time to switch to an appropriate oil ! Being invited at Schaublin in Bévilard in a few weeks, I’ll get the right one from them.
Preparing for sandblasting
All the parts were cleaned and prepared for sandblasting. This is the first time that I give something to be sandblasted, and right: I’m a little nervous about this. I hope this will be done cautious – I prefer doing some handwork compared to damages that are hard to fix! Here’s what it looks like:

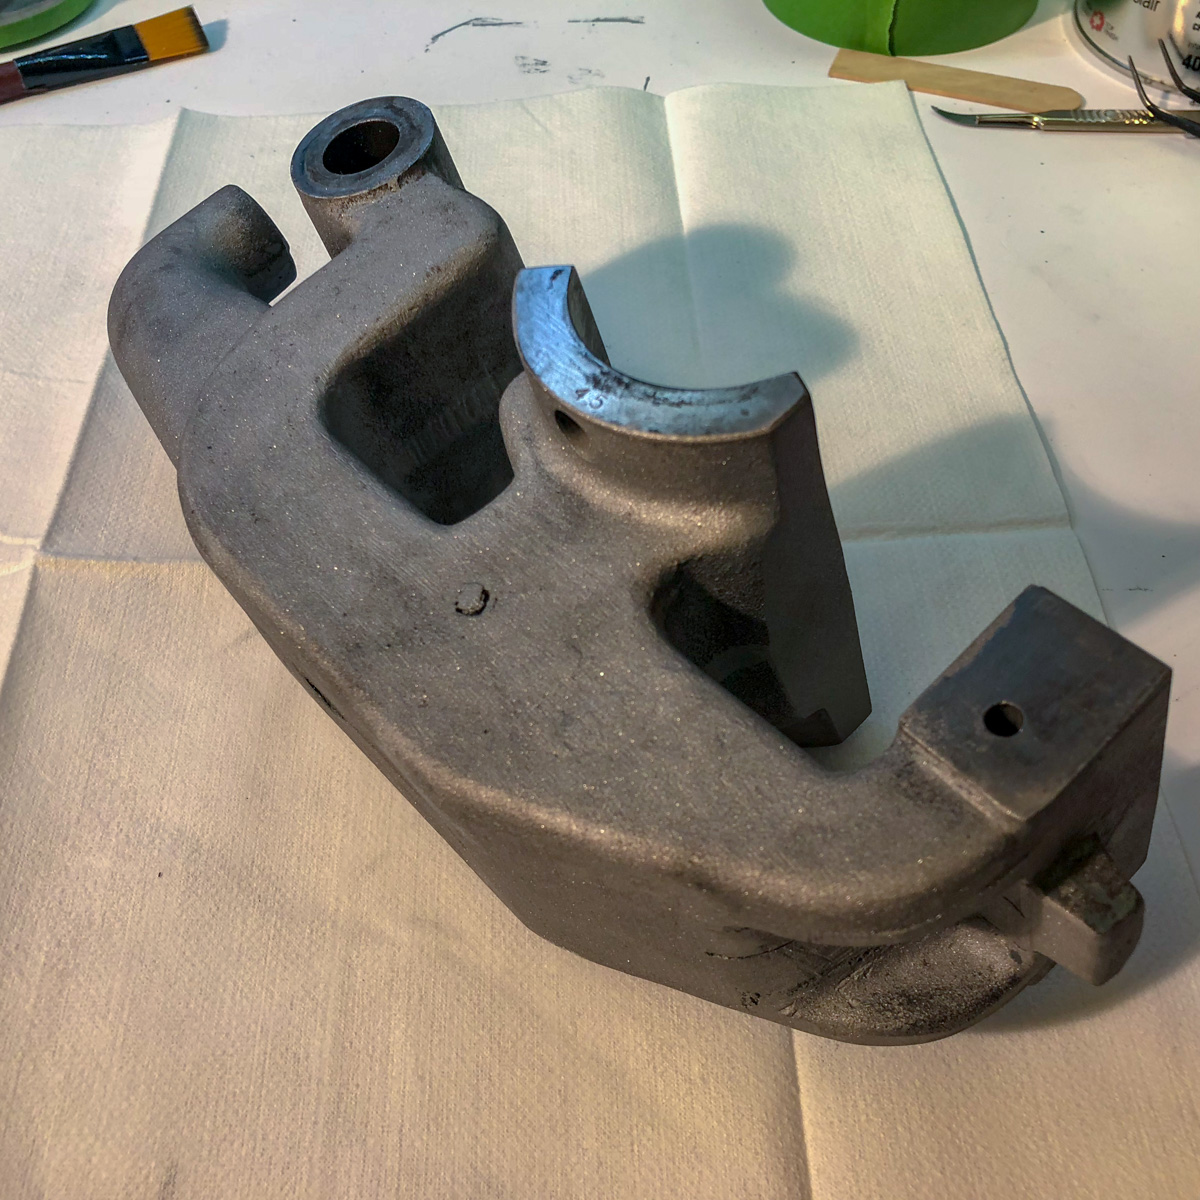
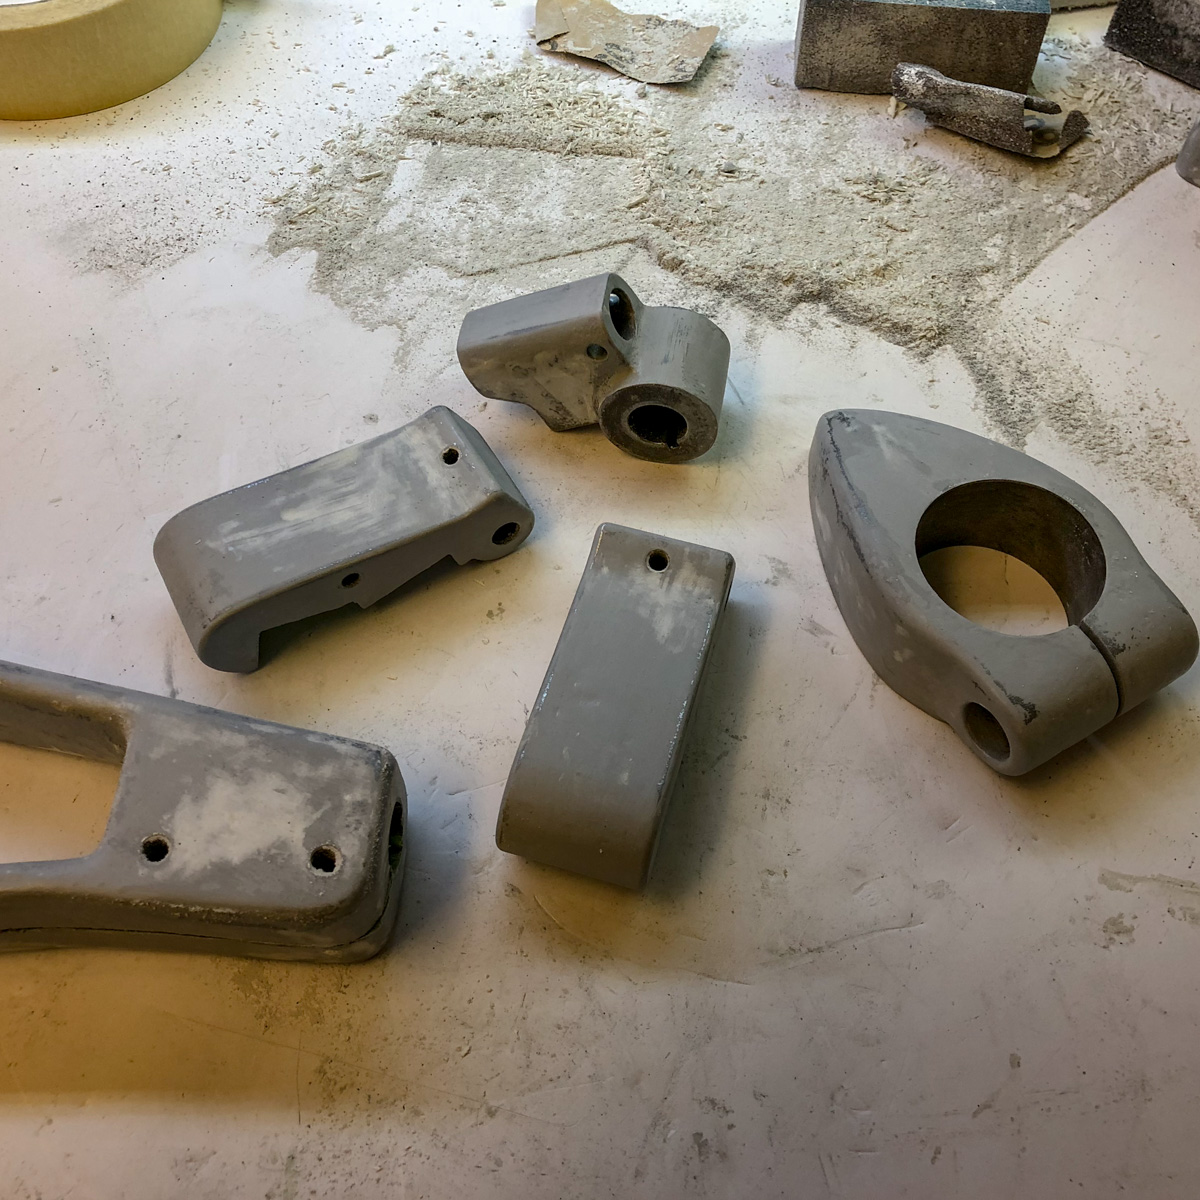
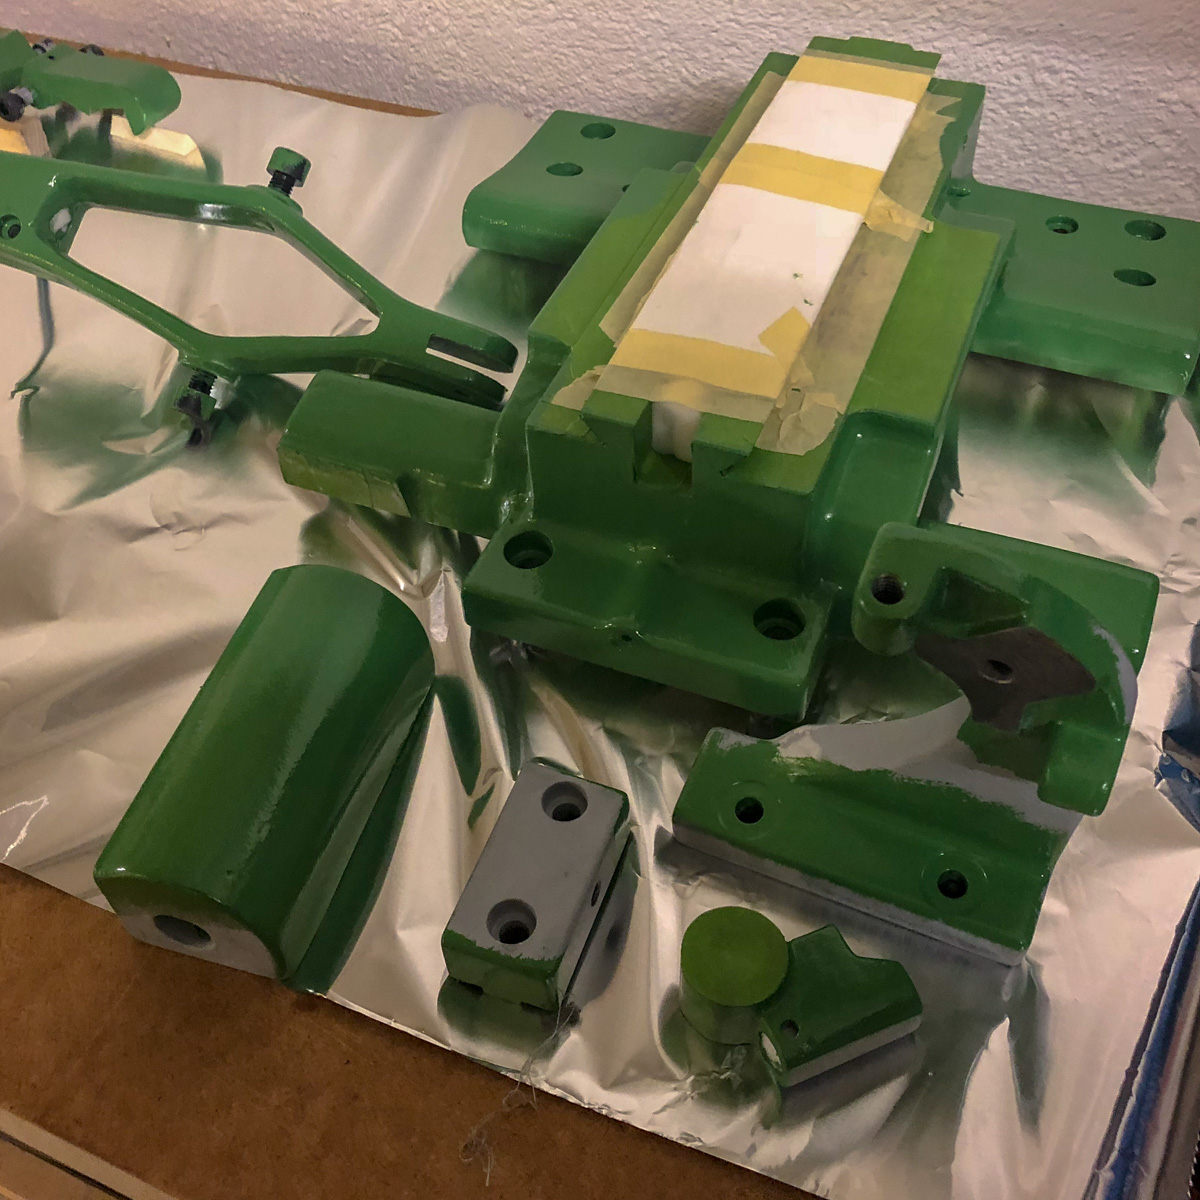
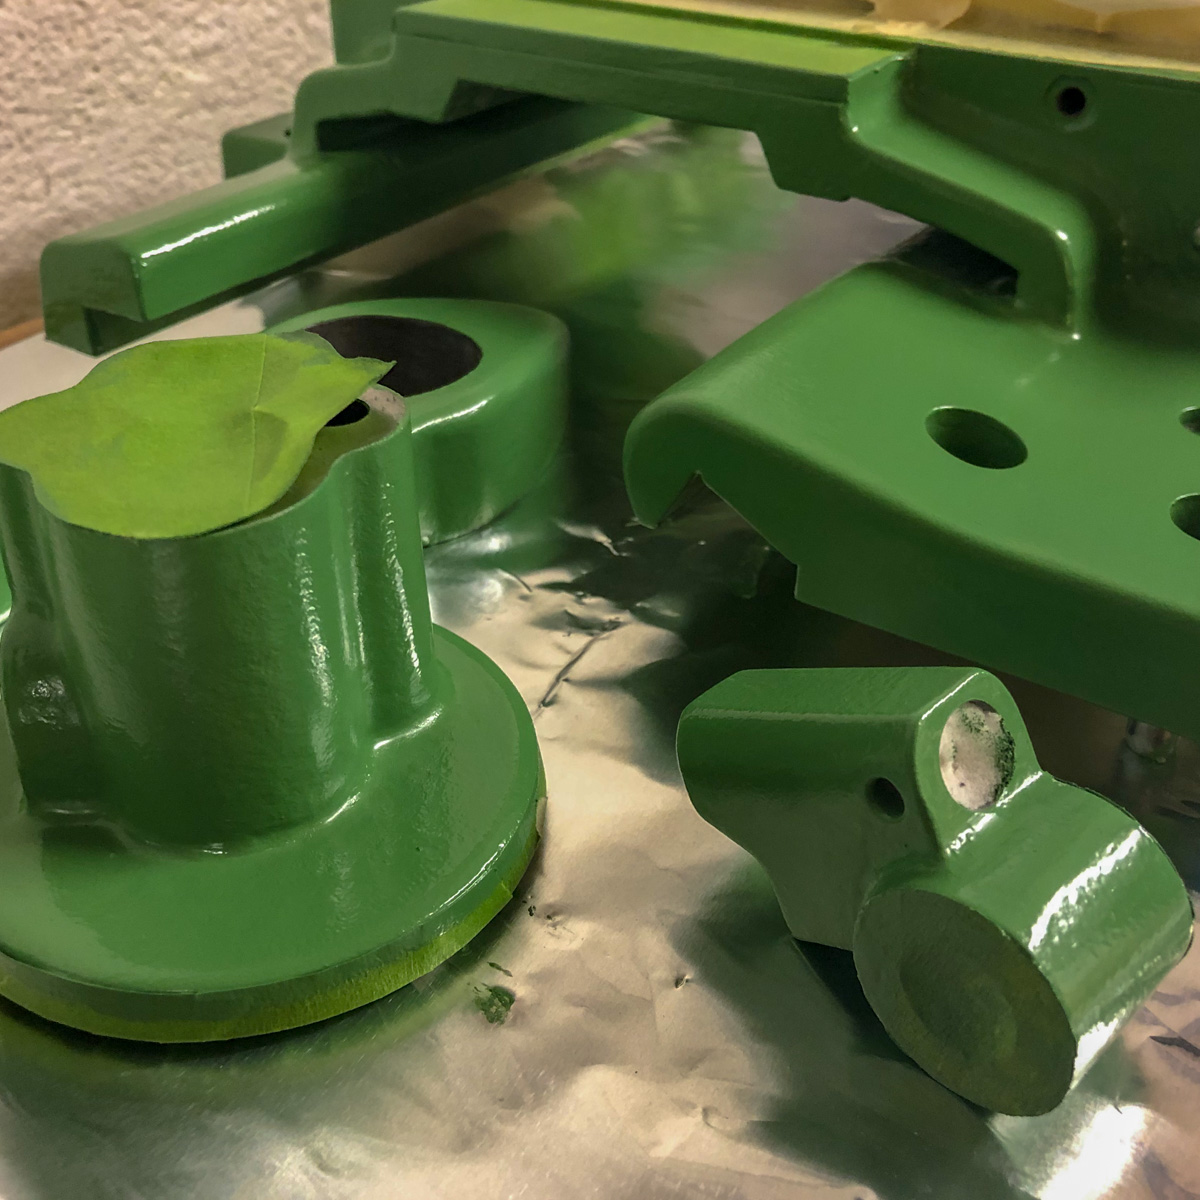
Back from sandblasting
The blaster-master did a really good job: the parts turned out fine. No major parts were damaged! Some dents though, but not on important areas.

 The parts turned out nice and clean, no major parts damaged (some small dents though but not on important areas).
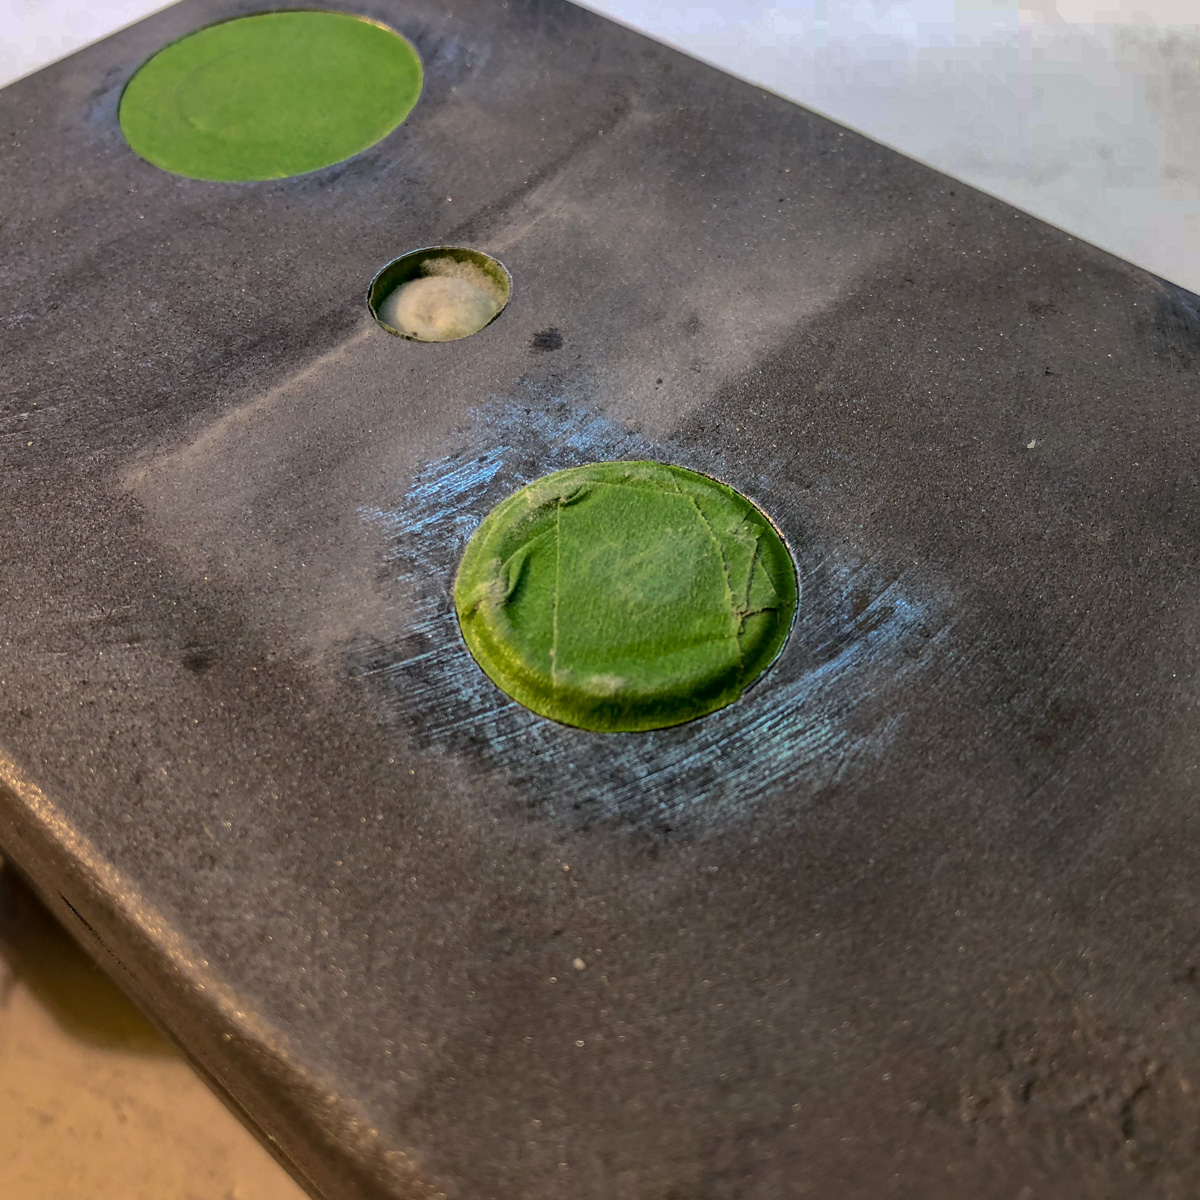
The part I was concerned about was a oil-window peering out of the main case. This one wouldn’t be easy to change – I saw somebody breaking it out and turning a thread into the case, but this was something I’d liked to avoid.
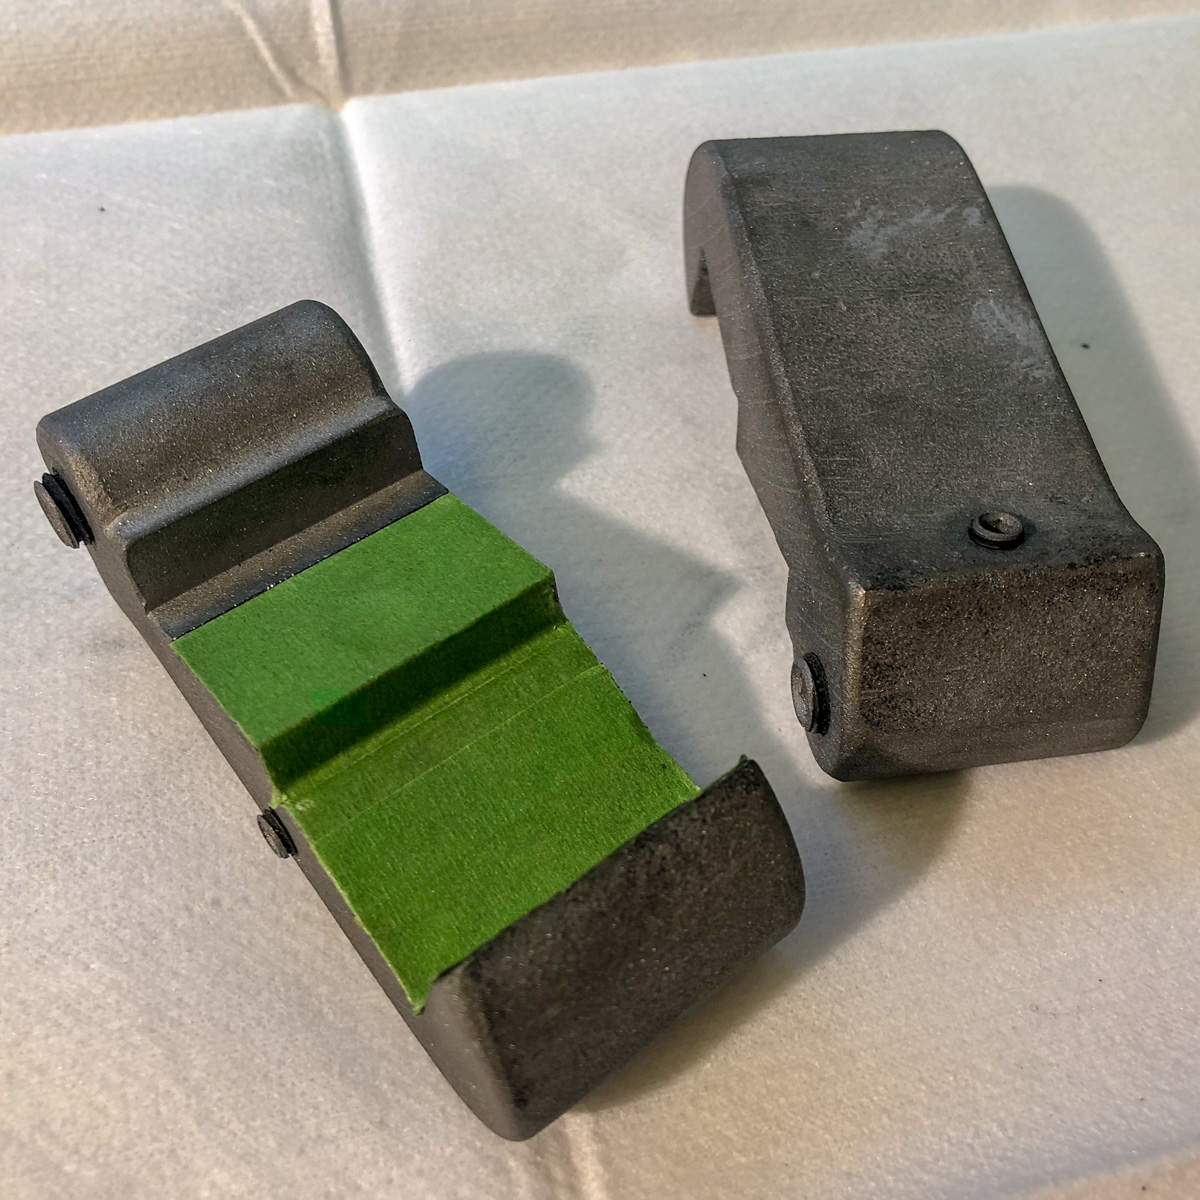
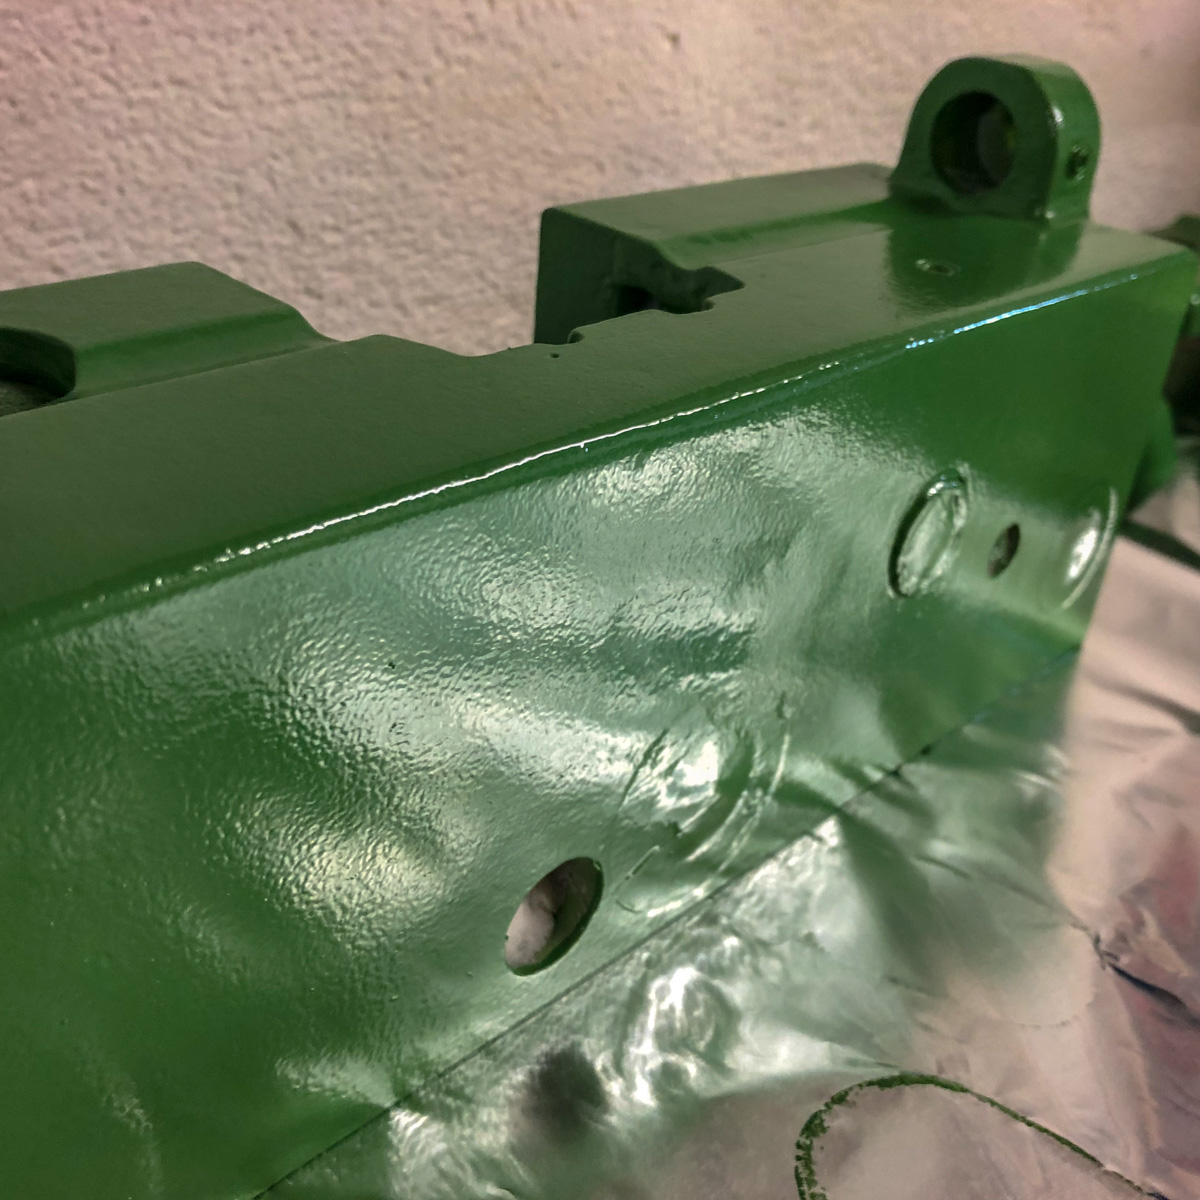
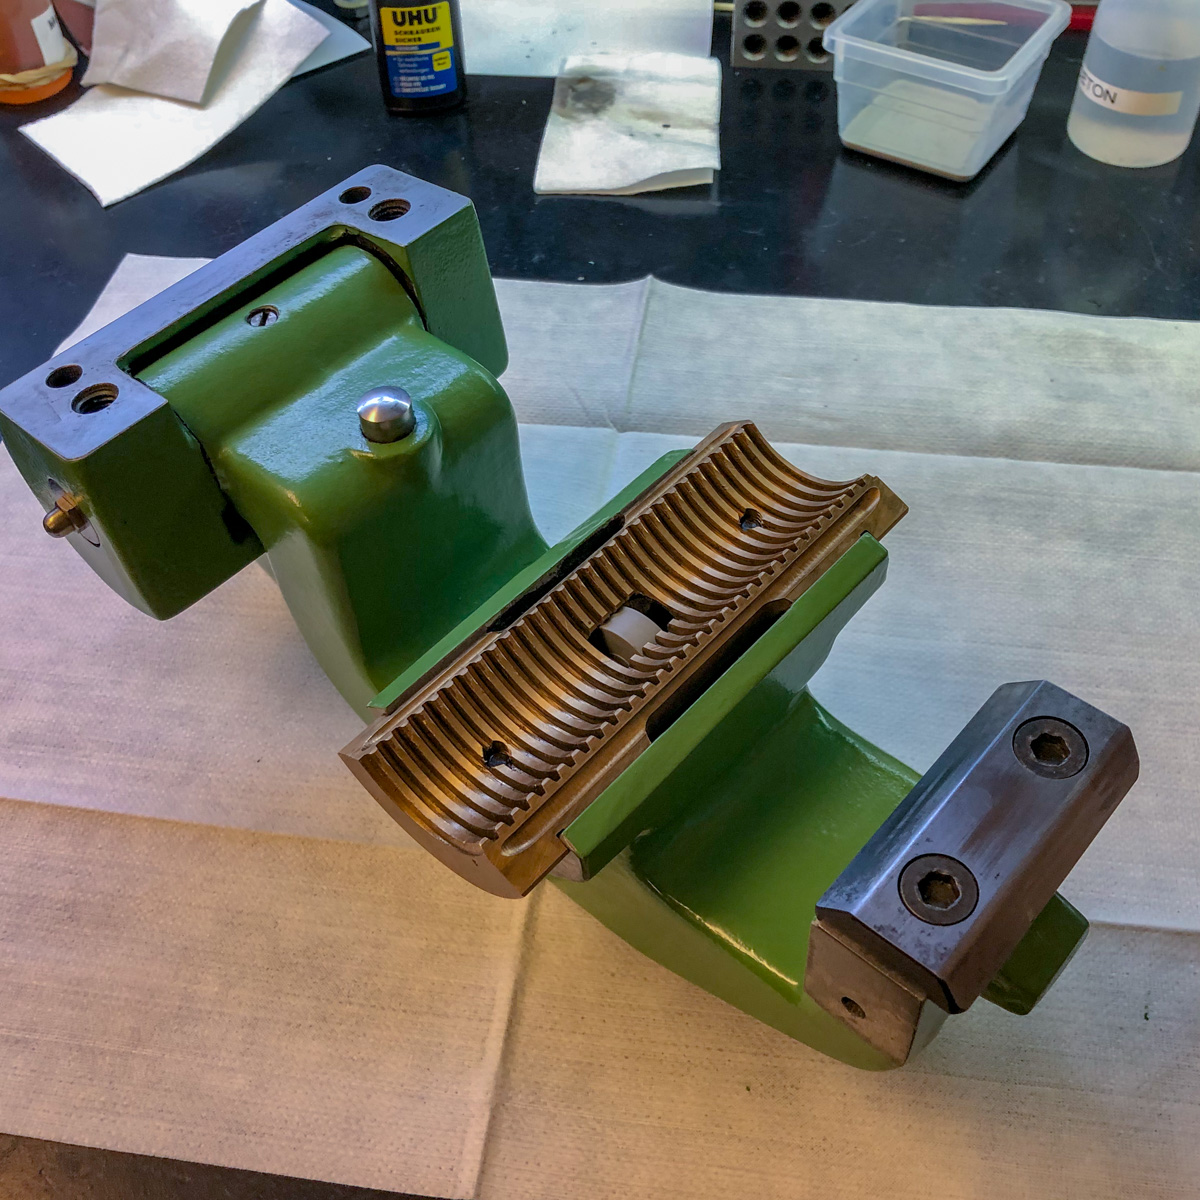
Priming, filling, sanding and painting
The first steps are tedious, but you’ll be honoured with the results. All coatings are 2K-compounds (primer, putty and the paint). It takes some coats to have a nice, even surface and yes, it’s a mess 😉

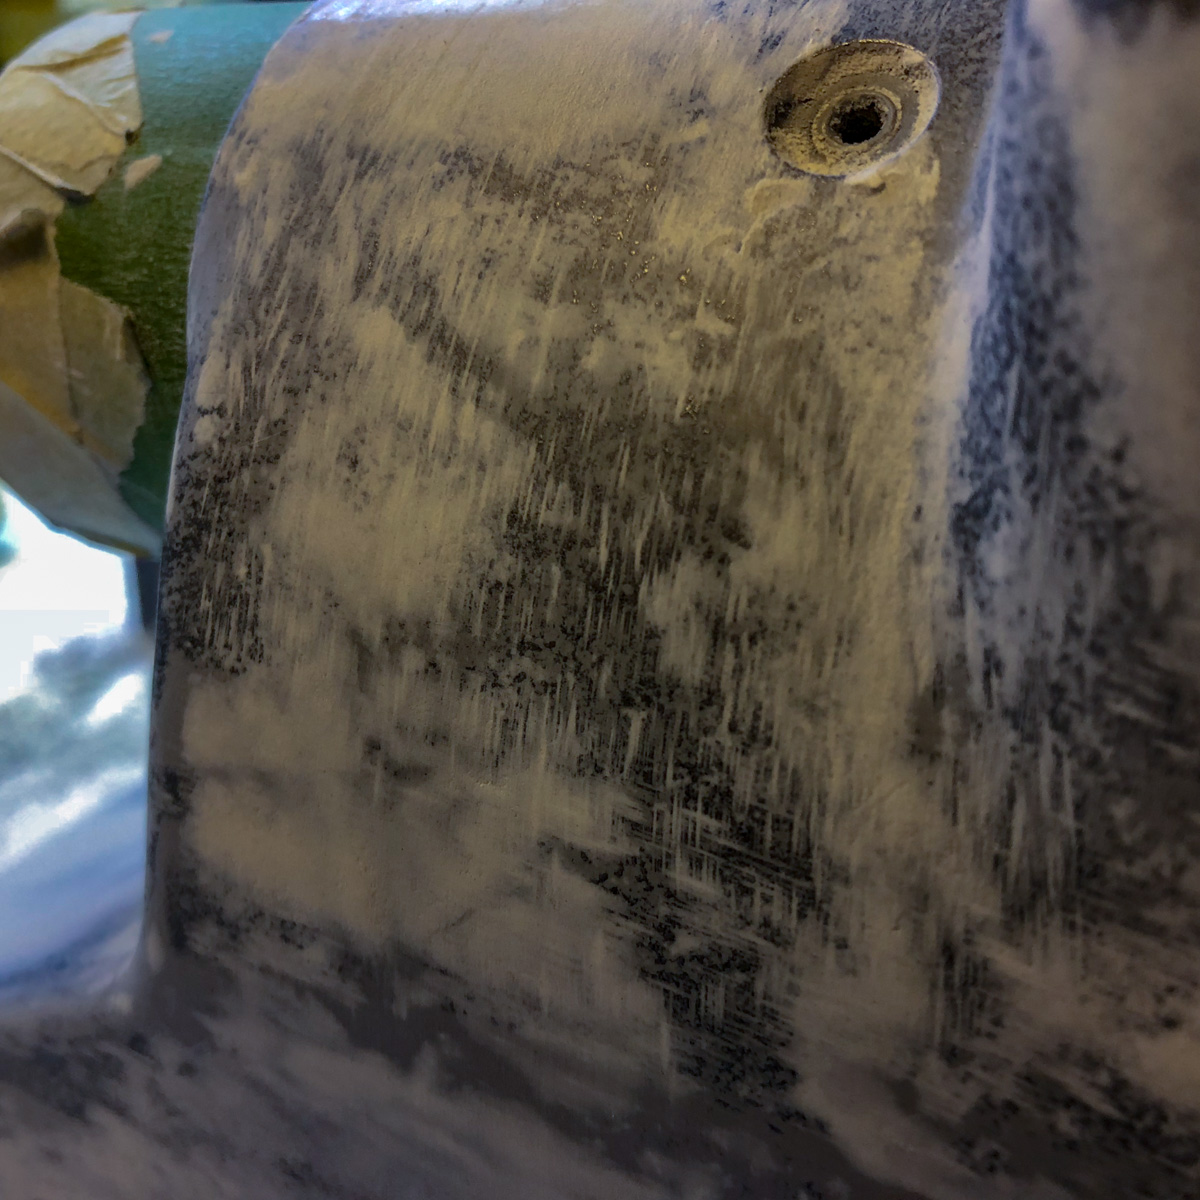
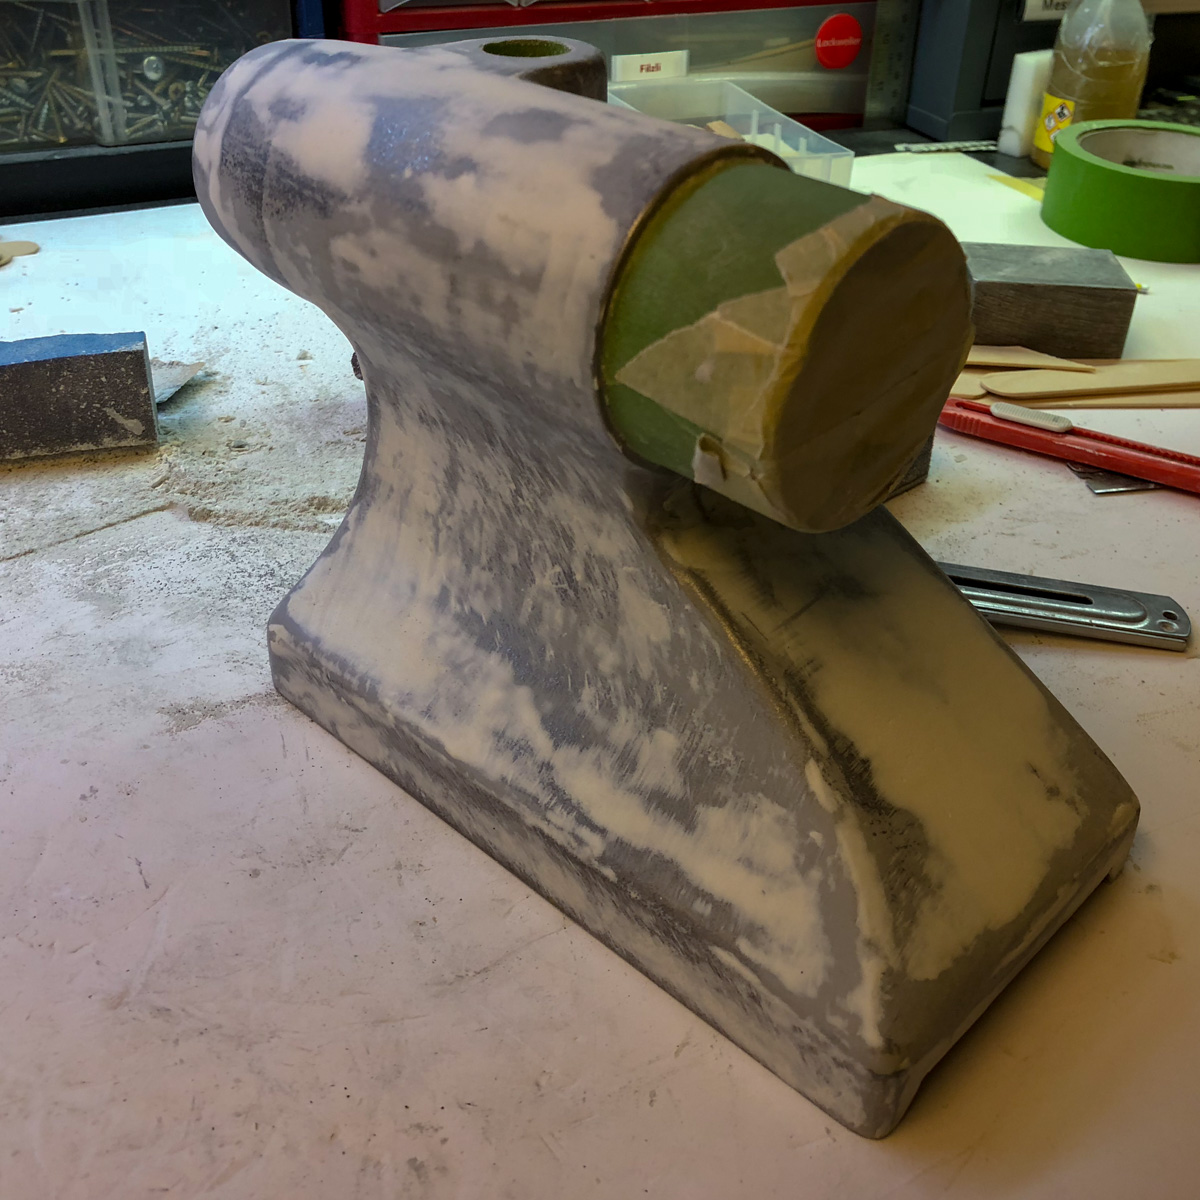
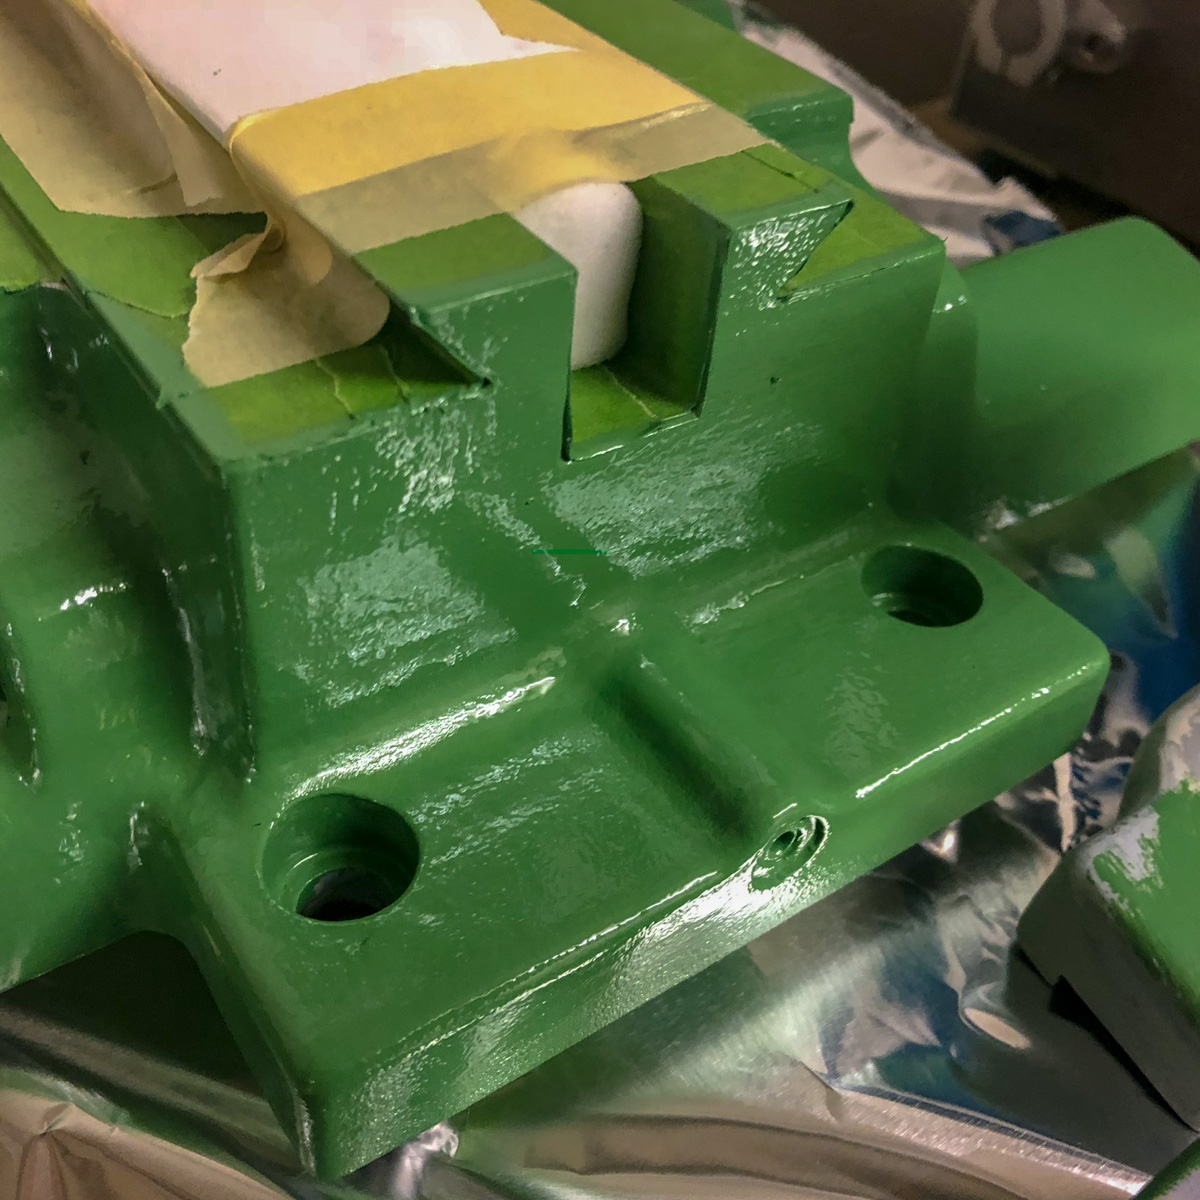
The used putty is a two-component-filler with a very short can life. This forces a fast application but has the positive effect, that you can sand the item after a short waiting time.
Reassembling


What I’d love to know before
I don’t own the original manual of the machine. There are more than a dozen of manuals on the net: varying languages, different years and diverging types – but all of them in a poor quality. Very difficult to see if a handle is set as a screw or only plugged or plugged and pinned. After studying the manual and inspecting the part from all sides (more than once), you could use a pair of pliers or even the soft-head hammer.
Yes – they were doing a really gread job, manufacturing this machine. I never saw such thight seats! And if the machine’s old and «crusty», it takes some gentle force to convince a part to move…