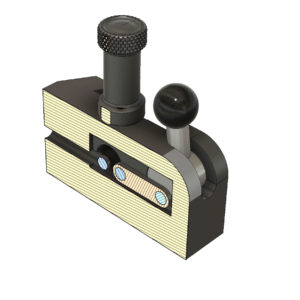
I really liked the idea of Jim Schmitt (on a post here) about the «inverted» retractable threading tool. Based on the concept of Charles Dolan (his post is here) it reverses the pull-handle to a push-handle – what in my opinion eases different things.
On the one hand, it’s easy to add a spring, helping to fully retract the tool completely in the right moment. On the other hand, it’s possible to let the tool clip into place by the right angle of the mechanism (and supported by the spring). This way it should be possible to cut repeatable and precise threads on the lathe.
Mechanism
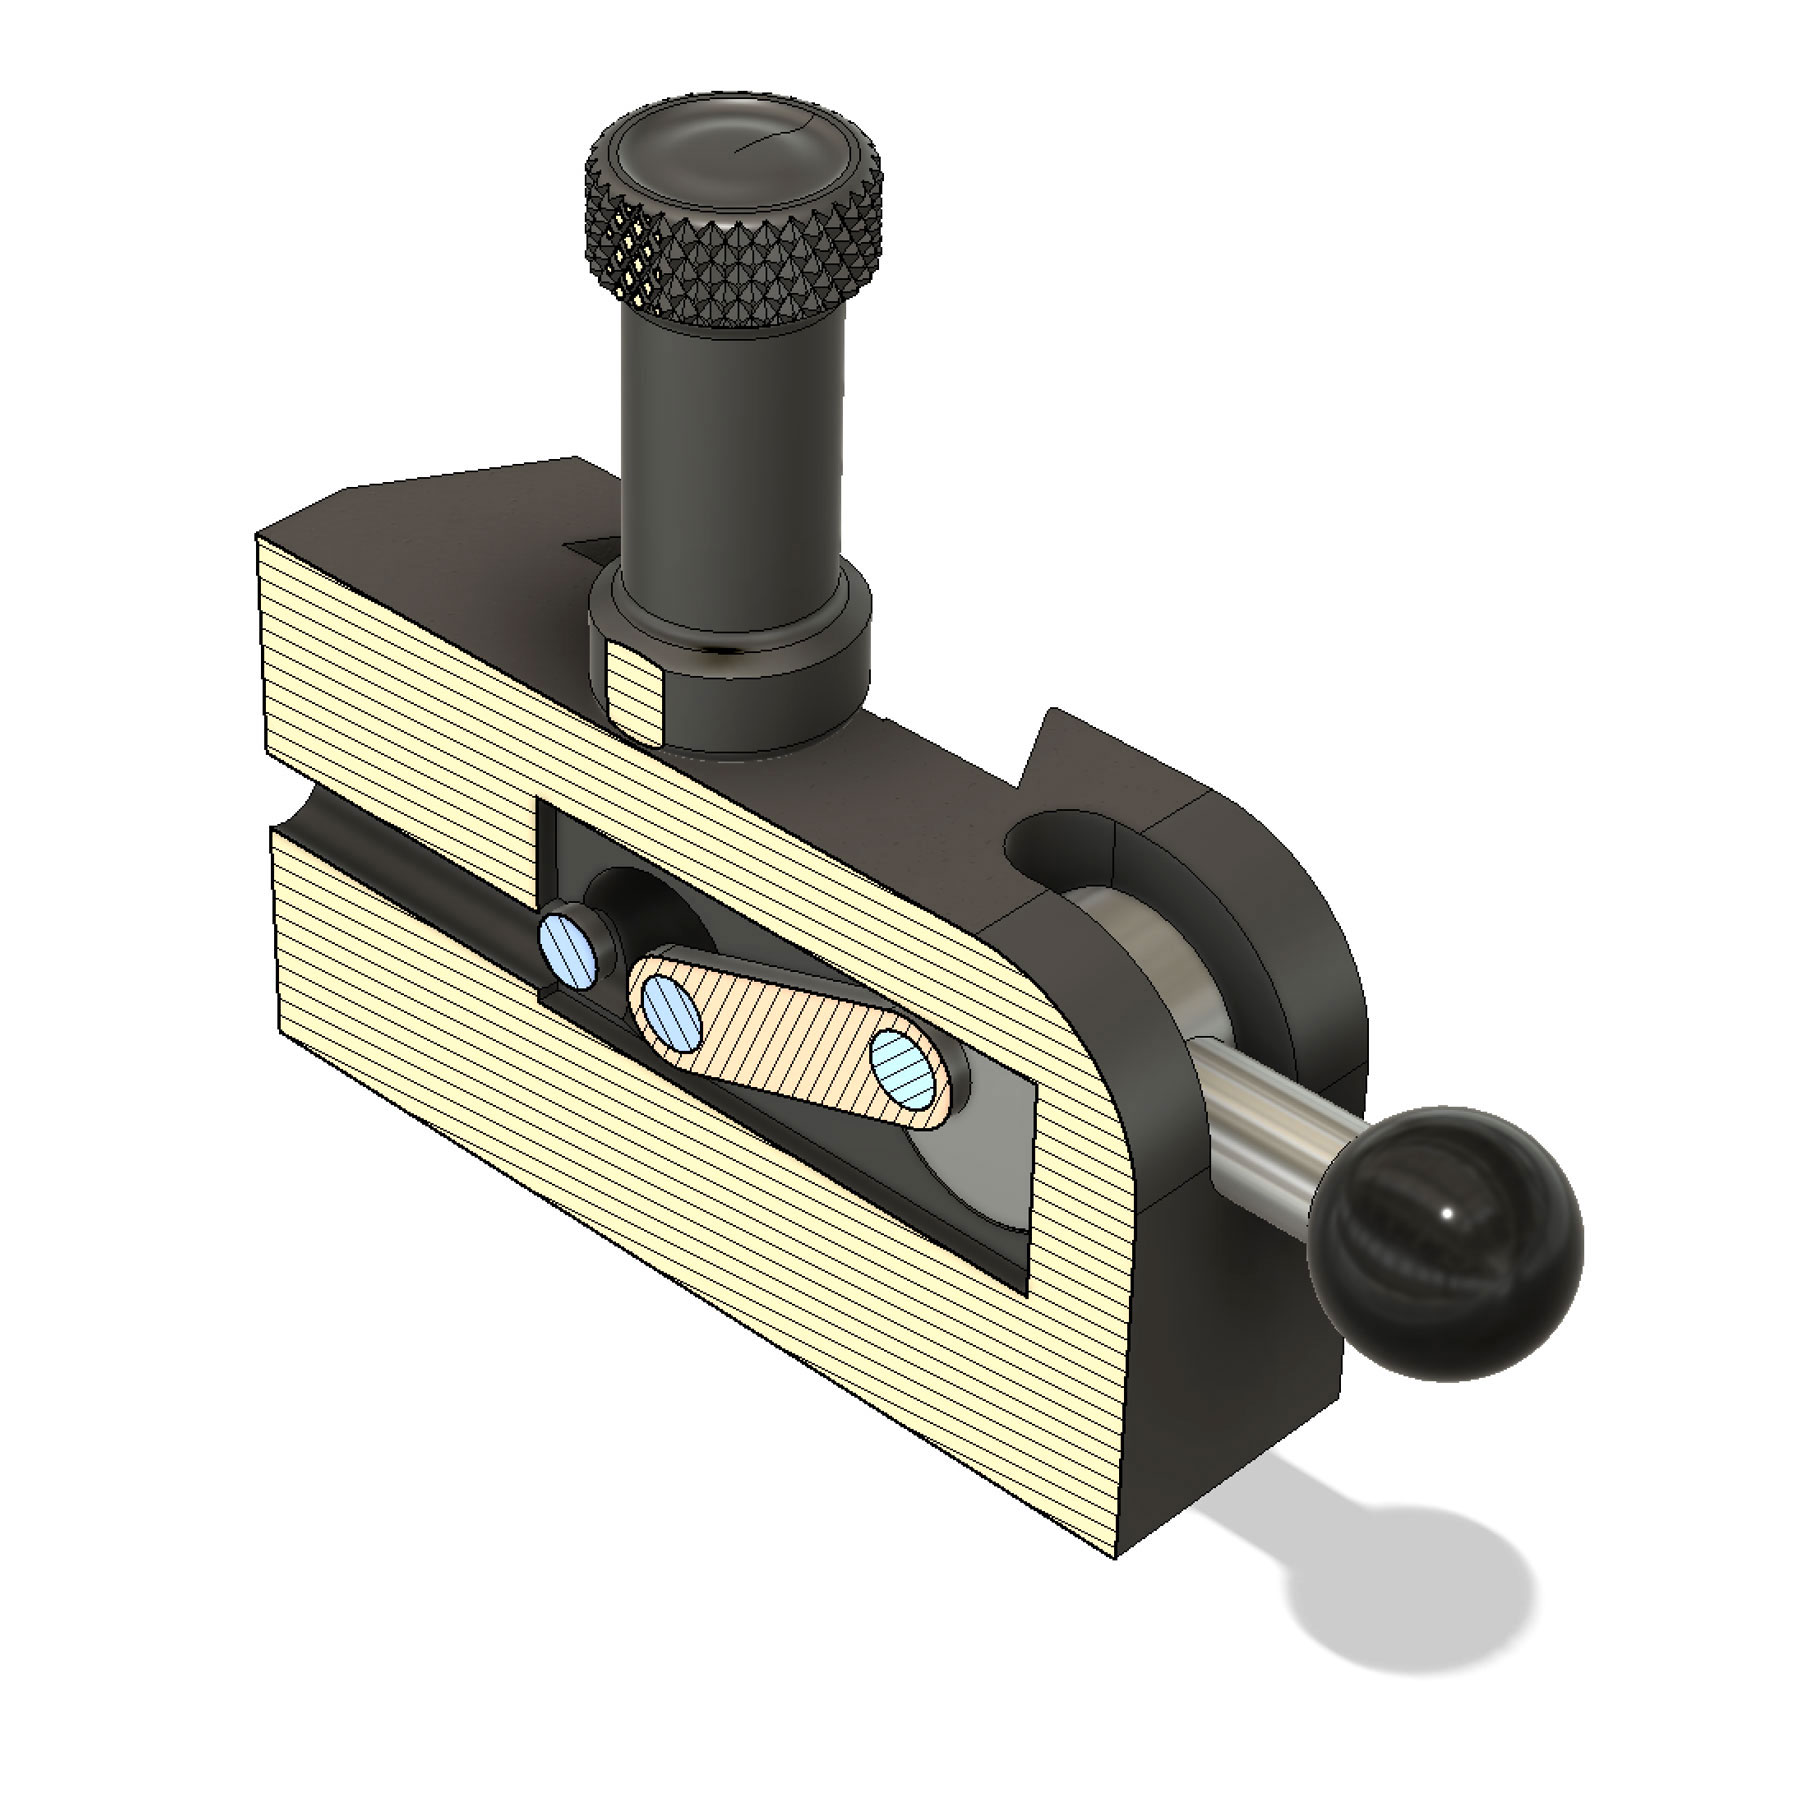
 The first sectional view shows the lever mechanism in neutral position.
The through hole on the left is tapped on the end and holds the spring. The two blue circles next to each other are the pins on the slider – the last one from on the lever.
In neutral position, the spring-rod pushes the carriage and the lever back. The lever is in the upper position.
 In the activated position, the angle of the link in relation of the lever circle is slight above the center. In combination with the spring tension, this latches the setup in an safe engaged position.
Desengaging the tool needs minimal action and force – as soon as the angle drops below the center of the lever, it’s retracted by the force of the pushing spring rod.
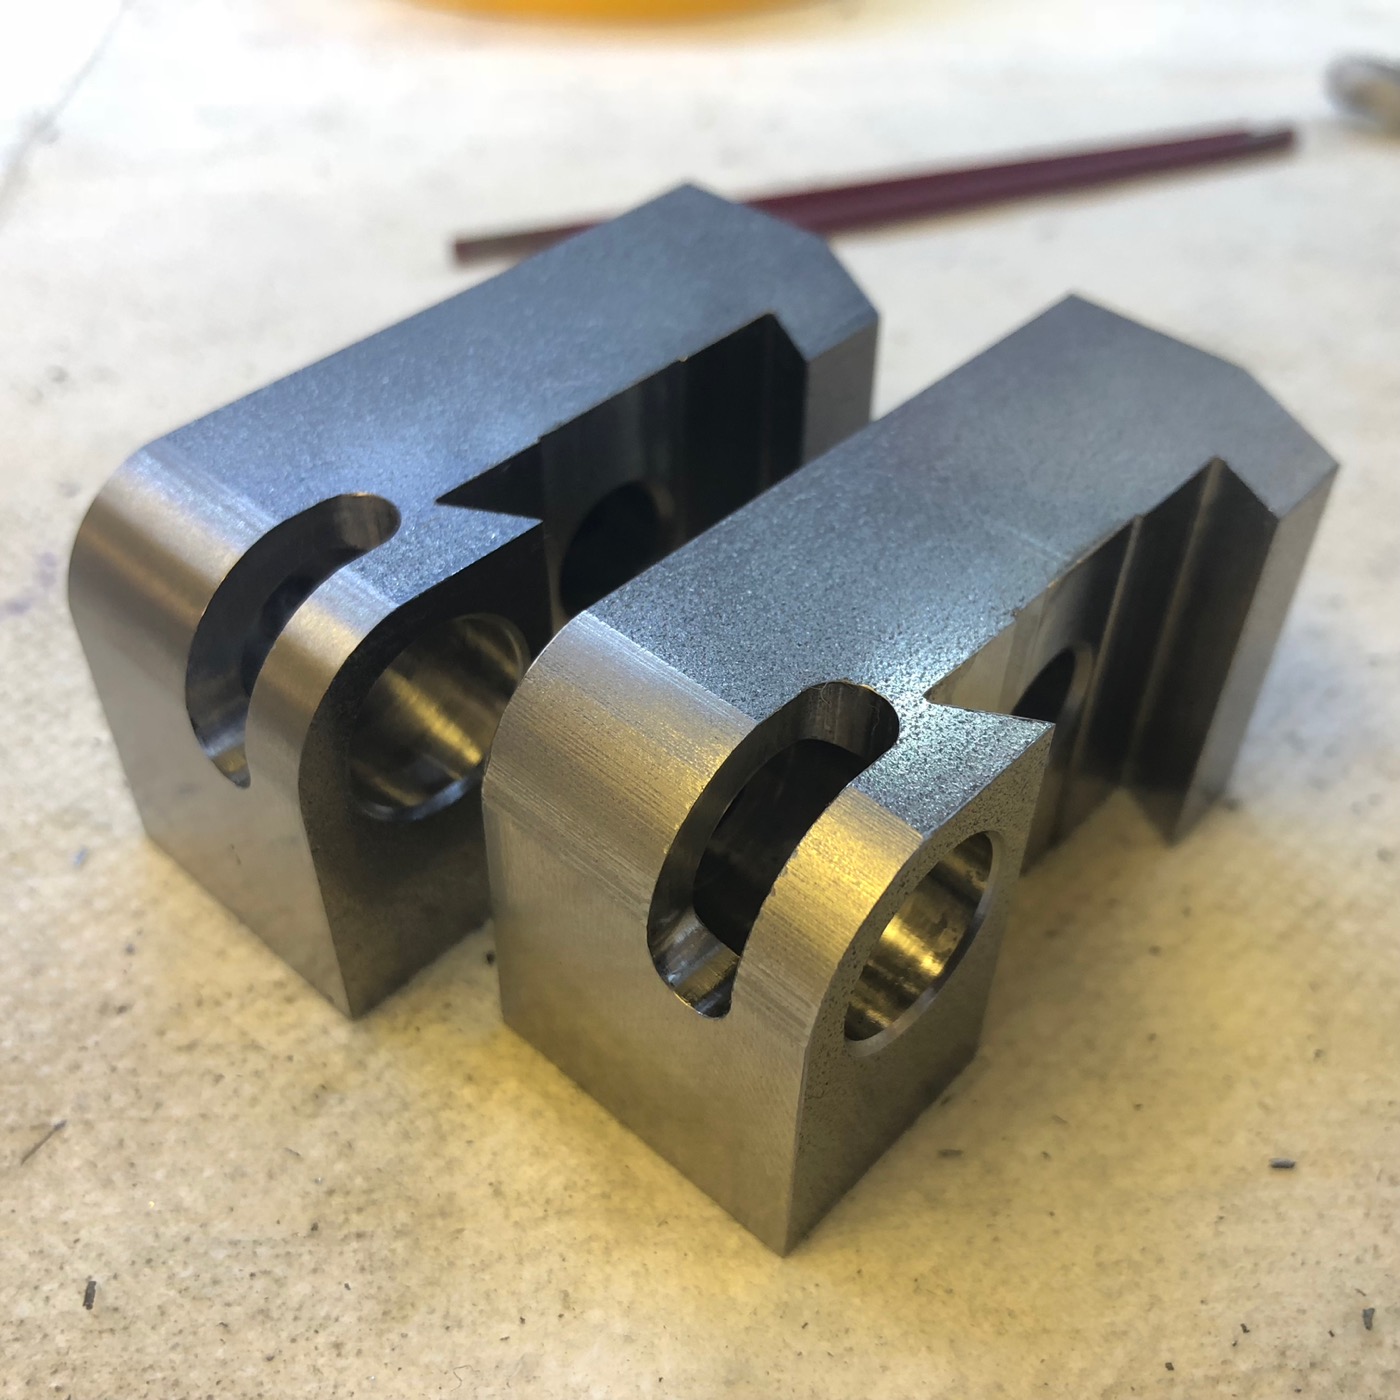
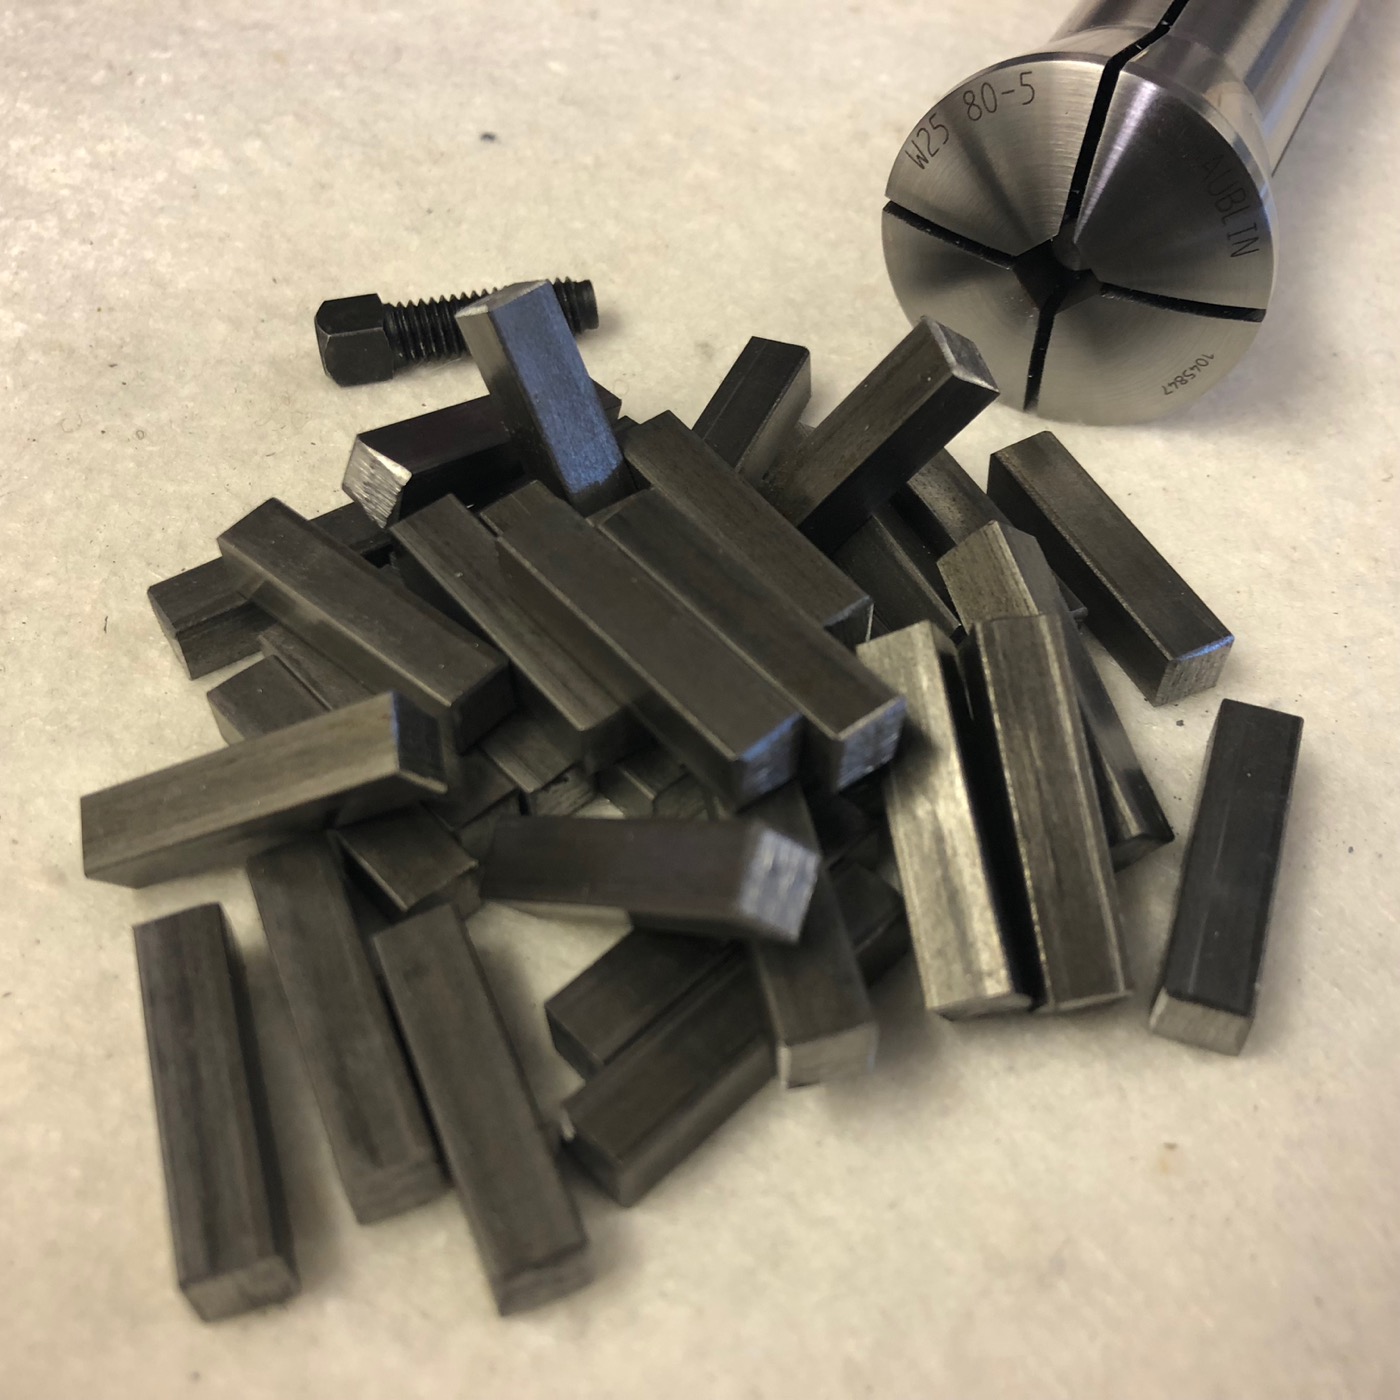
Making
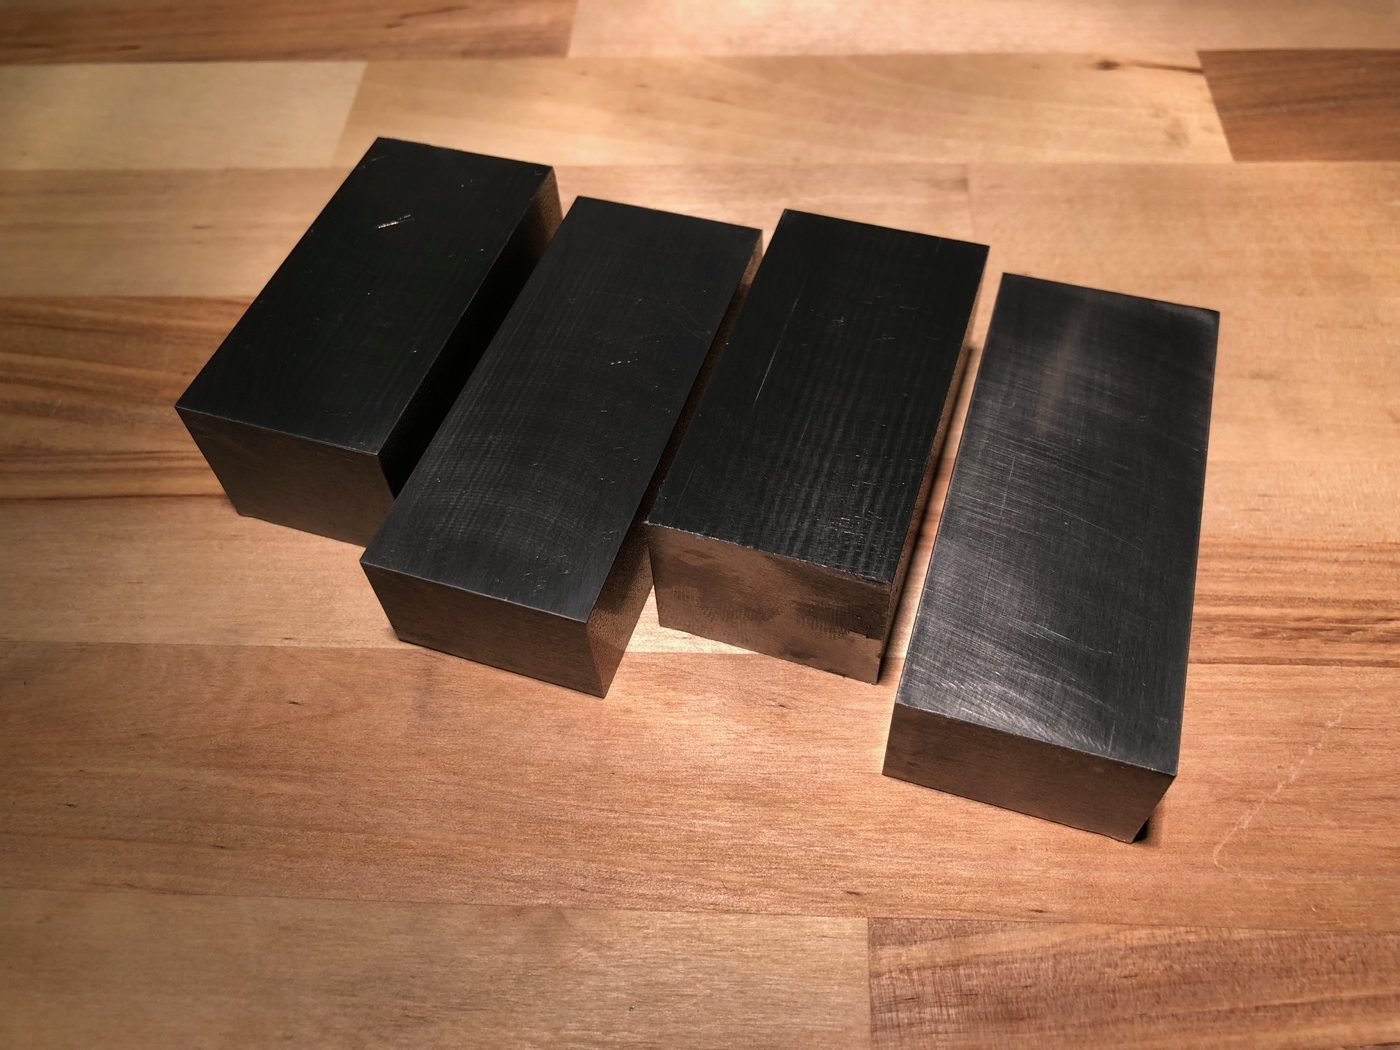
The tool is made of 1.0570 (S355J2+C, or in the USA: 1024). This is low-carbon steel and not really made for hardening (possible tough) – don’t know yet, if this tool needs to be hardened…
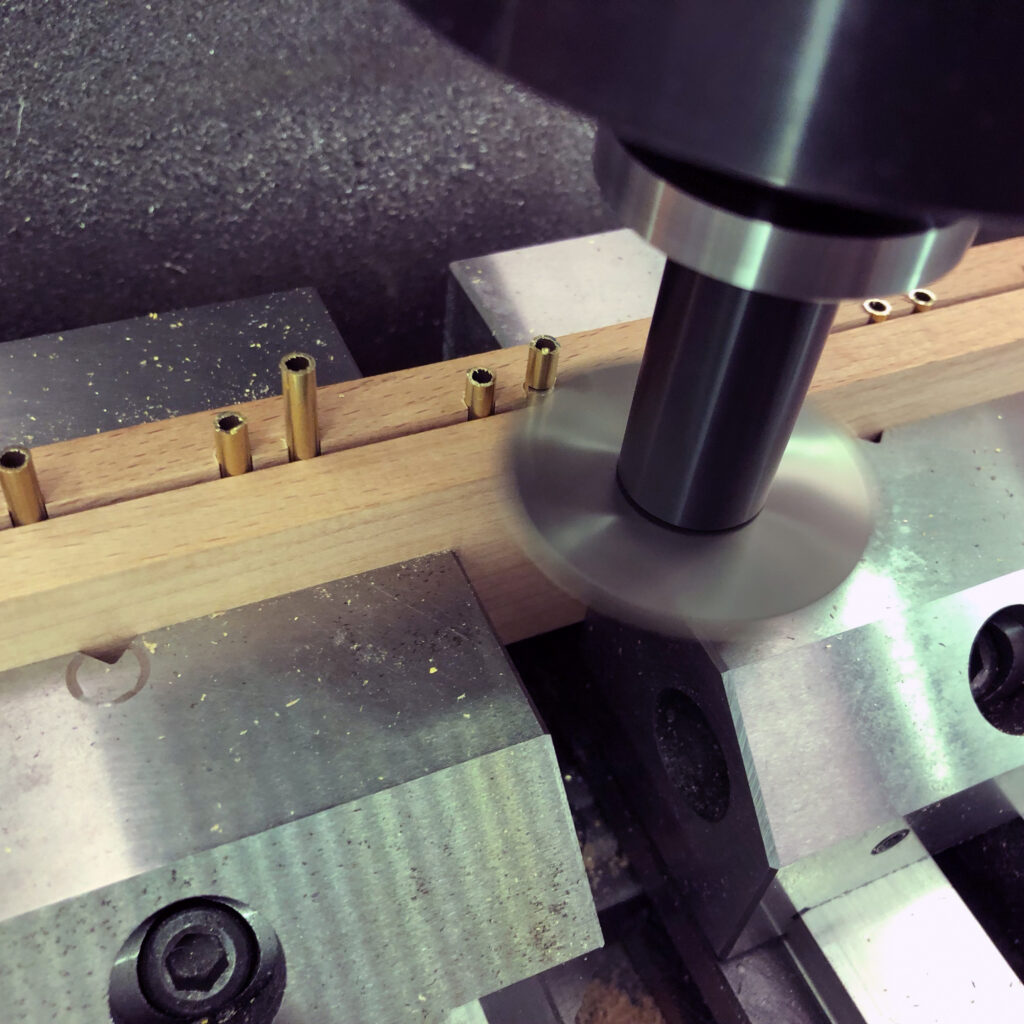
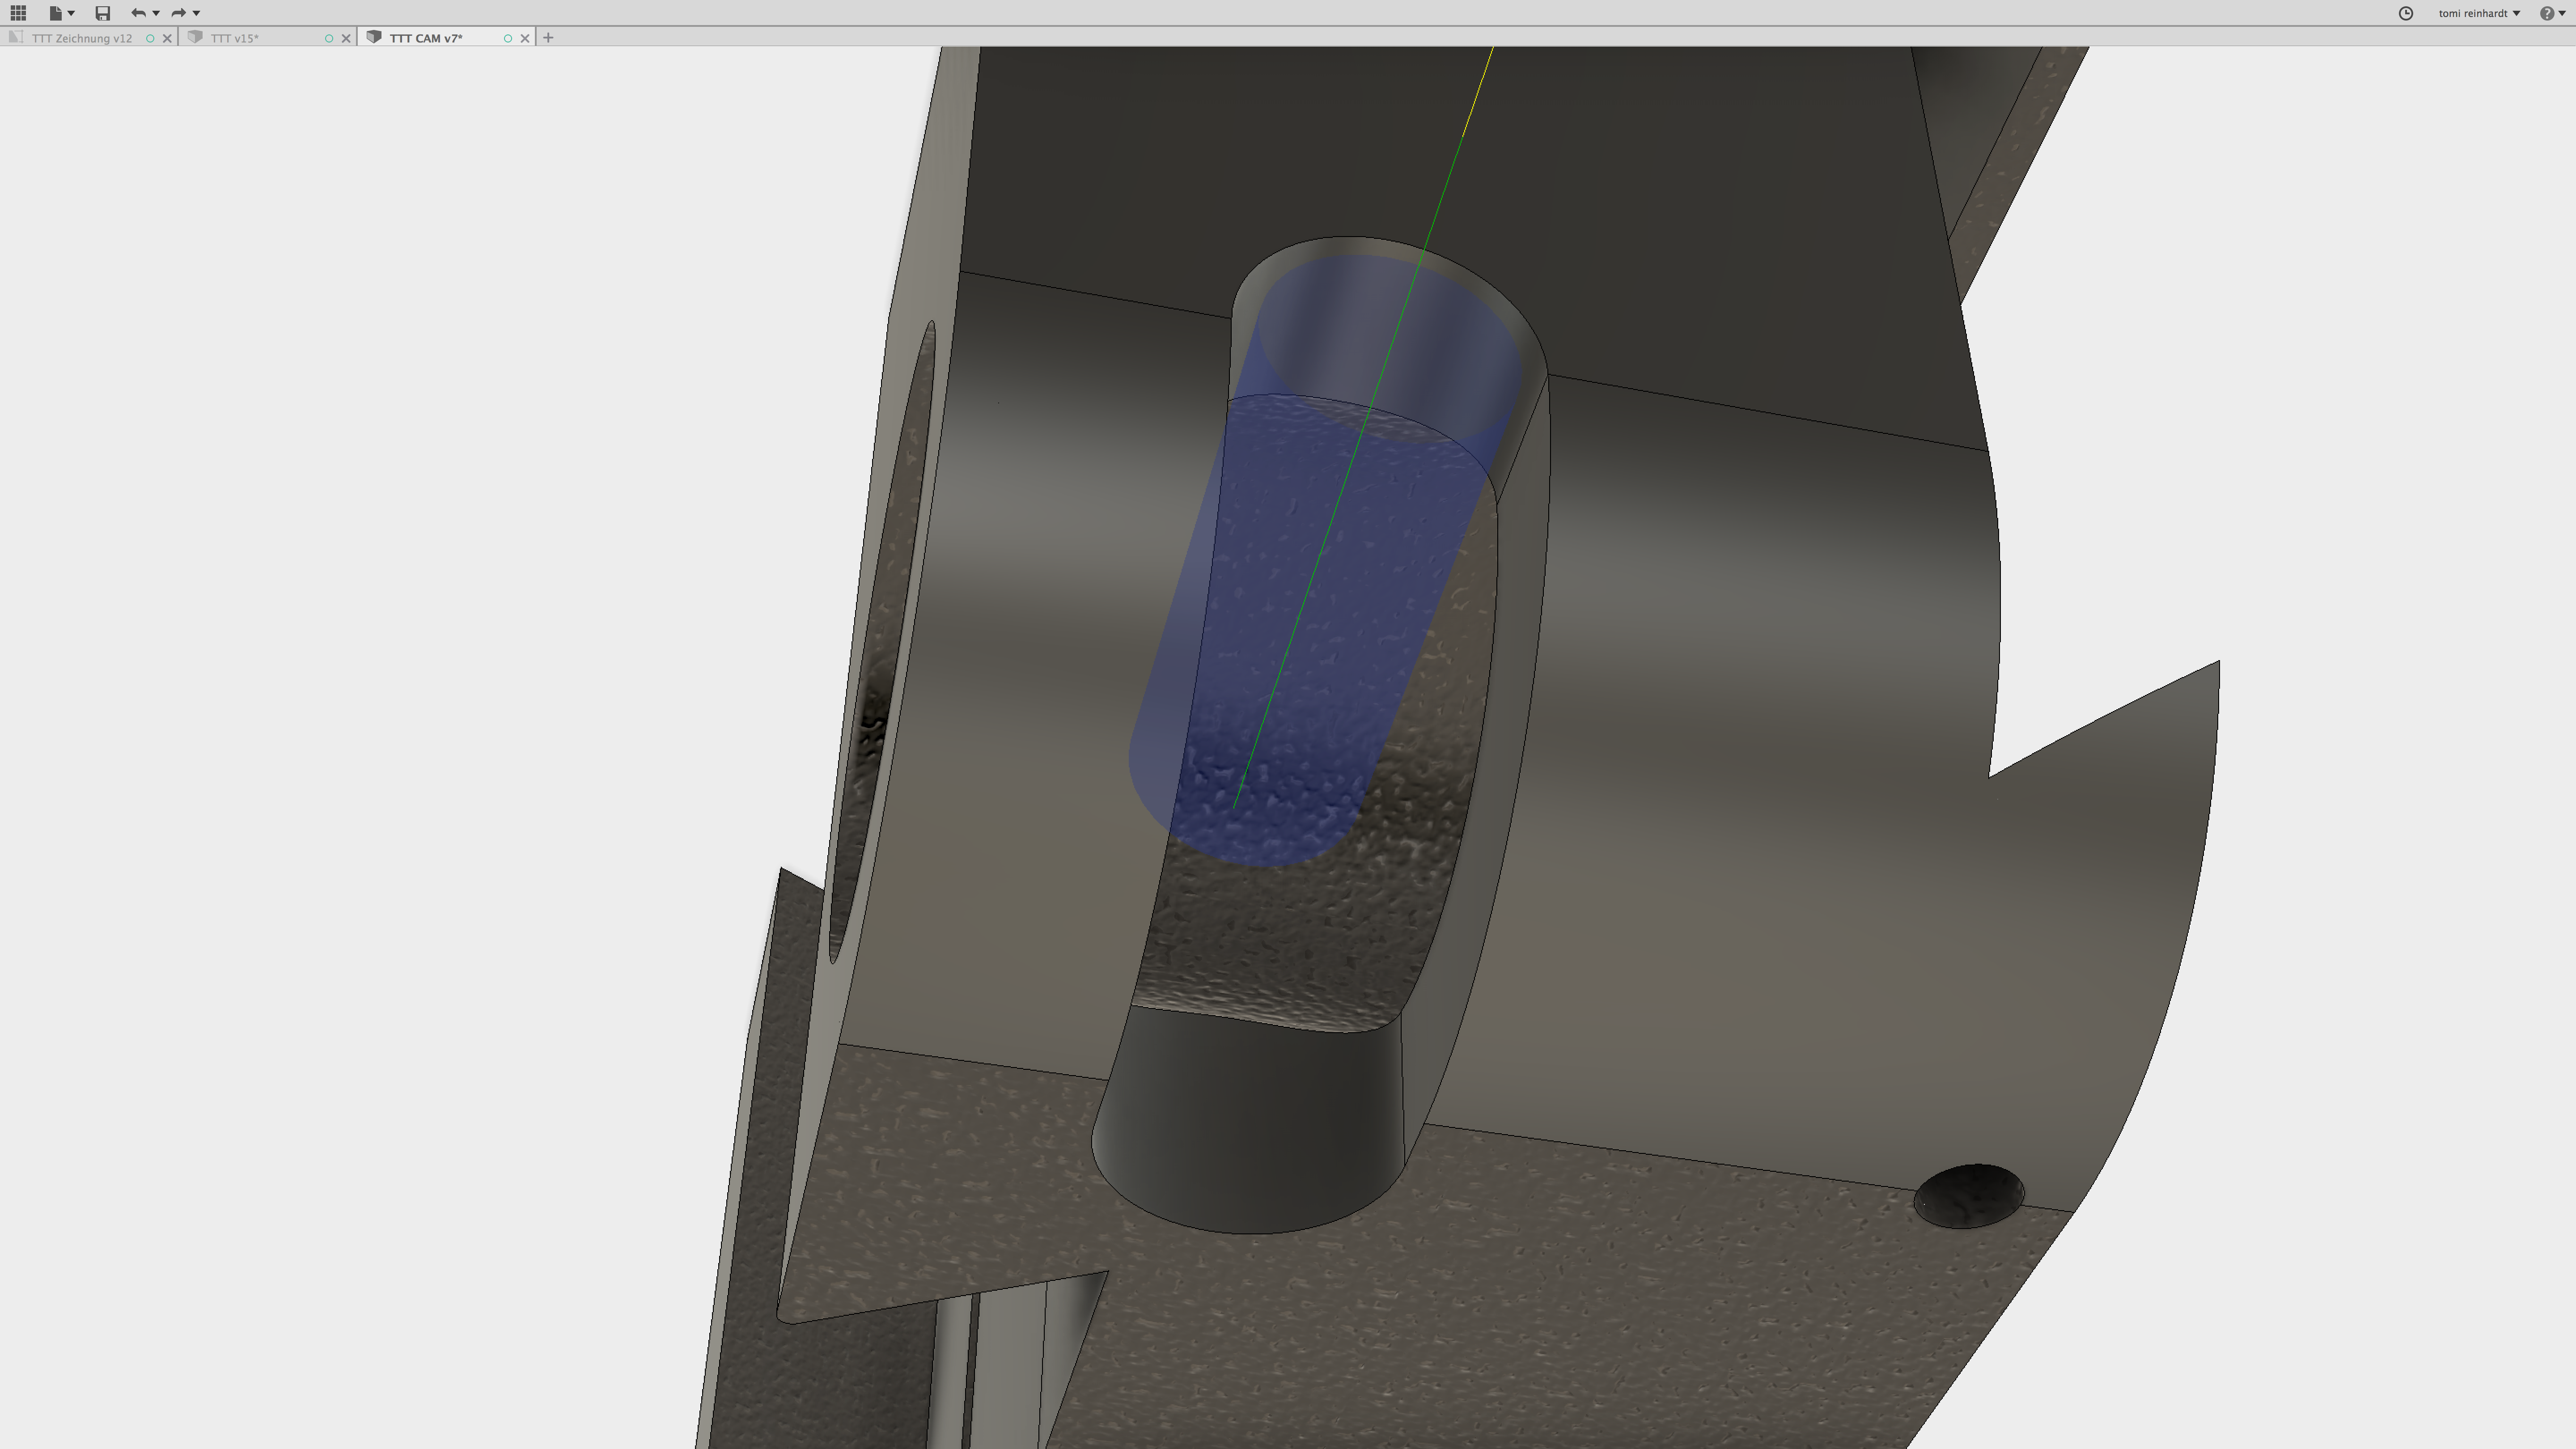
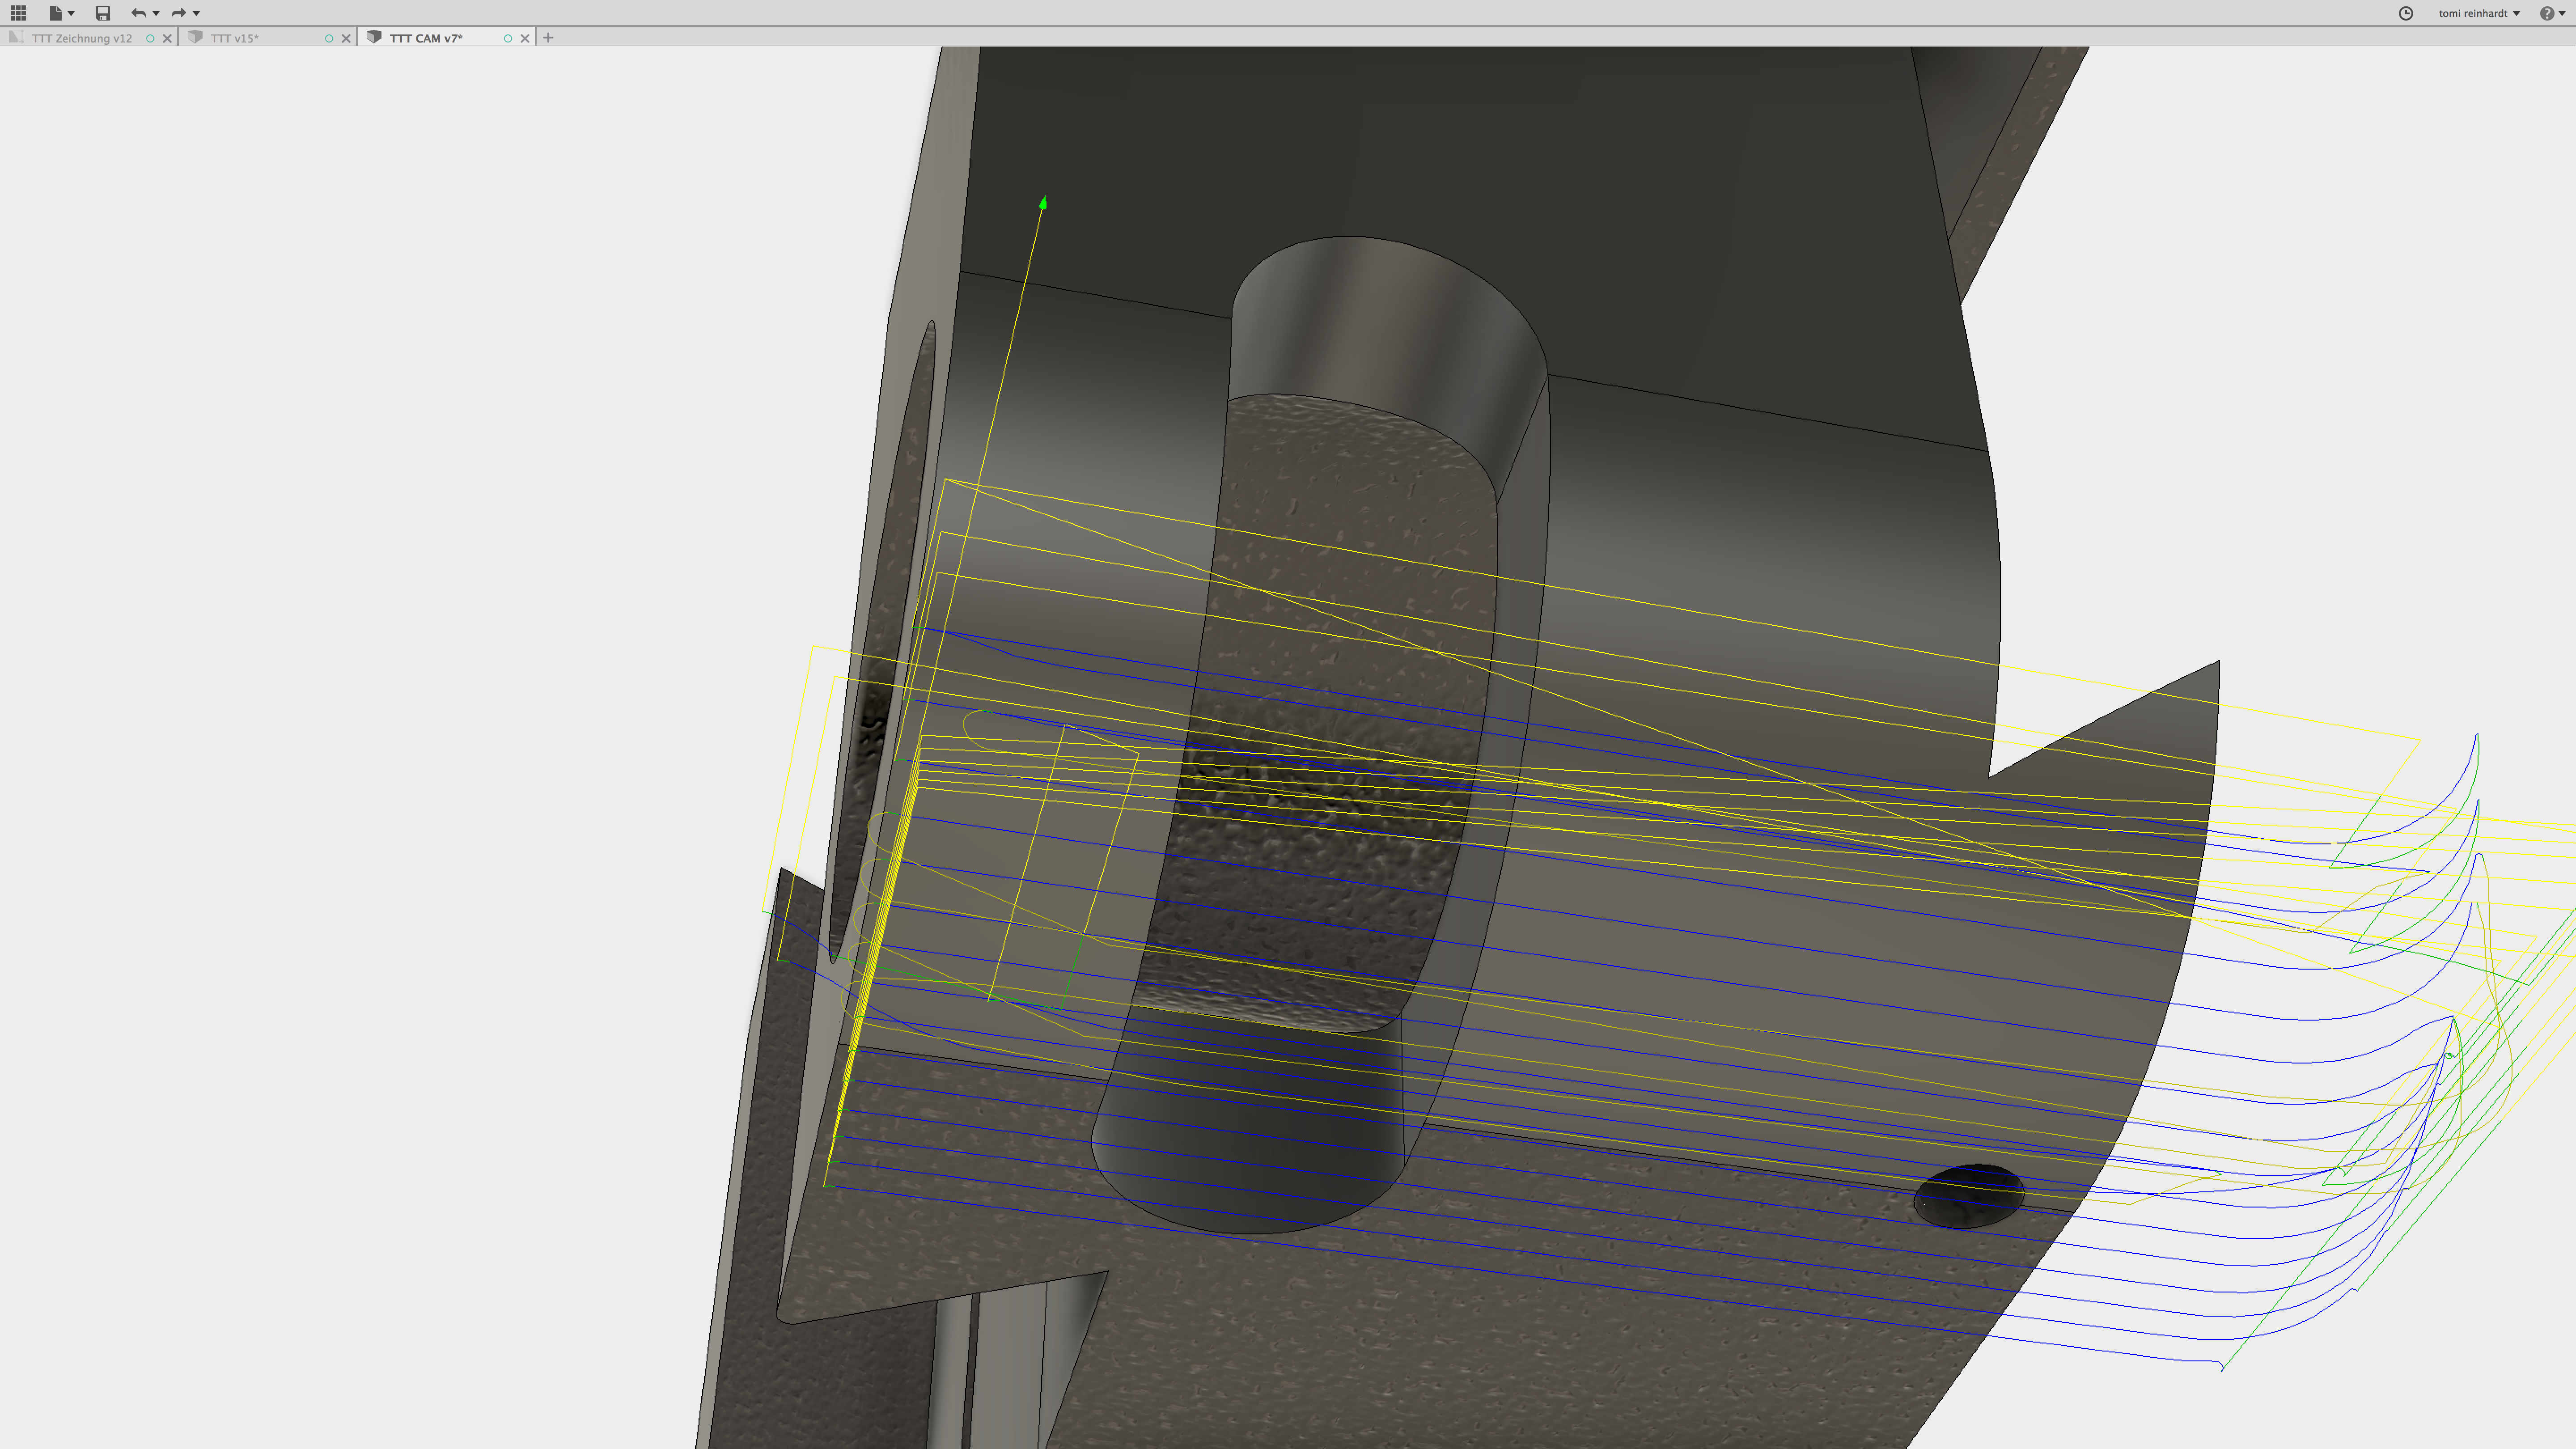
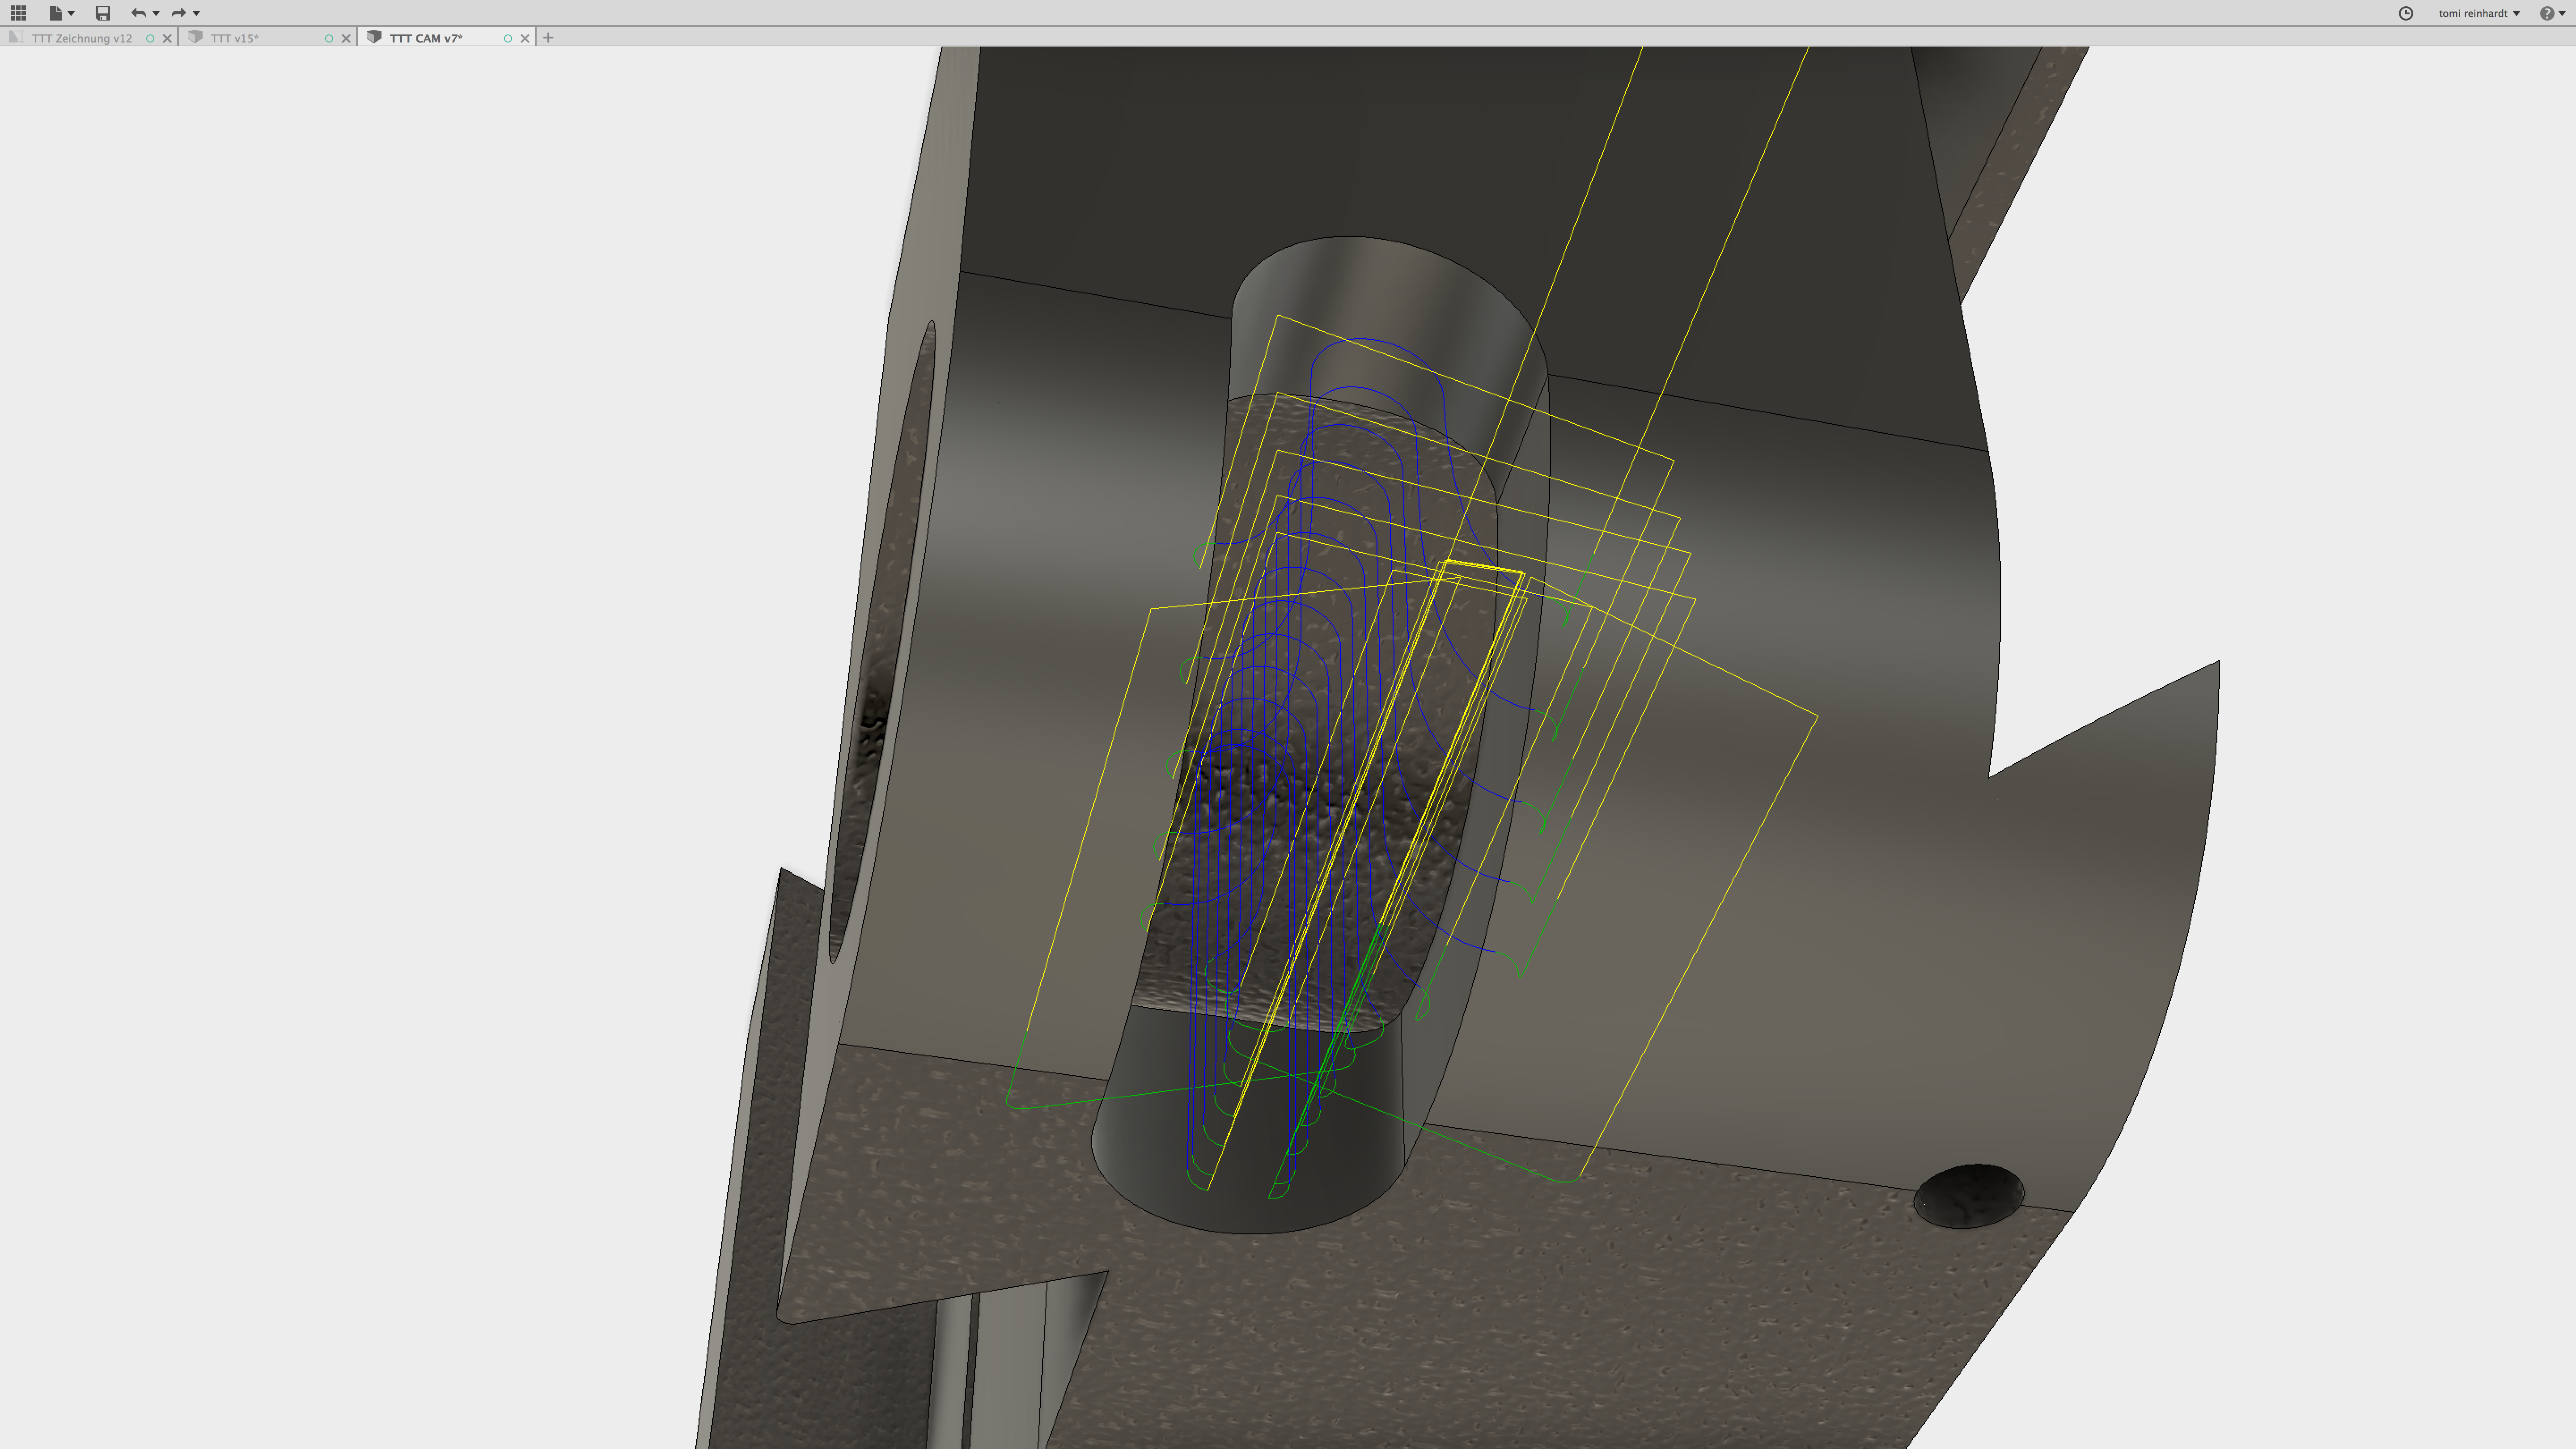
Most parts were milled on the Tormach PCNC440. There were tricky ones, like the dovetails, which need to be smaller than the ones of the back of the toolholder (btw.: yes, also the little version of the dovetail cutter showed on insta works like a charm), or the small cross-section for the lever, which needed a precise angle on the top as back stop. Some screenshots from the «lever side»:
Another difficult part was the axe which connects the slider to the lever: even though it’s possible to simulate almost everything in CAD/CAM, I had to make another version – 0.3 mm longer. It worked perfectly, but in the neutral position, the slider poked out a little bit 😉
After assembly, it turned out, that two pins on the slider was overkill. One is enough – with the benefit, that a stronger ball-point-pen-spring could be used.
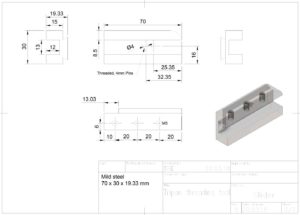
Plans
For those who are interested in: here are some PDF-Files of the different parts which were made:
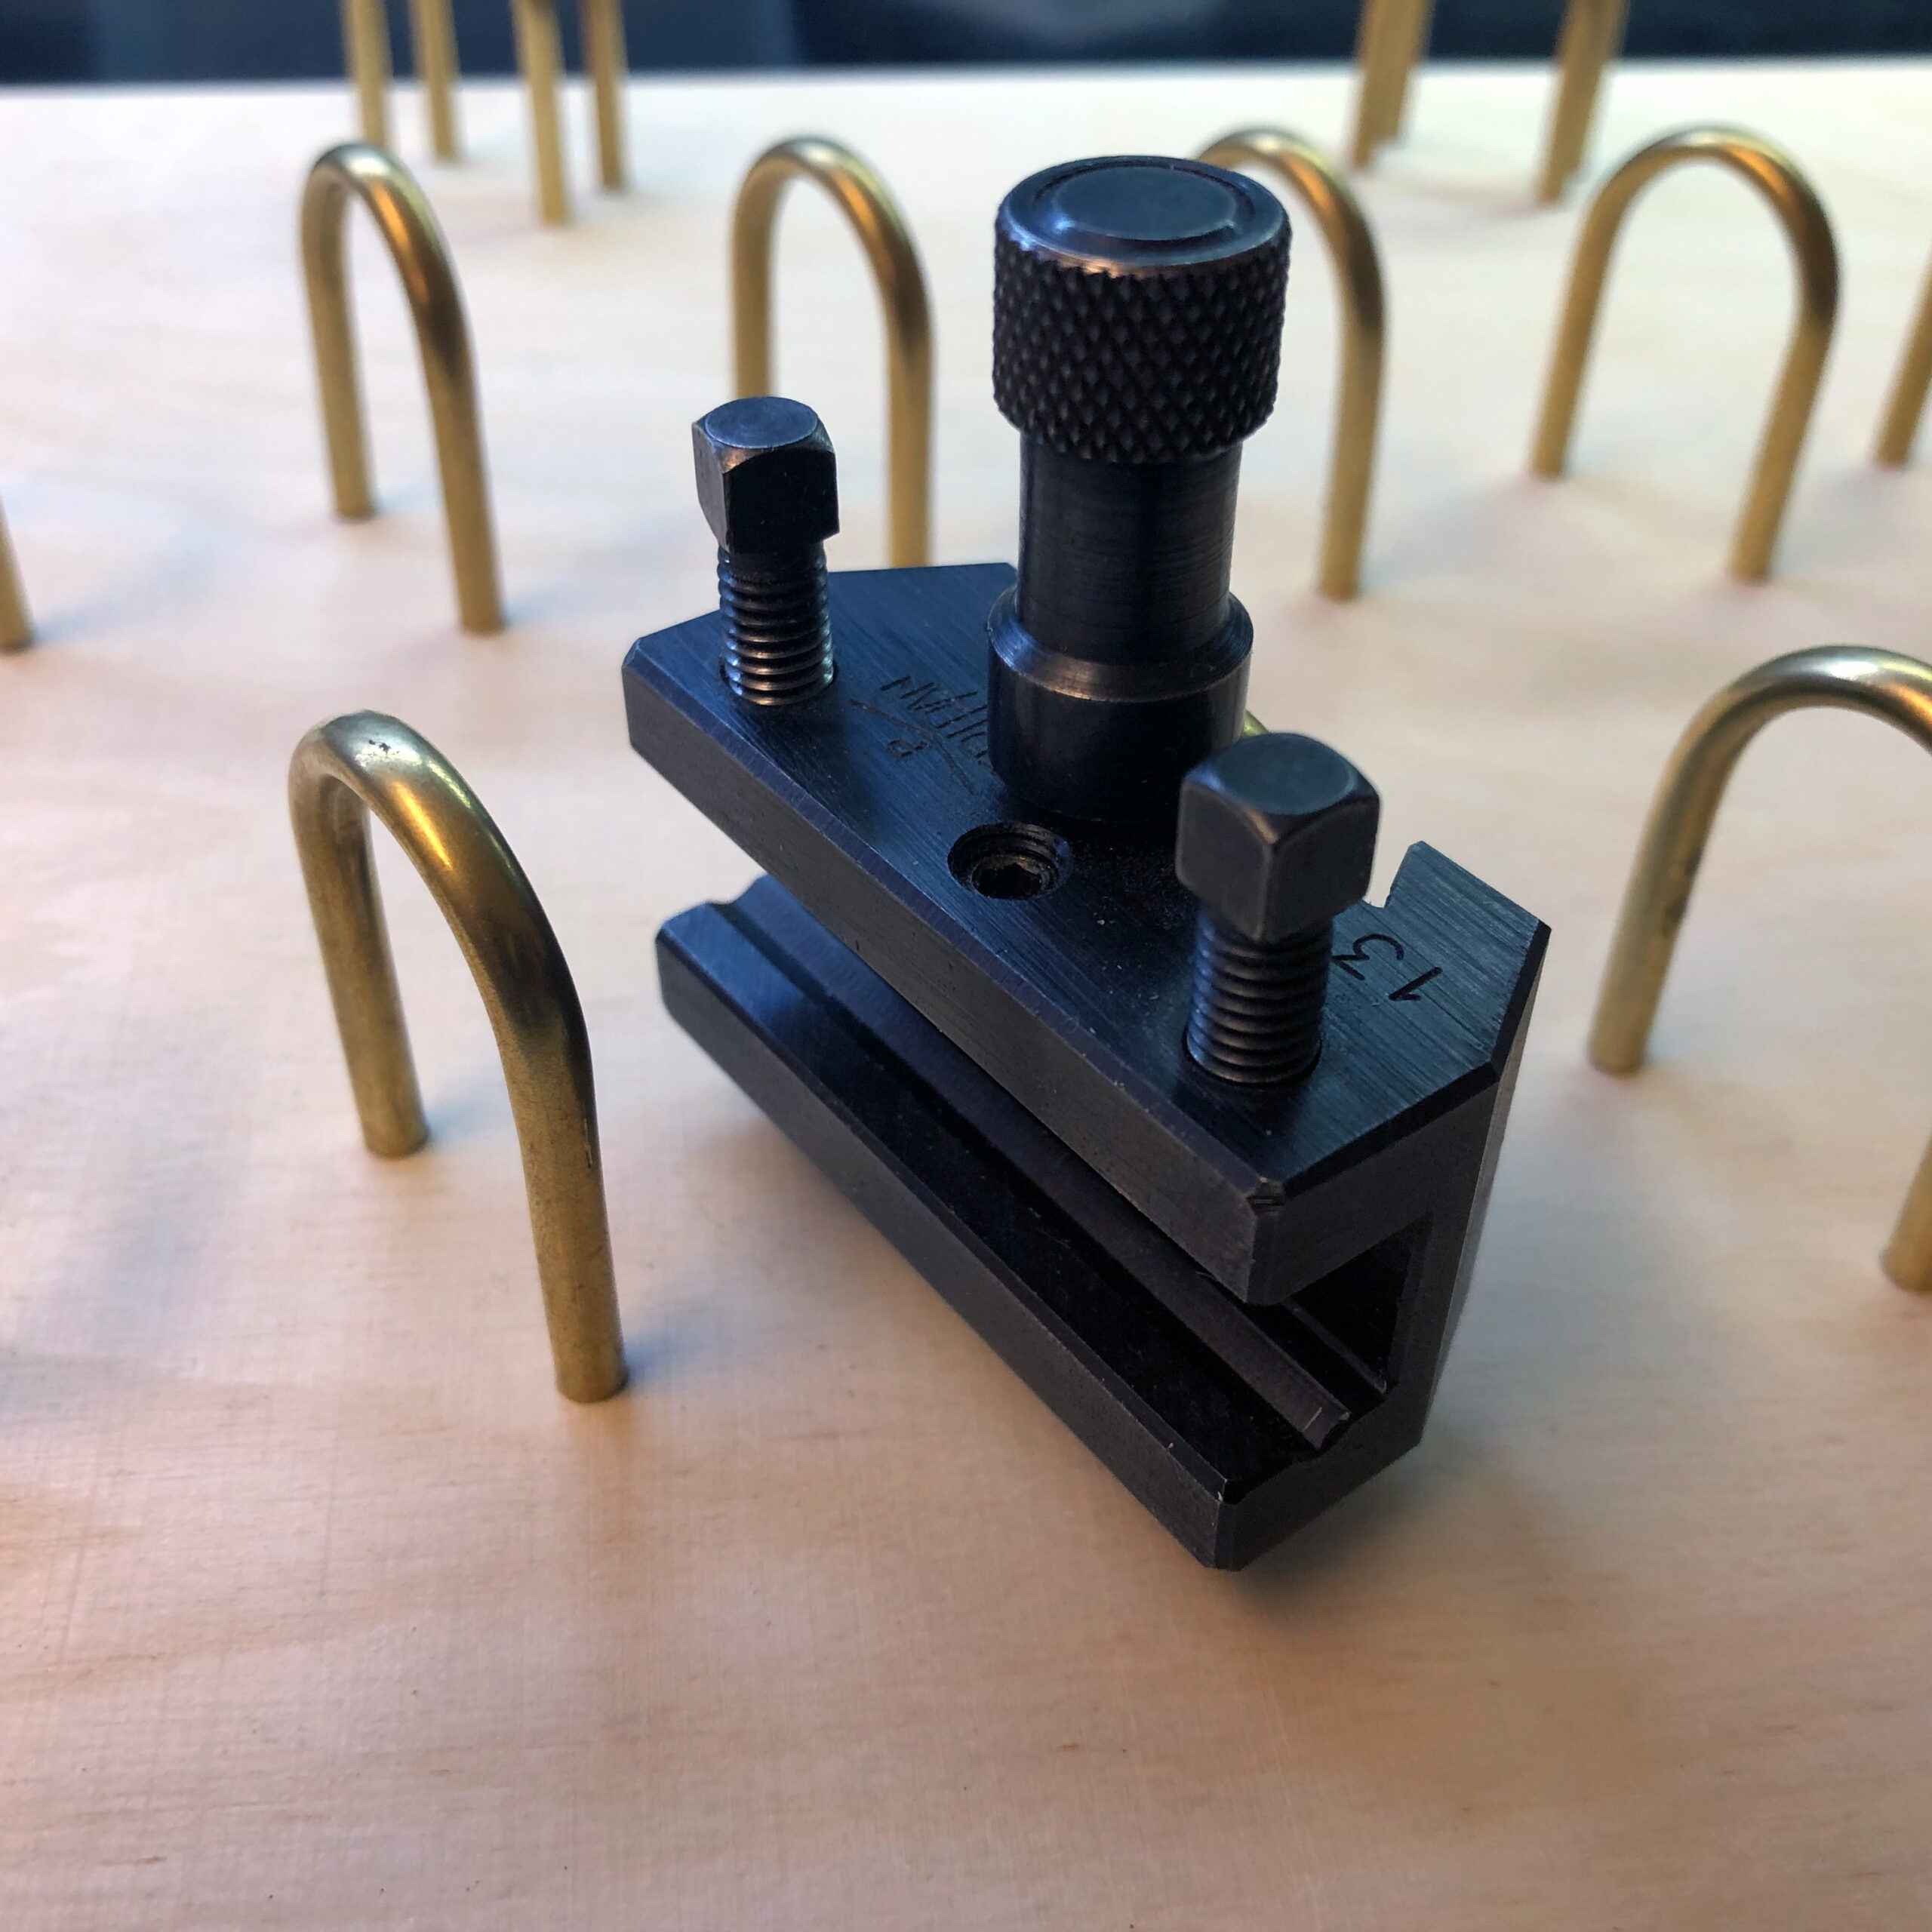
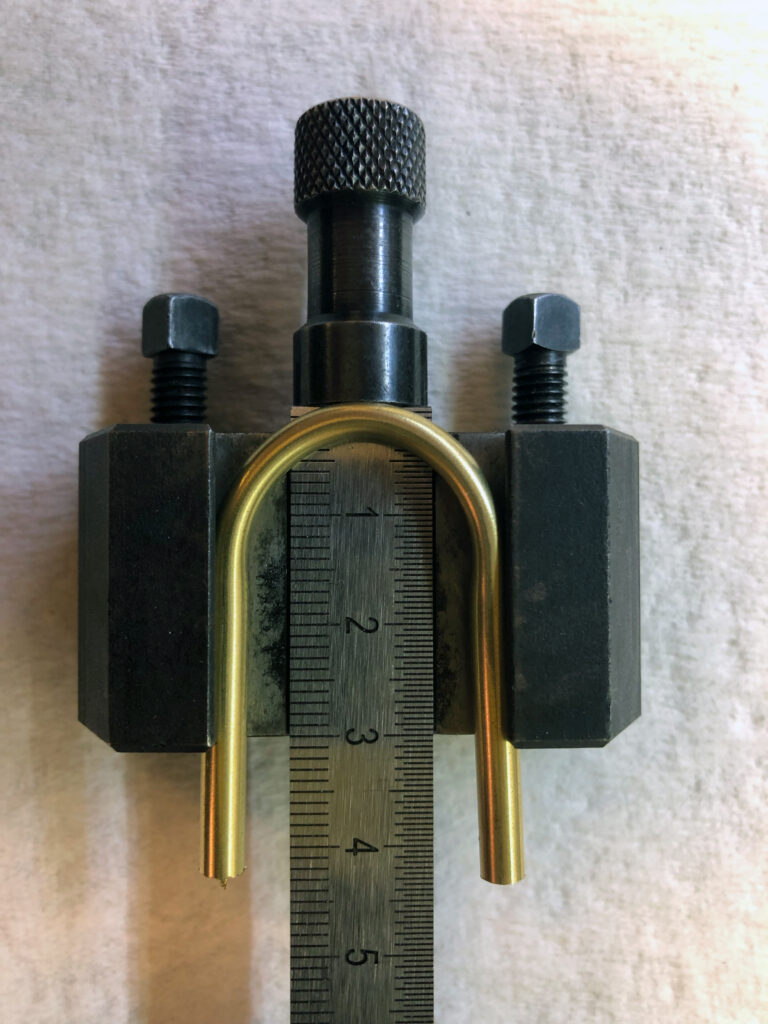
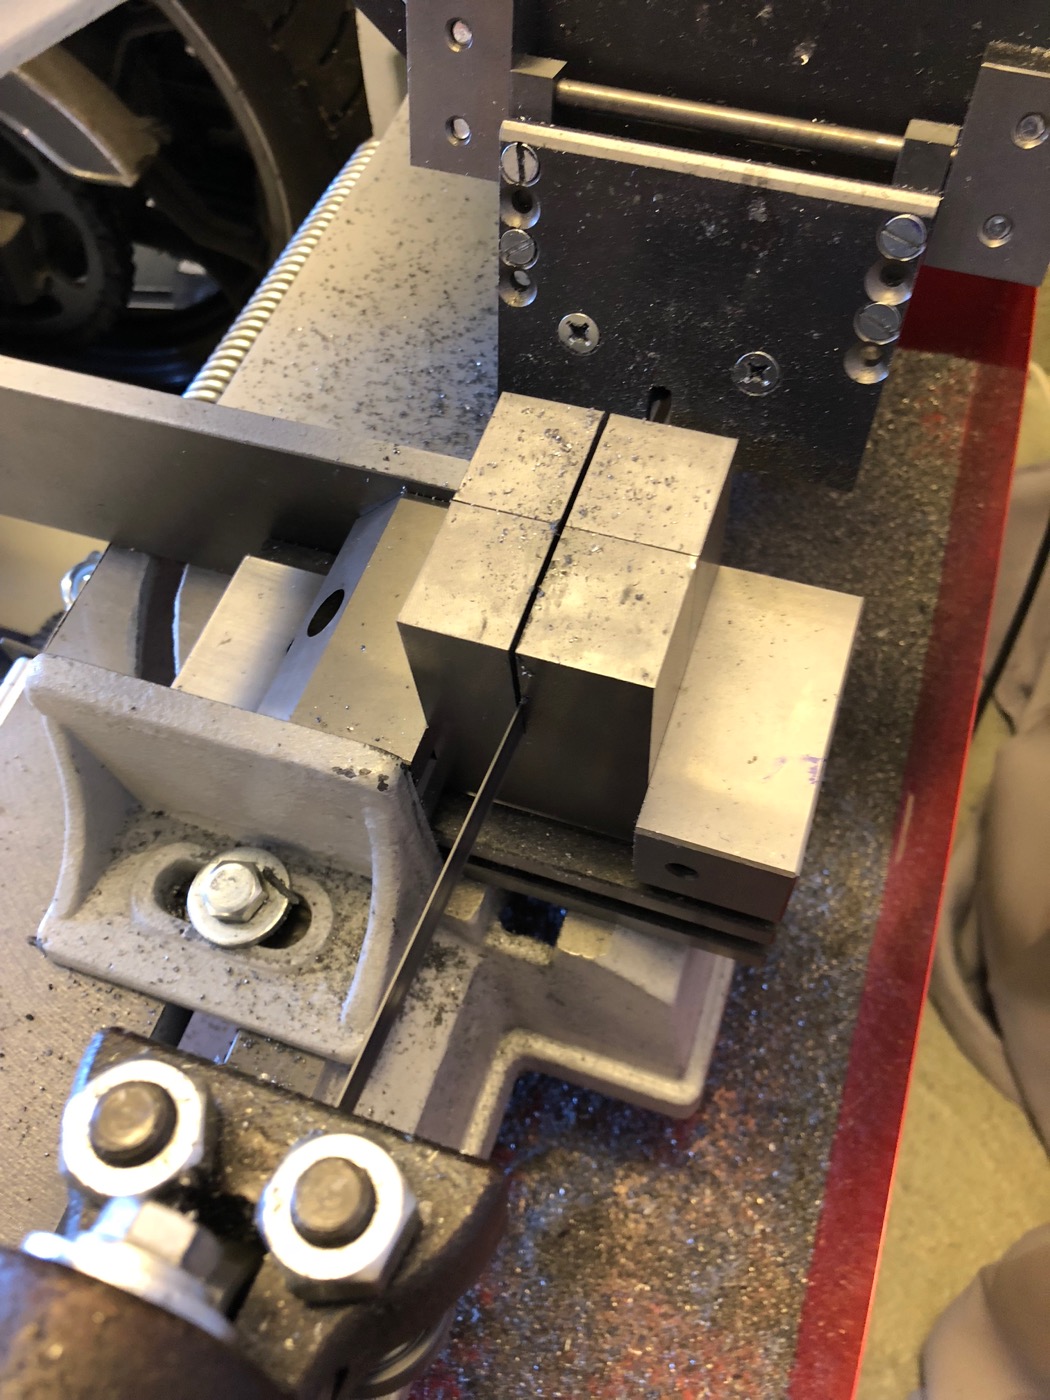
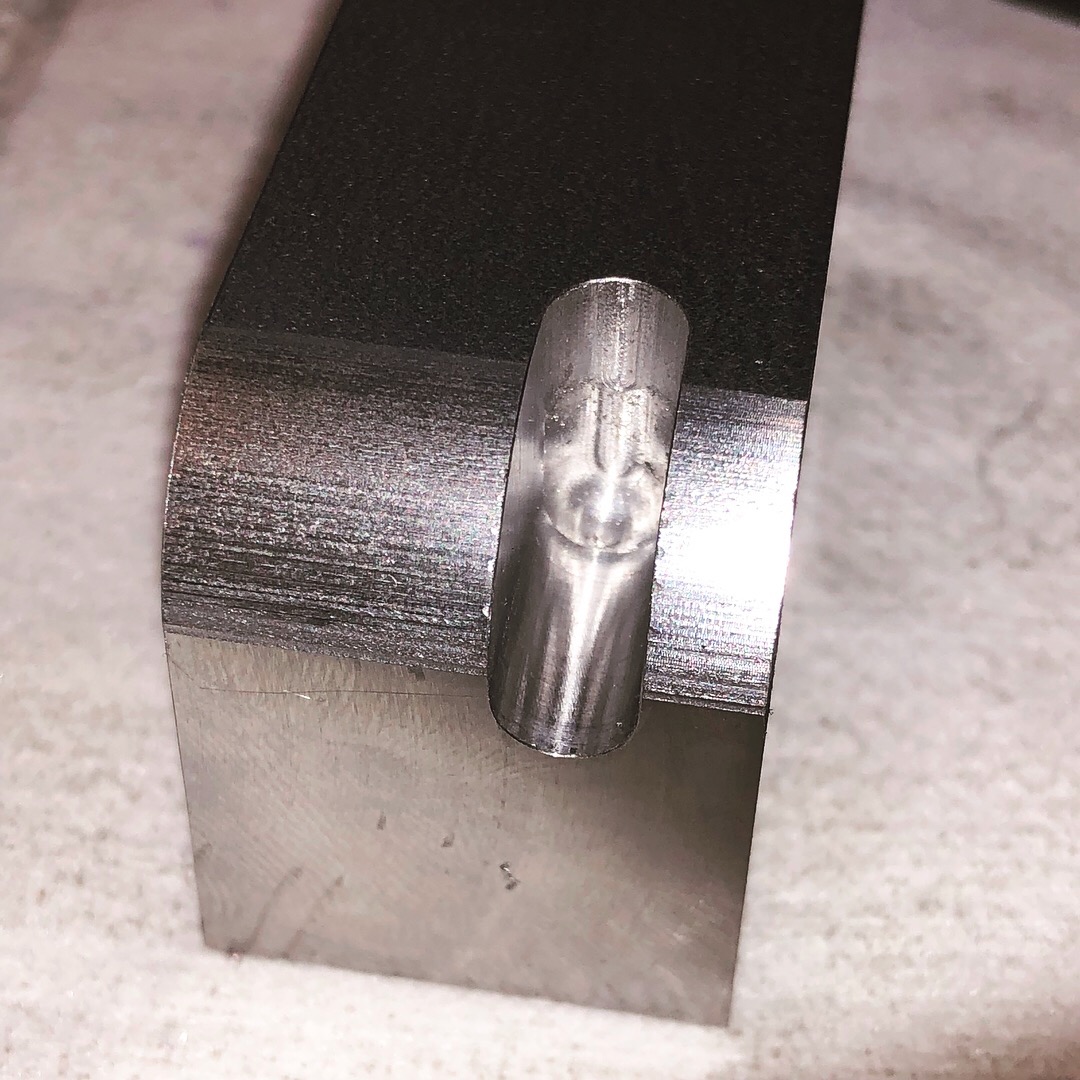
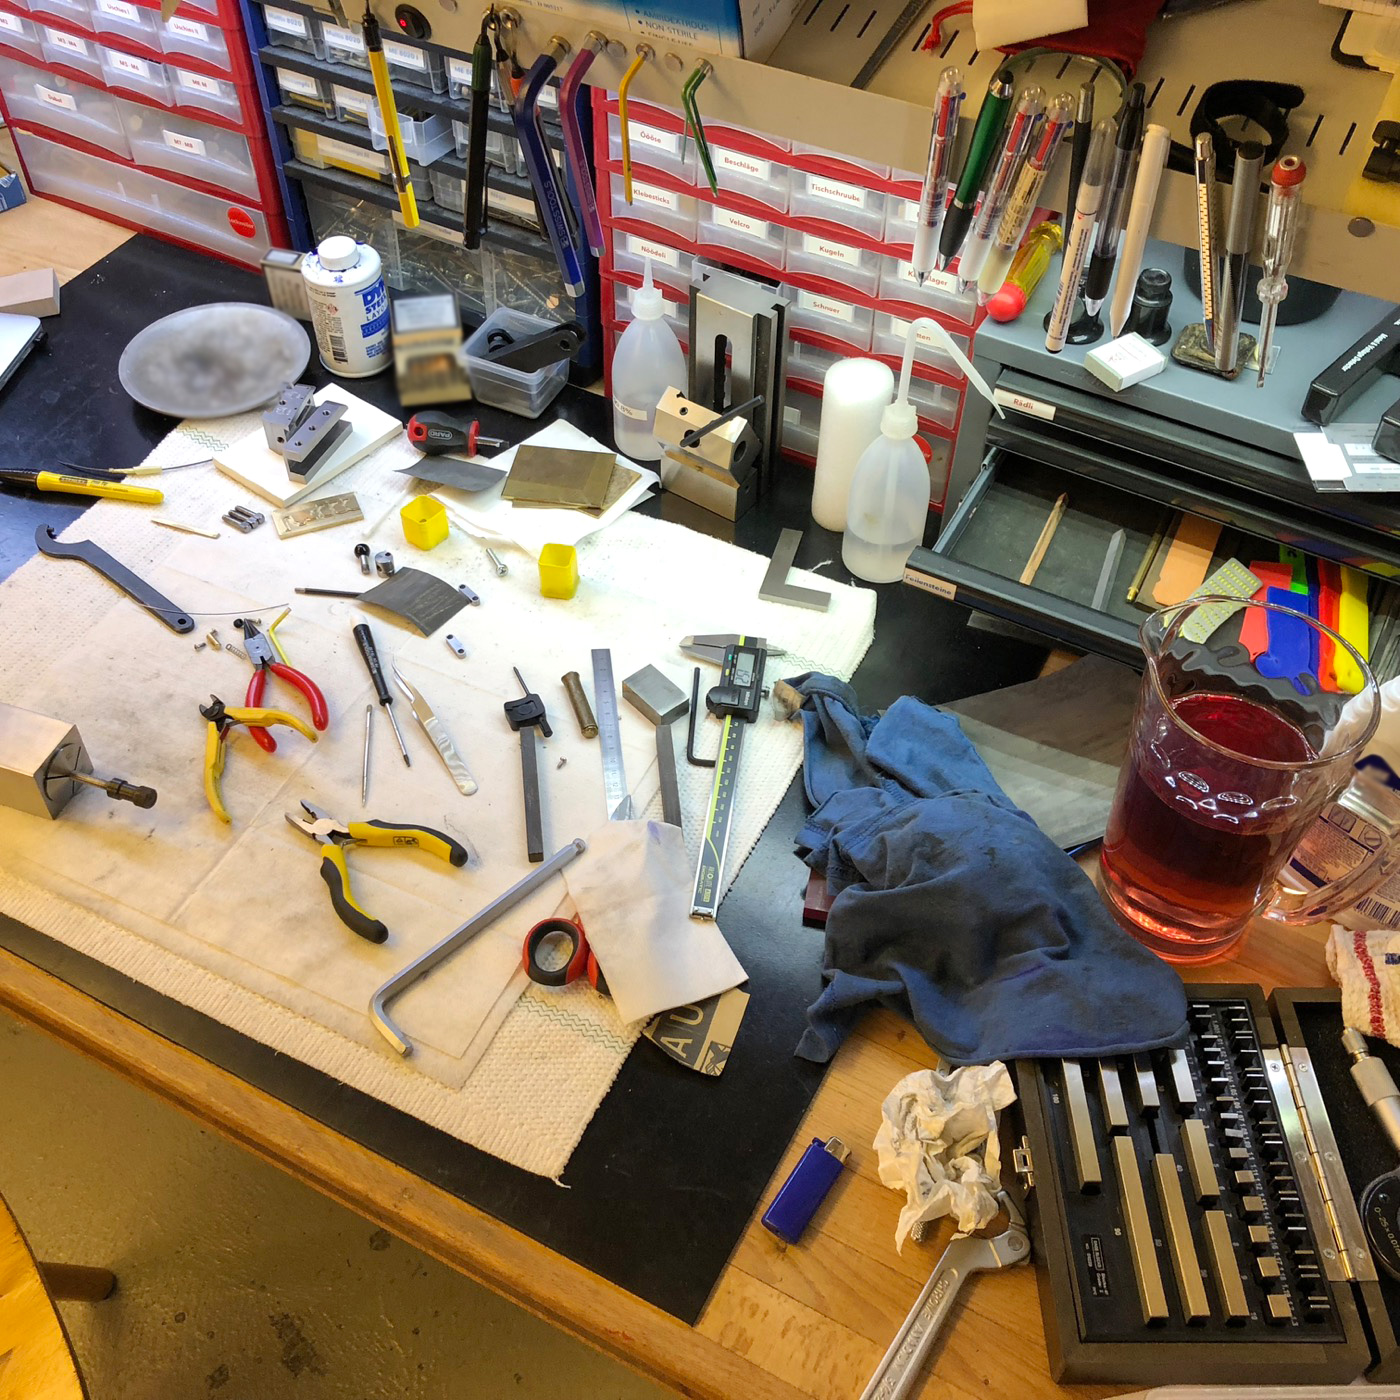
And some photos of the working in progress:
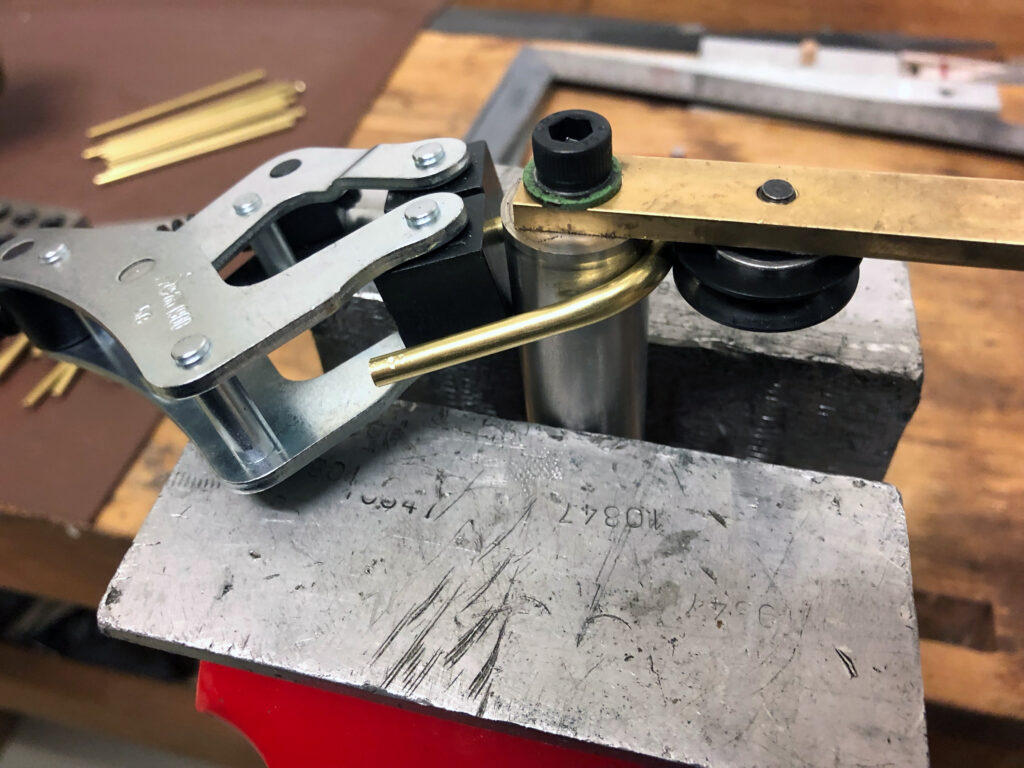
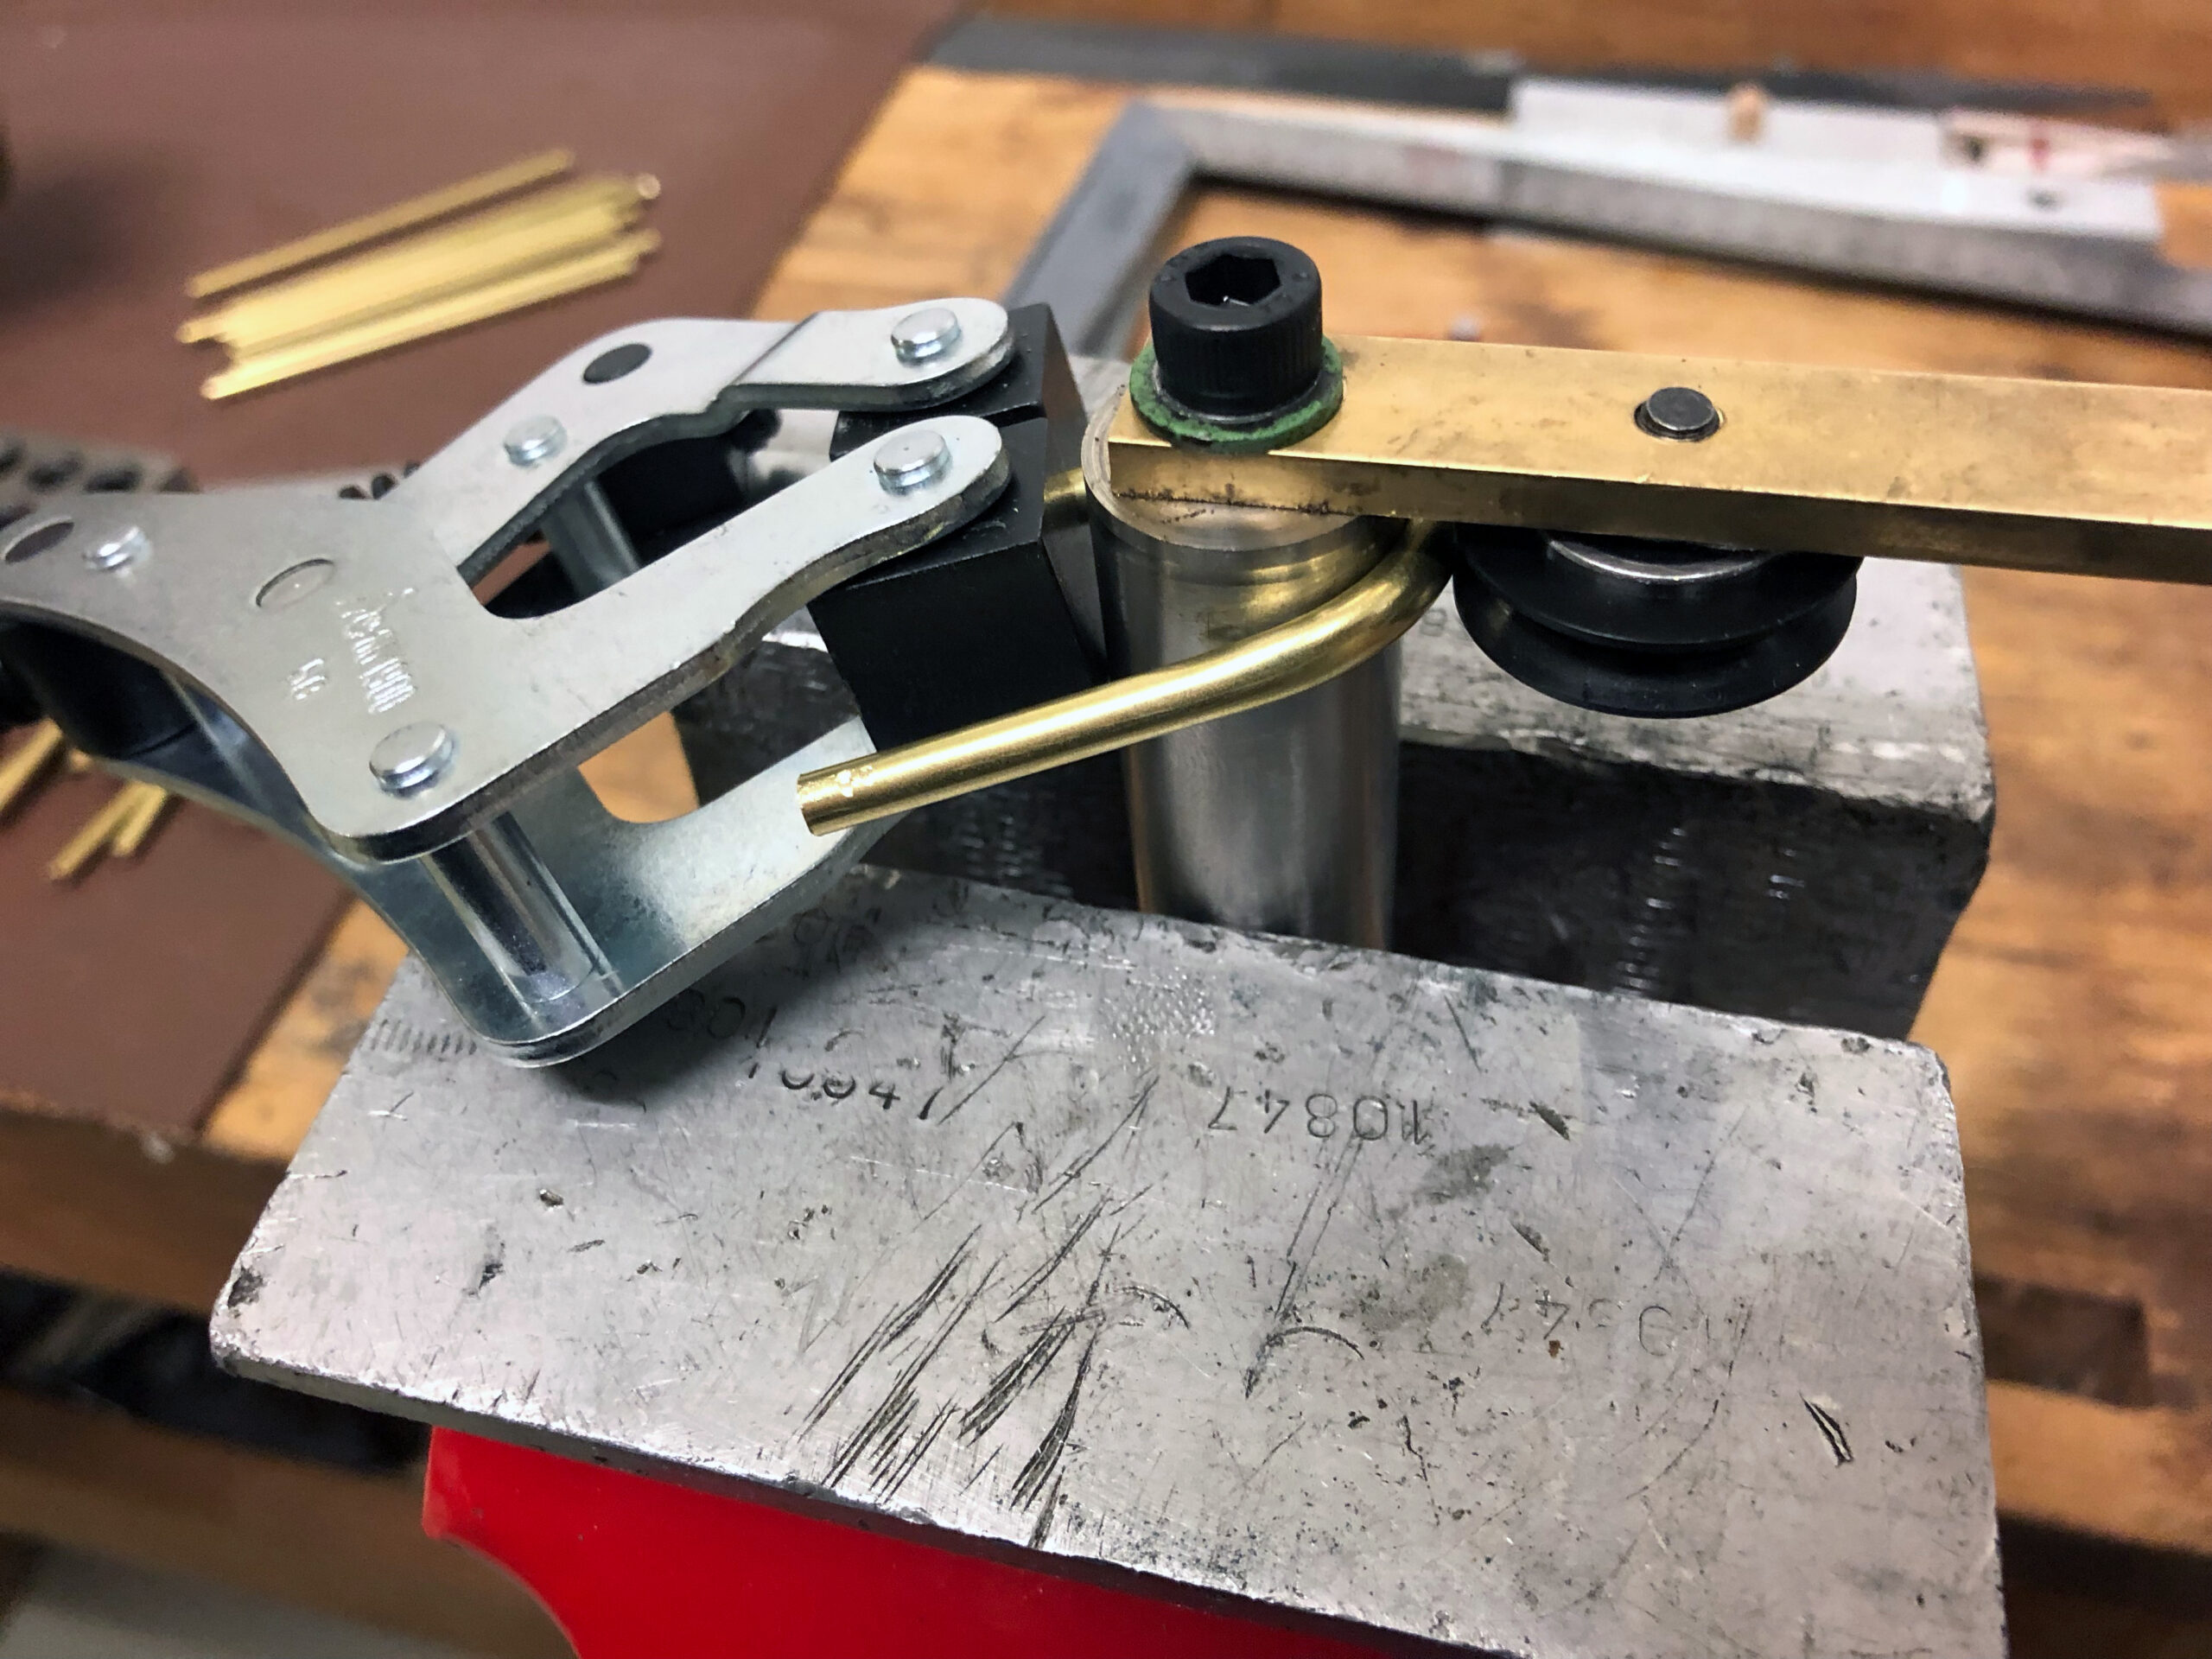
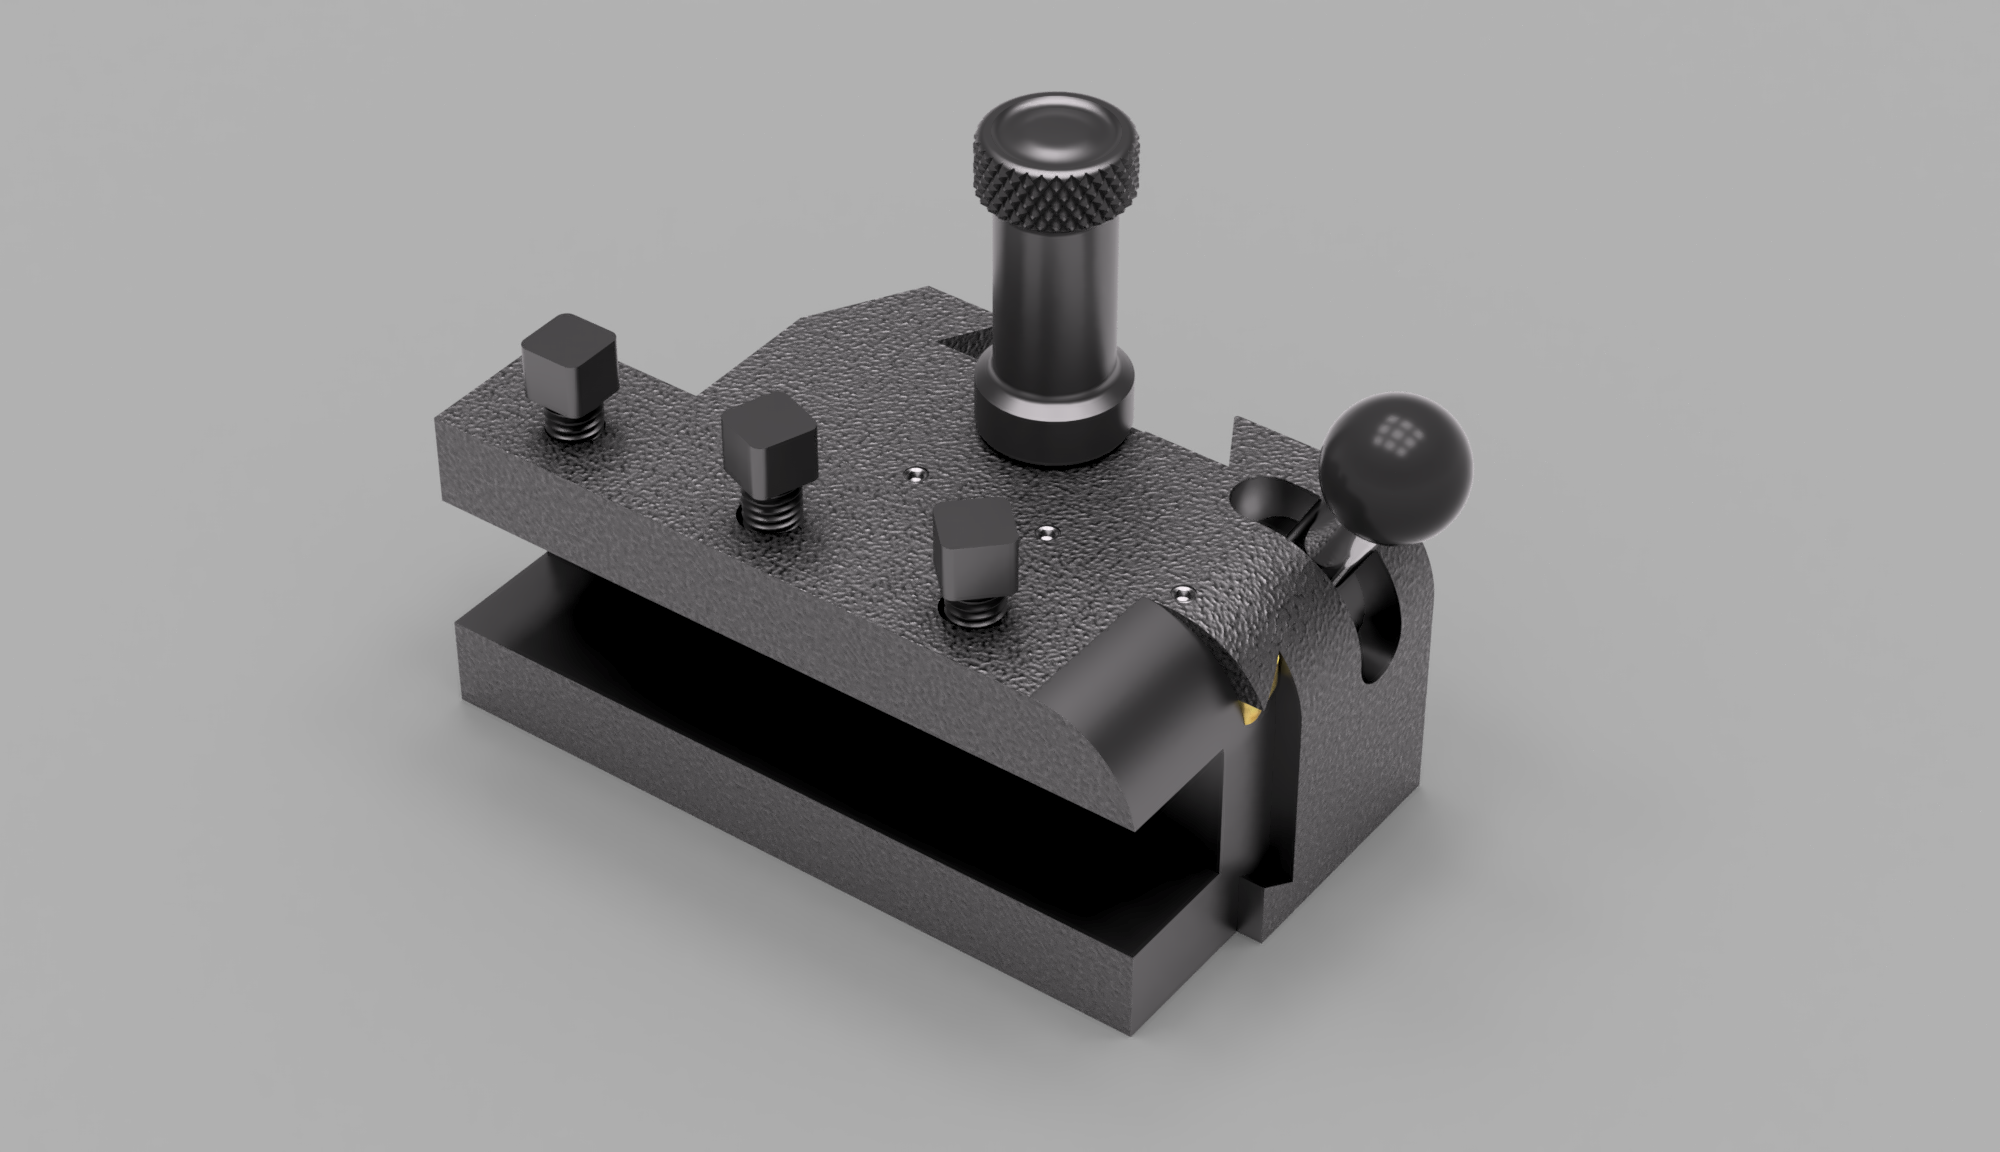
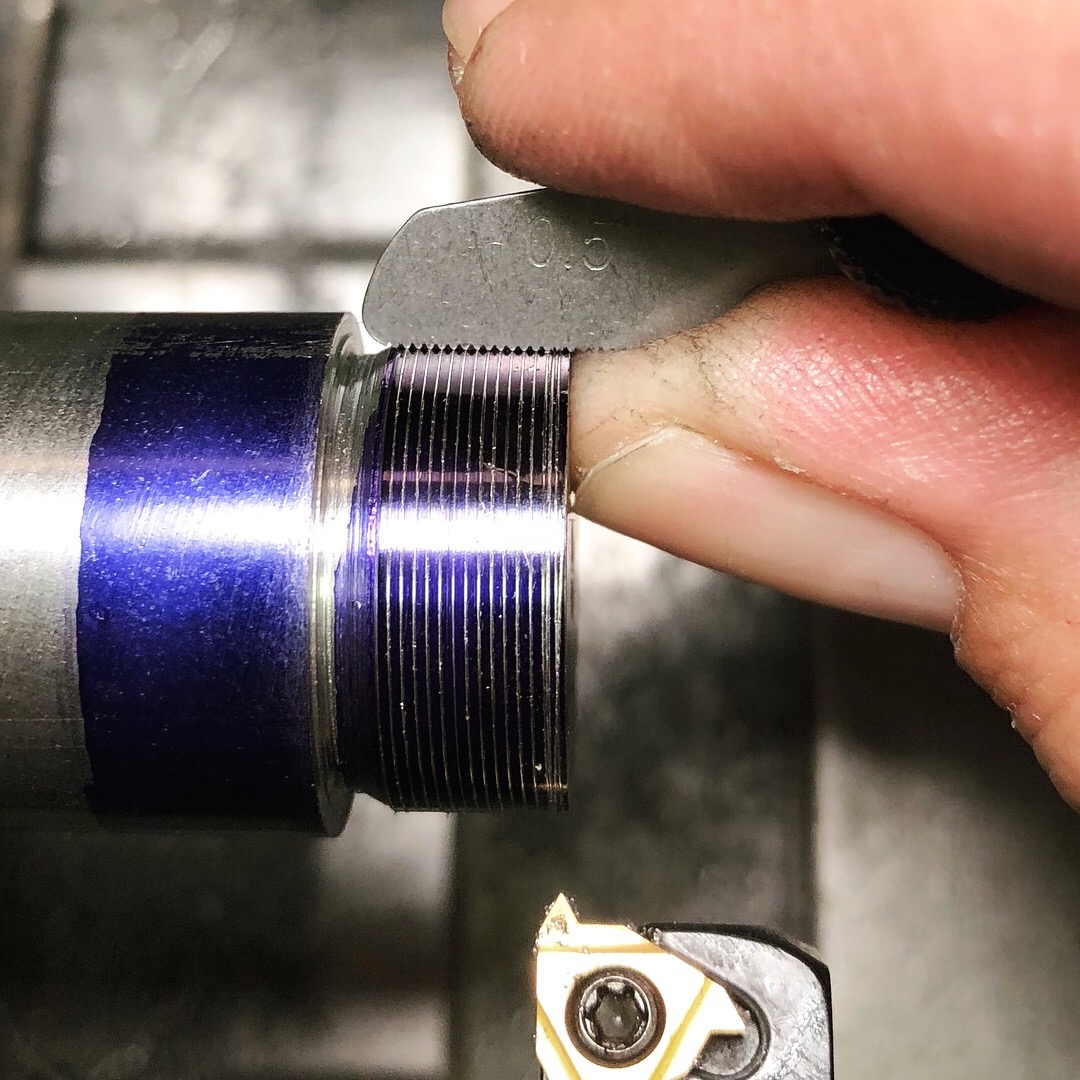
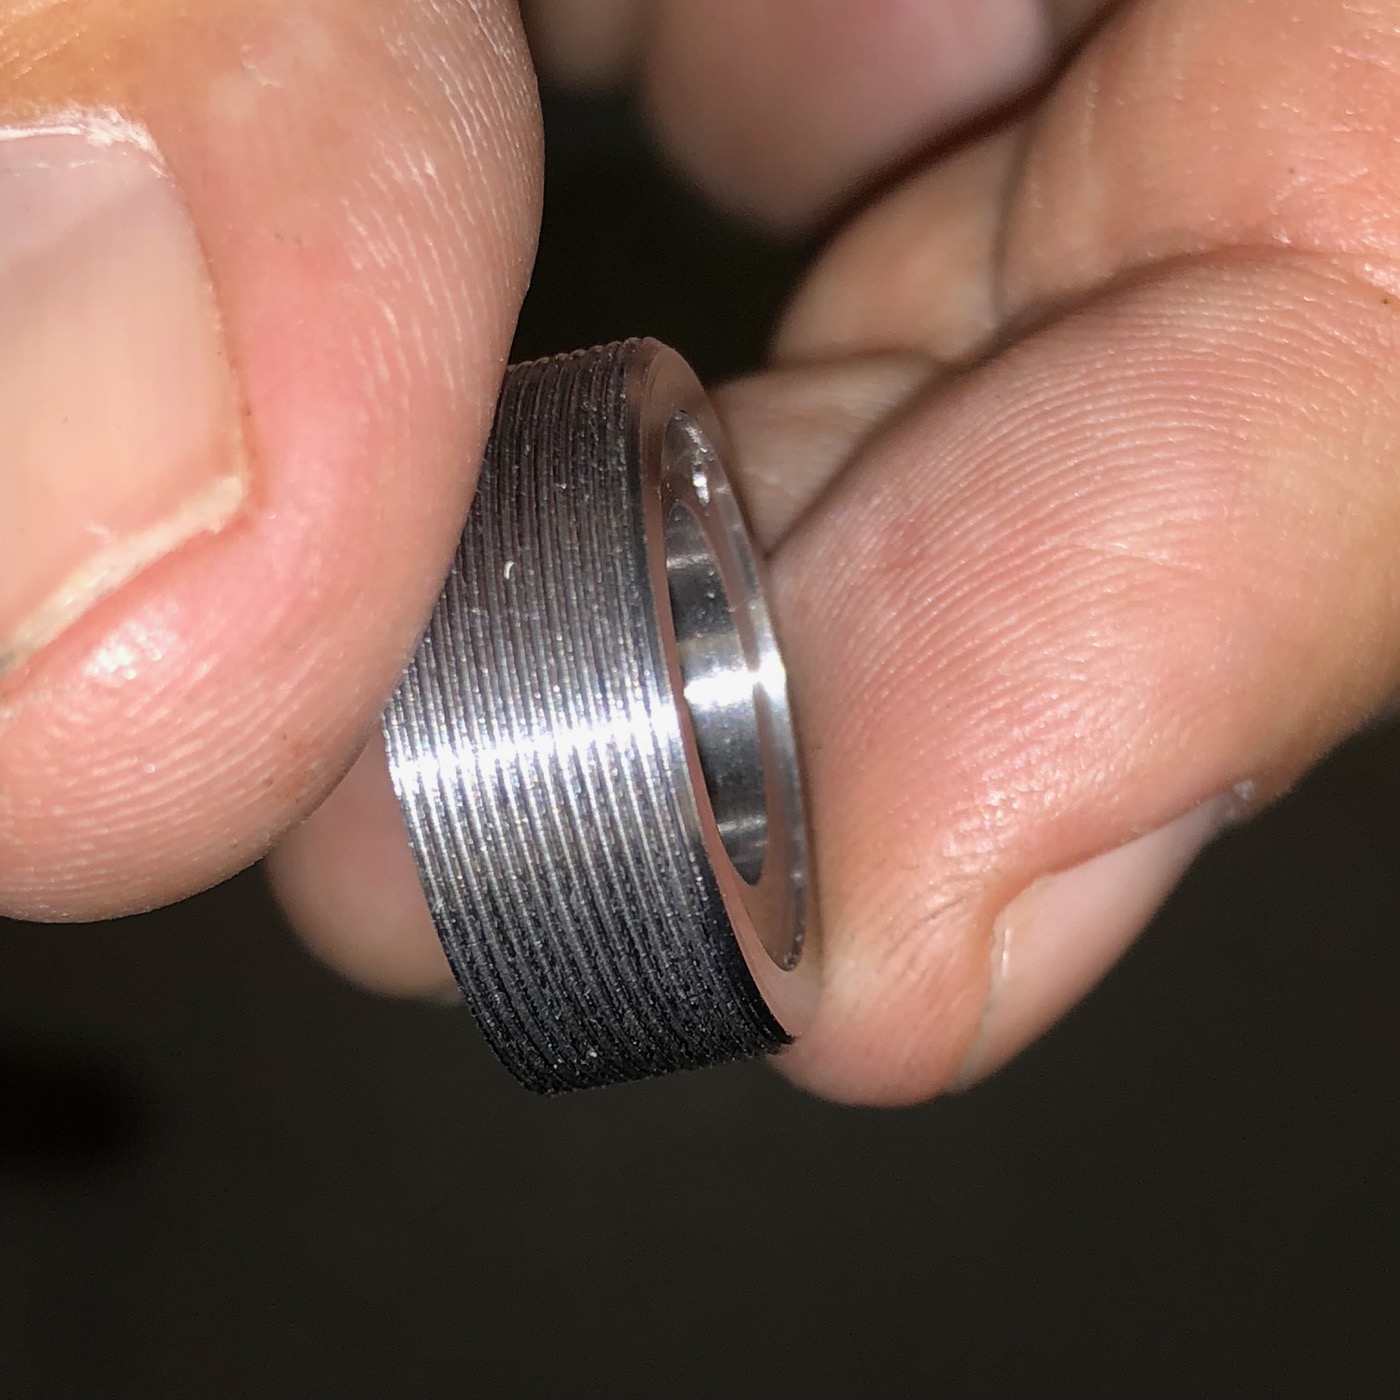
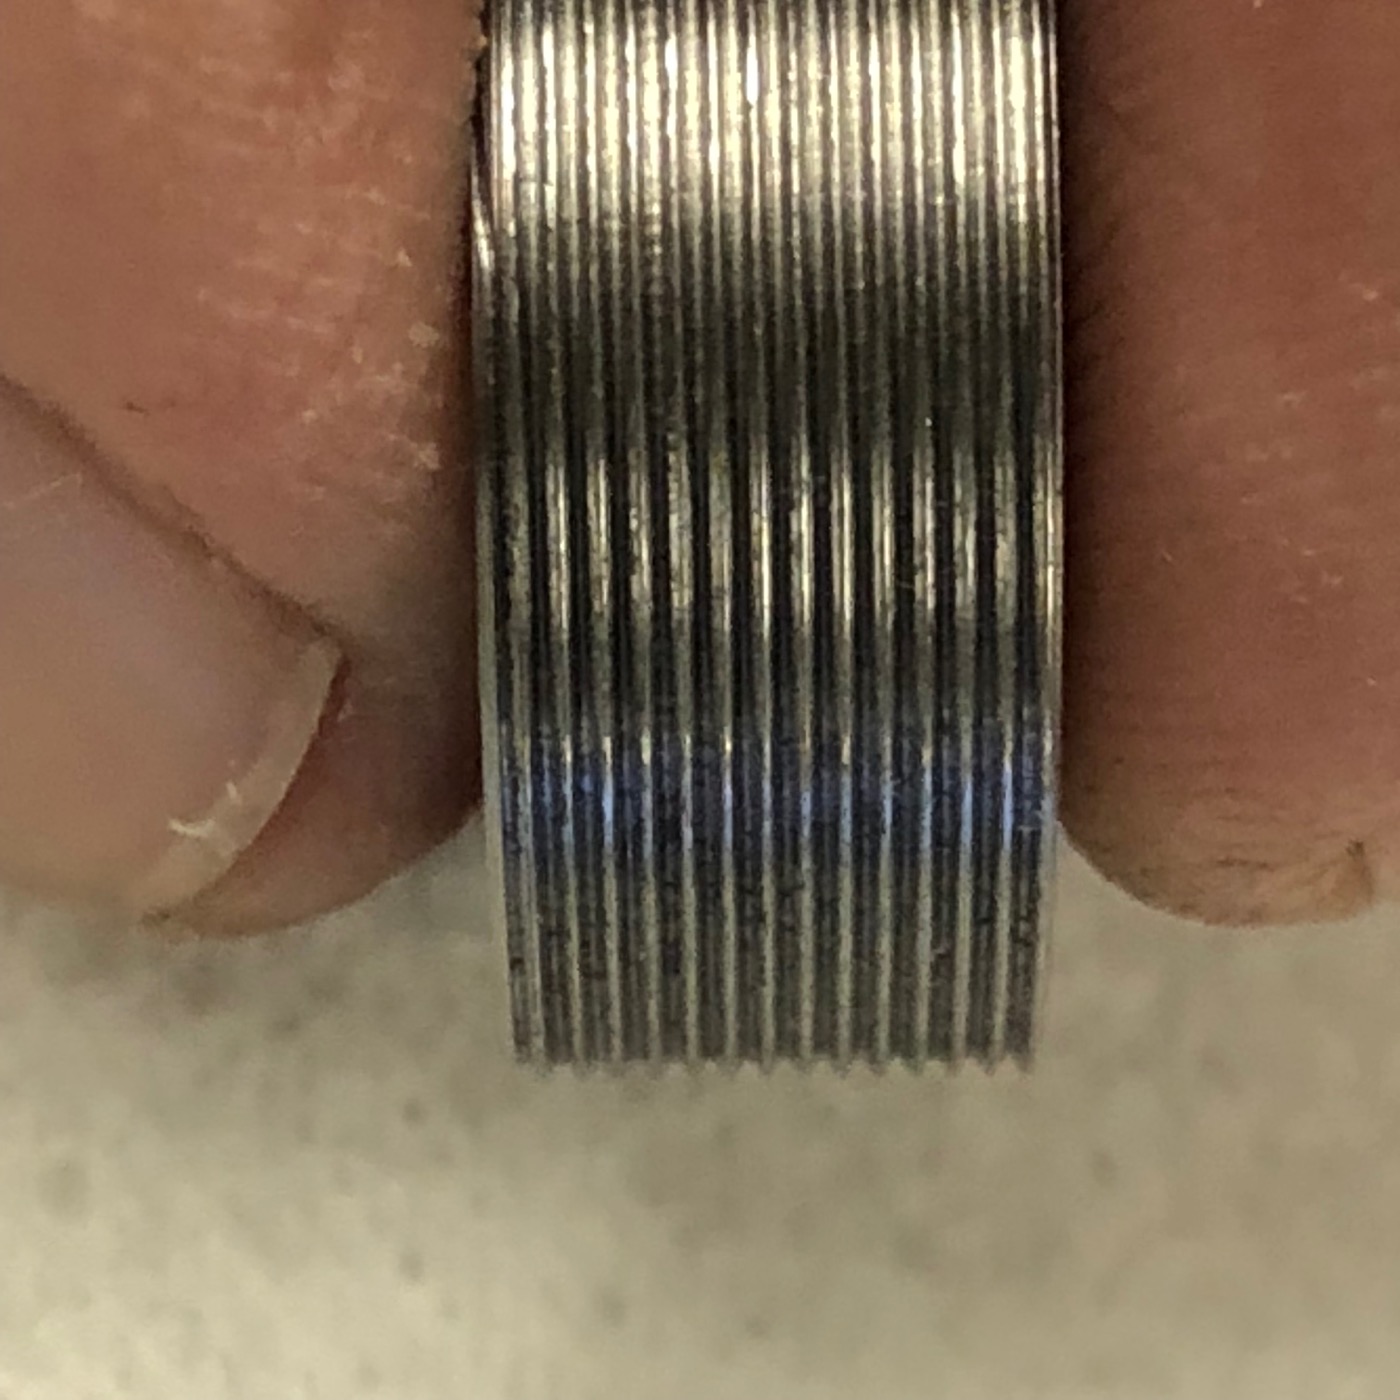
Using the tool
First: the tool works! It’s quite sturdy and won’t move while turning the thread. Though, you really have to set up «soulful» the force of the dovetail clamp. A too high clamping may block the carriage – a too low results in sloppy toolholding!
These images were taken from my next project. An M20-something with a fine thread. That was an easy task to do with this tool.